


1-9
36
1
Insert a disc.
See “Inserting a Disc” on page 25.
2
Press TOOLS to select “Disc Info,” and
press ENTER.
The “Disc Information” display appears.
3
Select “Finalize,” and press ENTER.
The display shows the approximate time
required for finalizing and asks for
confirmation.
4
Select “OK,” and press ENTER.
The recorder starts finalizing the disc.
z
Hint
You can check whether the disc has been finalized or not.
If you cannot select “Finalize” in step 3 above, the disc
has already been finalized.
b
Notes
• Depending on the condition of the disc, recording, or
the DVD equipment, discs may not play even if the
discs are finalized.
• The recorder may not be able to finalize the disc if it
was recorded on another recorder.
For DVD-RWs (Video mode)
DVD-RW (Video mode) that have been finalized
to prohibit additional recording or editing can be
unfinalized to allow further recording or editing.
For DVD-RWs (VR mode)
If you cannot record or edit on a DVD-RW (VR
mode) that has been finalized with other DVD
equipment, “This disc was finalized. Unfinalize
it.” may appear.
b
Note
The recorder is not able to unfinalize DVD-RWs (Video
mode) that have been finalized on another recorder.
1
Insert a disc.
See “Inserting a Disc” on page 25.
2
Press TOOLS to select “Disc Info,” and
press ENTER.
The “Disc Information” display appears.
3
Select “Unfinalize,” and press ENTER.
The recorder starts unfinalizing the disc.
Unfinalizing may take several minutes.
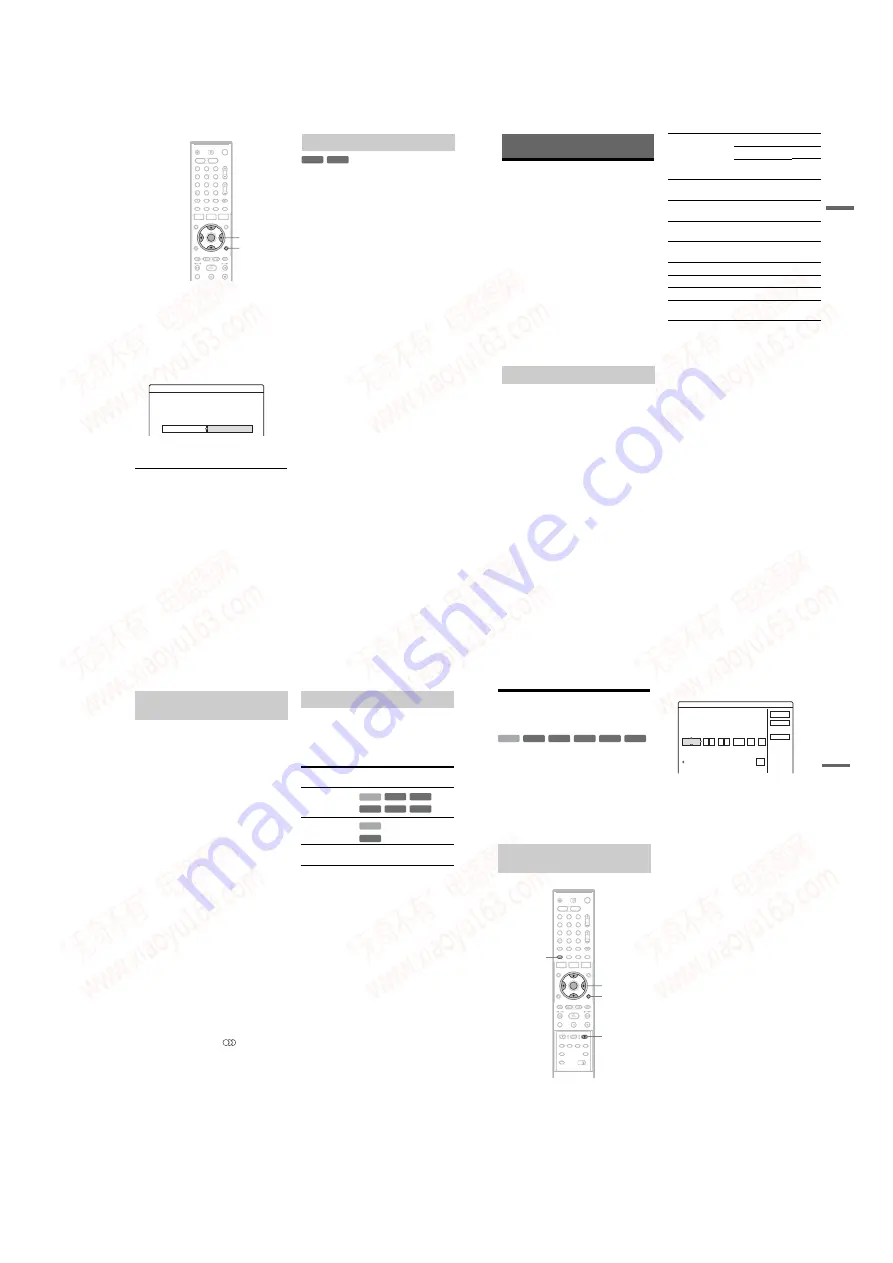
1
2
3
4
6
7
8
9
0
5
TOOLS
<
/
M
/
m
/
,
,
ENTER
Finalize
About xx min is needed for finalizing this disc.
OK
Cancel
Cannot cancel finalizing during transaction.
Do you want to finalize?
Unfinalizing a disc
-RWVR -RW
Video
37
T
im
e
r R
e
co
rd
in
g
Timer Recording
Before Recording
Before you start recording…
• This recorder can record on various discs. Select
the disc type according to your needs (page 8).
• Check that the disc has enough available space
for the recording (page 25). For HDD,
DVD+RWs, and DVD-RWs, you can free up
disc space by erasing titles (page 66).
• Adjust the recording picture quality and picture
size if necessary (page 42).
z
Hint
Timer recordings will be made regardless whether or not
the recorder is turned on. You can turn off the recorder
without affecting the recording even after recording
starts.
b
Note
To play a recorded disc on other DVD equipment,
finalize the disc (page 35).
Like the SP or LP recording mode of VCRs, this
recorder has eight different recording modes.
Select a recording mode according to the time and
picture quality you need. For example, if picture
quality is your top priority, select the High Quality
mode (HQ). If recording time is your priority,
Super Extended Play mode (SEP) can be a
possible choice. Note that recording times in the
following table are approximate and the actual
times may differ. Note also that the maximum
continuous recording time for a single title is eight
hours. Contents beyond this time will not be
recorded.
Press REC MODE repeatedly to switch the
recording modes.
* The recording time for DVD+R DL (Double Layer)
discs is as follows:
HQ: 1 hour 48 minutes
HSP: 2 hours 42 minutes
SP: 3 hours 37 minutes
LSP: 4 hours 31 minutes
LP: 5 hours 25 minutes
EP: 7 hours 14 minutes
SLP: 10 hours 51 minutes
SEP
:
14 hours 28 minutes
“HQ+” recording mode
“HQ+” records pictures in higher quality than HQ
on the HDD. Set “HQ Setting” in “Features” setup
to “HQ+” (page 90). Maximum recording time is
21 hours for RDR-HX710 or 34 hours for RDR-
HX910. “HQ” appears in the display.
b
Note
Situations below may cause slight inaccuracies with the
recording time.
– Recording a programme with poor reception, or a
programme or video source of low picture quality
– Recording on a disc that has already been edited
– Recording only a still picture or just sound
Recording mode
Recording
mode
Recording time (hours)
HDD
DVD*
RDR-
HX710
RDR-
HX910
HQ
(High quality)
33
53
1
HSP
R
51
81
1 hr.
30 min.
SP
(Standard mode)
67
107
2
LSP
r
85
135
2 hr.
30 min.
LP
r
103
164
3
EP
r
137
217
4
SLP
r
204
325
6
SEP
(Long duration)
269
428
8
,
continued
38
The recorder automatically receives and records
stereo and bilingual programmes based on the
ZWEITON system or the NICAM system.
The HDD and a DVD-RW (VR mode) can record
both main and sub sounds. You can switch
between main and sub when playing the disc. For
the HDD, you can select the sound track before
recording. Select “Main,” “Sub,” or “Main+Sub”
in “HDD Bilingual Rec.” of “Options” setup
(page 91).
A DVD+RW, DVD-RW (Video mode), DVD+R,
or DVD-R can record only one sound track (main
or sub) at a time. Select the sound track using the
Setup Display before recording starts. Set “DVD
Bilingual Rec.” to “Main” (default) or “Sub” in
“Options” setup (page 91).
ZWEITON (German stereo) system
When a stereo based programme is received,
“Stereo” appears.
When a bilingual ZWEITON based programme is
received, “Main,” “Sub,” or “Main/Sub” appears.
When a stereo or bilingual NICAM based
programme is received, “NICAM” appears in the
front panel display.
To record a NICAM programme, be sure to set
“Audio” of “Channel Setting” in “Settings” setup
to “NICAM” (default). If the sound is not clear
when listening to NICAM broadcasts, set “Audio”
to “Standard” (see “Channel Setting” on page 80).
z
Hint
You can select the audio (main or sub) while recording
bilingual programmes using the
(audio) button.
This does not affect the recorded sound.
Pictures with copy protection cannot be recorded
on this recorder.
When the recorder receives a copy guard signal,
the recorder continues to record but only a blank,
grey coloured screen will be recorded.
* The recorded disc can be played only on CPRM
compatible equipment (page 8).
Recording stereo and bilingual
programmes
Unrecordable pictures
Copy control
signals
Recordable discs
Copy-Free
Copy-Once
(CPRM*)
Copy-Never
None (a blank screen is
recorded)
+
RW
-RWVR
-RW
Video
-
R
+
R
HDD
HDD
-RWVR
39
T
im
e
r R
e
co
rd
in
g
Timer Recording (Standard/
G-Code)
You can set the timer for a total of 30 programmes,
up to one month in advance.
There are two methods to set the timer: the
standard method and G-Code method.
• Standard: Set the date, time, and programme
position of the programme manually.
• G-Code: Enter the G-Code number designated
for each TV programme (page 41). Note that this
function may not be available in some areas.
1
Press
[TIMER]
.
• If the “Timer – G-Code” display appears,
press
<
to switch the display to
“Standard”.
2
Select an item using
<
/
,
and adjust
using
M
/
m
.
“Date”: Sets the date.
The item changes as follows:
Today
y
Tomorrow
y
……
y
Thu
28.10 (1 month later)
y
Sun (every Sunday)
y
……
y
Sat (every Saturday)
y
Mon-Fri (Monday to Friday)
y
Mon-Sat
(Monday to Saturday)
y
Sun-Sat (Sunday to
Saturday)
y
Today
“Start”: Sets the start time.
“Stop”: Sets the stop time.
“Prog.”: Selects the programme position or
input source.
“Media”: Selects the media, HDD or DVD.
“Mode”: Selects the recording mode
(page 37).
• If you want to change the setting for the
Update function, select “Details” and press
ENTER. Select an item using
<
/
,
and set
using
M
/
m
.
“Update” (HDD only): Automatically records
over a previously recorded program that is set
to be recorded daily or weekly.
To return to the Timer programming menu,
select “Previous” and ENTER.
• If you make a mistake, select the item and
change the setting.
Setting the timer manually
(Standard)
+
RW
-RWVR -RW
Video
-
R
+
R
HDD
1
2
3
4
6
7
8
9
0
5
<
/
M
/
m
/
,
,
ENTER
[TIMER]
x
REC STOP
TOOLS
Timer - Standard
Set the timer manually.
Cancel
G-Code
Date
:
Start
:
Stop
OK
Prog.
Media Mode
Today
Details
Off
Update
,
continued
www. xiaoyu163. com
QQ 376315150
9
9
2
8
9
4
2
9
8
TEL 13942296513
9
9
2
8
9
4
2
9
8
0
5
1
5
1
3
6
7
3
Q
Q
TEL 13942296513 QQ 376315150 892498299
TEL 13942296513 QQ 376315150 892498299


