


1-15
63
Edi
ting
2
Select “Edit,” and press ENTER.
3
Select “Create Playlist,” and press ENTER.
The display for creating a Playlist appears.
“Start” is selected.
4
Press ENTER at the start point.
You can use
H
PLAY, ,
.
/
>
and
X
PAUSE to find the point. At
the point you want to select, press
H
PLAY
or
X
PAUSE, and press ENTER.
“End” is selected.
5
Press ENTER at the end point.
“Make” is selected.
To reset the start or end point, select “Start” or
“End” and repeat step 4 or 5.
6
Press ENTER.
The selected section is captured as a scene. To
continue, repeat from step 4.
7
When you finish capturing scenes, select
“Finish” and press ENTER.
Playing a Playlist title
1
Press TITLE LIST.
2
Press ORIGINAL/PLAYLIST to switch to the
“Playlist” Title List.
3
Select a Playlist title, and press ENTER.
The sub-menu appears.
4
Select “Play,” and press ENTER.
z
Hint
When a Playlist title is created, the start and end points
will become chapter marks, and each scene will become
a chapter.
Notes
• The picture may pause when an edited scene is played.
• The start and end points in a title may be different from
what you have set.
10:10 AM
Create Playlist
Edit Playlist
Edit
Setup
Disc Setting
Edit
Title List
Timer
DV/D8 Dubbing
Create Playlist
10:10 AM
Scene No.01
End 00:00:00
Start 00:00:00
T
Start
End
Make
Finish
00:00:07
---/--/---- --:--
Playlist No. 01
10:10 AM
Scene No.01
T
Finish
00:00:10
Create Playlist
Playlist No. 01
End 00:00:00
Start 00:00:10
Start
End
Make
---/--/---- --:--
64
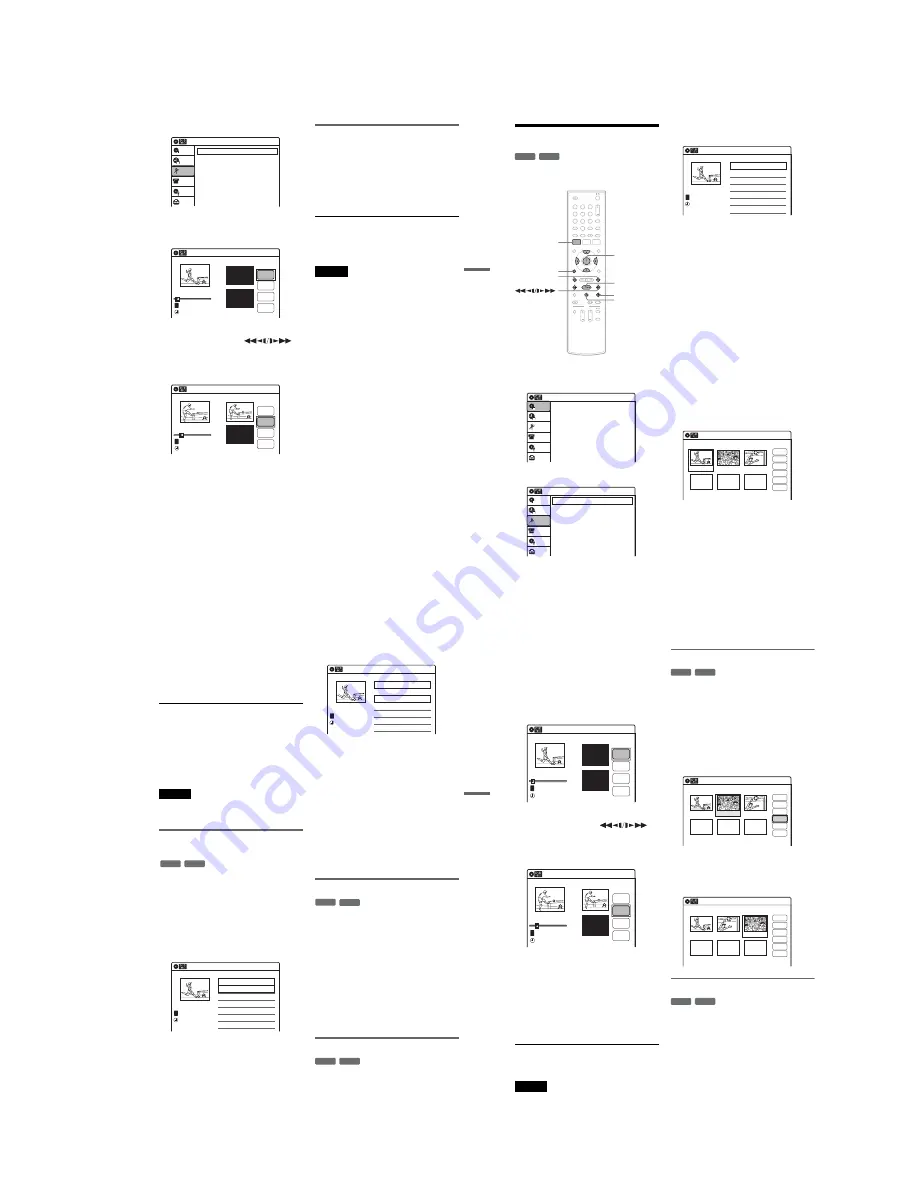
Editing a Playlist
You can edit Playlist titles or scenes within them,
without changing the actual recordings.
1
Press SYSTEM MENU while the recorder is
in stop mode.
2
Select “Edit,” and press ENTER.
3
Select “Edit Playlist,” and press ENTER.
The “Playlist” Title List appears.
4
Select a Playlist title, and press ENTER.
The sub-menu appears.
5
Select an option, and press ENTER.
Select from the following options. For details,
see the pages in parentheses.
“Title Erase”: Erases the title. Select “OK”
when asked for confirmation.
“Chapter Erase”: Allows you to select
chapters in the Playlist title to erase (page 59).
“Title Name”: Allows you to rename the title
(page 61).
“A-B Erase”: Allows you to select sections in
the title to erase (page 59).
“Edit Scene”: Allows you to re-edit scenes in
the Playlist title. Go to step 6.
“Divide Title”: Divides the title in two at a
desired point (page 60).
“Combine Titles”: Allows you to combine
two titles into one (page 65).
6
Select “Edit Scene,” and press ENTER.
The display for editing scenes appears.
“Check”: Allows you to preview a scene.
Starts playback of the selected scene when
you press ENTER. The display returns to the
“Edit Scene” display when the playback
finishes or when you press
O
RETURN.
“Erase”: Erases a scene (page 65).
“Modify”: Allows you to change the start and
end point of a scene (page 65).
-RW
VR
-R
VR
1
1
2
2
3
3
4
4
5
5
6
6
7
7
8
8
0
0
9
9
SYSTEM
MENU
M
/
m
/
<
/
,
,
ENTER
H
PLAY
x
STOP
X
PAUSE
O
RETURN
.
/
>
Press ENTER :
Title Menu for DVD Title List.
10:10 AM
Title List (Original)
Setup
Disc Setting
Edit
Title List
Timer
DV/D8 Dubbing
10:10 AM
Create Playlist
Edit Playlist
Edit
Setup
Disc Setting
Edit
Title List
Timer
DV/D8 Dubbing
Playlist
10:10 AM
01
>
00:05:04
02
>
00:00:51
T
No. Title
Length
Edit
1/2
D11.1
Ch 96
D11.1
May/02/2007
03:25 PM
Edit Scene
10:10 AM
Scene No.01 / 03
Playlist No.01
03 00:04:20
02 00:00:10
01
00:00:34
Check
Erase
Modify
Move
Add
Copy
65
Edi
ting
“Move”: Allows you to change scene order
(page 66).
“Add”: Allows you to add other scenes before
a selected scene (page 66).
“Copy”: Allows you to copy a scene
(page 67).
To return to the previous display
Press
O
RETURN.
To turn off the display
Press SYSTEM MENU.
z
Hint
The Resume Play function will work for scene playback.
Note
You cannot create or edit Playlist titles on a finalized
disc. When you want to edit or record on the DVD-RW
(VR mode) again, unfinalize the disc (page 69).
Combining two titles into one
(Combine Titles)
You can select a Playlist title and combine it with
another Playlist title.
1
Follow steps 1 to 4 of “Editing a Playlist”
(page 64) to select a Playlist title.
The sub-menu appears.
2
Select “Combine Titles,” and press
ENTER.
The next title below is also selected.
3
Select a Playlist title to be combined.
4
Press ENTER.
The display asks for confirmation.
5
Select “Yes,” and press ENTER.
The display asks whether to rename the title.
To use the same name as before, select “No”
and press ENTER to finish.
6
Select “Yes,” and press ENTER.
The “Title Name” display appears.
7
Follow steps 4 to 6 of “Changing the Name
of a Title” (page 61) to complete
renaming.
The two Playlist titles become one Playlist
title with the new name.
Erasing a scene (Erase)
You can erase a selected scene.
1
Follow steps 1 to 6 of “Editing a Playlist”
(page 64).
The “Edit Scene” display appears.
2
Select the scene you want to erase, and
press ENTER.
3
Select “Erase,” and press ENTER.
The display asks for confirmation.
4
Select “OK,” and press ENTER.
The selected scene is erased.
To erase other scenes, repeat from step 2.
Modifying a scene (Modify)
You can change the start and end point of the
selected scene.
-RW
VR
-R
VR
Playlist
10:10 AM
>
>
T
No. Title
Length
Edit
01
00:05:04
02
00:00:51
03
>
01:59:00
04
>
00:58:56
1/4
D11.1
D22.2
Ch 23
Ch 66
D11.1
May/02/2007
03:25 PM
Playlist
10:10 AM
>
>
T
No. Title
Length
Edit
01
00:05:04
02
00:00:51
03
>
01:59:00
04
>
00:58:56
3/4
D11.1
D22.2
Ch 23
Ch 66
D11.1
May/15/2007
11:30 PM
-RW
VR
-R
VR
-RW
VR
-R
VR
,
continued
66
1
Follow steps 1 to 6 of “Editing a Playlist”
(page 64).
The “Edit Scene” display appears.
2
Select the scene you want to modify, and
press ENTER.
3
Select “Modify,” and press ENTER.
“Start” is selected.
4
Press ENTER at the start point.
You can use
H
PLAY, ,
.
/
>
and
X
PAUSE to find the point. At
the point you want to select, press
H
PLAY
or
X
PAUSE, and press ENTER.
“End” is selected.
5
Press ENTER at the end point.
“Change” is selected.
To reset the start or end point, select “Start” or
“End” and repeat step 4 or 5.
6
Press ENTER.
The display returns to the “Edit Scene”
display.
The re-selected section is captured as a scene.
To modify other scenes, repeat from step 2.
To cancel modifying
Select “Cancel,” and press ENTER.
Note
The start and end point of a scene may be different from
what you have set.
Moving a scene (Move)
You can change the scene order within the Playlist
title.
1
Follow steps 1 to 6 of “Editing a Playlist”
(page 64).
The “Edit Scene” display appears.
2
Select the scene you want to move, and
press ENTER.
3
Select “Move,” and press ENTER.
4
Select a new location using
<
/
,
, and
press ENTER.
The selected scene moves to the new location.
To move other scenes, repeat from step 2.
Adding a scene (Add)
You can add a scene before the selected scene.
1
Follow steps 1 to 6 of “Editing a Playlist”
(page 64).
The “Edit Scene” display appears.
2
Select the location where you want to add,
and press ENTER.
A new scene will be added before the selected
scene.
Modify
10:10 AM
T
Change
Cancel
00:00:07
Playlist No. 01
Scene No.01
End 00:00:00
Start 00:00:00
Start
End
May/02/2007 03:25 PM
Modify
10:10 AM
Scene No.01
T
00:00:10
May/02/2007 03:25 PM
Playlist No. 01
Change
Cancel
End 00:00:00
Start 00:00:10
Start
End
-RW
VR
-R
VR
Edit Scene
10:10 AM
Scene No. 02 / 03
03 00:04:20
02 00:00:10
01
00:00:34
Playlist No.01
Check
Erase
Modify
Move
Add
Copy
Edit Scene
10:10 AM
Scene No. 03 / 03
02 00:04:20
03 00:00:10
01
00:00:34
Playlist No.01
Check
Erase
Modify
Move
Add
Copy
-RW
VR
-R
VR
Summary of Contents for RDR-GX255
Page 36: ...1 26E MEMO ...
Page 40: ...2 4E MEMO ...
Page 42: ...3 4E MEMO ...
Page 44: ...4 1 DVD Main PCB 4 4 4 3 COMPONENT SIDE ...
Page 45: ...4 6 4 5 CONDUCTOR SIDE ...
Page 46: ...4 8 4 7 4 2 Front Main PCB COMPONENT SIDE ...
Page 47: ...4 10 4 9 CONDUCTOR SIDE ...
Page 48: ...4 12E 4 11 4 3 Function Timer PCB COMPONENT SIDE CONDUCTOR SIDE ...
Page 50: ...5 4 5 3 5 1 S M P S Front Main PCB ...
Page 51: ...5 6 5 5 5 2 Power Front Main PCB ...
Page 52: ...5 8 5 7 5 3 Logic Front Main PCB ...
Page 53: ...5 10 5 9 5 4 Function Jack VCR Front Main PCB ...
Page 54: ...5 12 5 11 5 5 MPEG Decoder DVD Main PCB ...
Page 55: ...5 14 5 13 5 6 A V Decoder DVD Main PCB ...
Page 56: ...5 16 5 15 5 7 In Out DVD Main PCB ...
Page 57: ...5 18 5 17 5 8 ATSC DVD Main PCB ...
Page 58: ...5 20 5 19 5 9 Tuner DVD Main PCB ...
Page 59: ...5 22 5 21 5 10 DV HDMI DVD Main PCB ...
Page 60: ...5 24E 5 23 5 11 Front Panel Function Timer PCB ...
Page 77: ...7 1 RDR GXD455 7 REPAIR PARTS LIST 7 1 Exploded Views 7 2 7 2 Electrical Parts List 7 3 ...


