35
Setting the timer
B
a
sic
O
p
er
at
ions
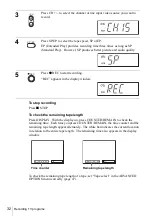
To stop recording
To stop the VCR while recording, press
x
STOP.
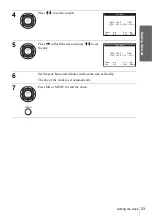
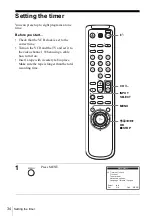
2
Press
M
/
m
to move the cursor (
B
) to
“
Timer
set/check,
”
then press OK.
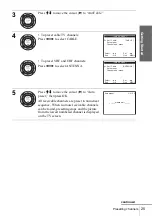
3
If necessary, press
M
/
m
to move the cursor (
B
) to the row that is to be set.
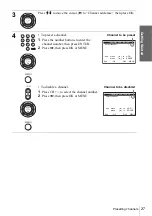
4
Set the channel number, start and stop time,
date, and tape speed:
1
Press
,
to flash each item in turn.
2
Press
M
/
m
to set each item.
To correct a setting, press
<
to return to that
setting and reset.
To record from a source connected to the LINE IN 1 or LINE-2 IN jacks,
press INPUT SELECT or
M
/
m
to display “L1” or “L2” in the “CH”
position.
To record the same program every day or the same day every week, press
m
while the date is flashing. For details, see “Daily/weekly recording” below.
To use the Auto Tape Speed function, press
m
to display “AUTO” in the
“SPD” position. For details, see “To use the Auto Tape Speed function” on
page 36.
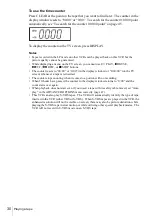
5
Press OK to confirm the setting.
To enter another setting, press
M
/
m
to select the next row and repeat step 4.
6
Press MENU to exit the menu.
7
Press
?
/
1
to turn off the VCR.
The TIMER indicator appears in the display window and the VCR stands by
for recording. When using a cable box, leave it on.
OK
PLAY
Select
:
:
End
:
CH START STOP
DATE
SPD
OK
Bb
MENU
Quit
Set
:
Vv
– – – : – –
– : – –
– – –
--
– – – : – –
– : – –
– – –
--
– – – : – –
– : – –
– – –
--
– – – : – –
– : – –
– – –
--
– – – : – –
– : – –
– – –
--
– – – : – –
– : – –
– – –
--
– – – : – –
– : – –
– – –
--
– – – : – –
– : – –
– – –
--
OK
PLAY
OK
PLAY
INPUT
SELECT
Select
:
:
End
:
CH START STOP
DATE
SPD
OK
Bb
MENU
Quit
Set
:
Vv
3 5 8 : 0 0
9 : 0 0
9 / 3 0 SP
– – – : – –
– : – –
– – –
--
– – – : – –
– : – –
– – –
--
– – – : – –
– : – –
– – –
--
– – – : – –
– : – –
– – –
--
– – – : – –
– : – –
– – –
--
– – – : – –
– : – –
– – –
--
– – – : – –
– : – –
– – –
--
PM
PM
OK
PLAY
MENU
continued


