55
Formatting the disc
(Format)
When using a disc in Hi-MD mode, you
can use the Format function to restore a
disc to the condition it was in at the time
of purchase.
You can use this function only when using
a disc in Hi-MD mode.
•
By formatting a disc, all data (including non-
audio data) will be erased. If you think a disc
contains such data, insert the disc into the
recorder and connect the recorder to the
computer to check the contents of the disc.
•
If you format a disc, the transferred tracks on
the disc will also be erased and the number of
transfer authorizations for those tracks will be
decreased by one. To prevent the reduction in
transfer authorizations, restore the transfer
authorization by transferring the tracks to the
Windows computer again before formatting
the disc.
•
The operation mode set in the “Disc Mode”
menu is applied to a blank 60/74/80-minute
standard disc used on the recorder even if a
different operation mode was selected in the
SonicStage software or a different operation
mode appeared on the display after the disc
was formatted by the SonicStage software.
1
While the recorder is stopped, enter
the menu and select “Edit” -
“Format”.
“ALL DATA WILL BE DELETED”
appears in the display.
2
Turn the jog dial to select “OK”, and
then press the jog dial to enter the
selection.
“SYSTEM FILE WRITING” appears
in the display, and a disc will be
formatted.
When formatting completes, “NO
TRACK” appears in the display if a
1GB Hi-MD disc is inserted in the
recorder, or “BLANKDISC” appears
if a standard disc in Hi-MD mode is
inserted.
Disc
type
After disc formatting
1GB
Hi-MD
disc
“NO TRACK” appears.
All data including non-audio
data will be erased.
NOTE
: Transfer authorization
of the transferred tracks can be
restored by inserting the disc
into the recorder and
connecting the recorder to the
Windows computer.
60/74/80-
minute
standard
disc
“BLANKDISC” appears.
All data including non-audio
data will be erased.
NOTE
: Transfer authorization
of the transferred tracks will
decrease by one.
Notes
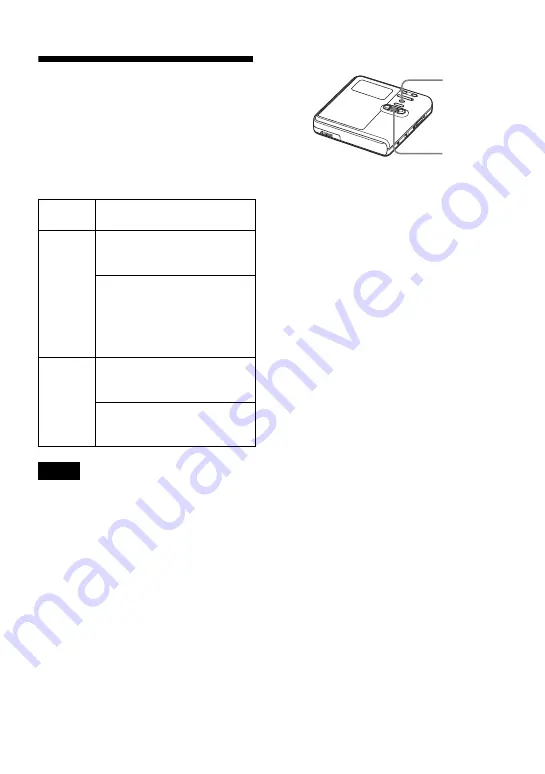
Jog dial
MENU
Summary of Contents for MZ-M10
Page 9: ...9 ...


