28
-GB
Notes
•
You cannot erase a track mark that has been
written between a track recorded in stereo and
a track recorded in monaural. If you try to
erase such a track mark, “SORRY” appears in
the display.
•
You cannot erase a track mark that has been
written between a track recorded through a
digital connection and a track recorded
through an analog connection. If you try to
erase such a track mark, “SORRY” appears in
the display.
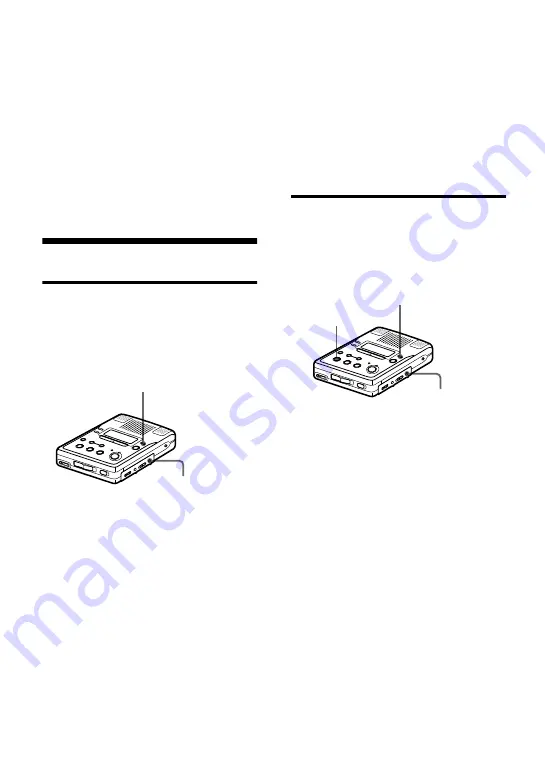
Erasing tracks
To erase a track
Note that once a recording has been
erased, you cannot retrieve it. Be sure to
verify the contents of the track you want
to erase.
1
While playing the track you want to
erase, press ERASE.
“Erase OK?” and “PushENTER”
appear alternately in the display and
the recorder plays the selected track
repeatedly.
2
Press EDIT/ENTER.
The track is erased and the next track
starts to play. All the tracks after the
one erased are automatically
renumbered.
To cancel erasing, press
x
STOP or
TRACK MARK.
To erase a small section of a track
Pause playback at the point where you
want to start erasing. Then do steps 1 and
2.
To erase a part of a track
Add track marks at the beginning and the
end of the part you want to erase, then
erase the part.
To erase the whole disc
Note that once a recording has been
erased, you cannot retrieve it. Be sure to
verify the contents of the disc you want to
erase.
1
Play the disc you want to erase, verify
its contents, and then press
x
STOP.
2
While the recorder is stopped, press
ERASE.
“All Erase?” and “PushENTER”
appear alternately in the display.
3
Press EDIT/ENTER.
“TOC Edit” flashes in the display,
and all the tracks will be erased.
When erasing is complete,
“BLANKDISC” appears in the
display.
To cancel erasing, press
x
STOP or
TRACK MARK.
EDIT/ENTER
ERASE
EDIT/ENTER
ERASE
x
STOP


