


1-6
14
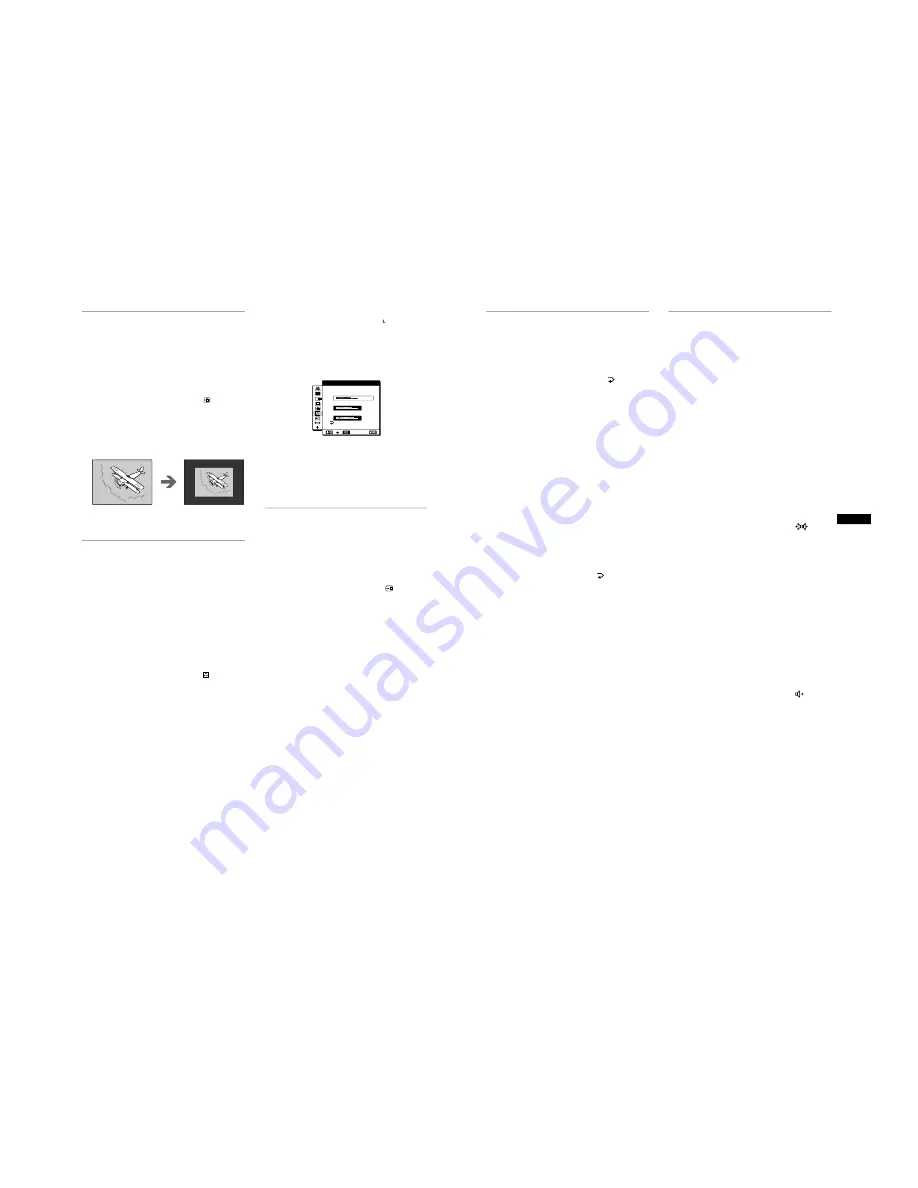
Displaying a low-resolution signal
at the actual resolution (ZOOM)
This monitor is preset at the factory to display pictures on the
screen in full, irrespective of the picture’s mode or resolution.
You can also view the picture at its actual resolution.
1 Press the MENU button.
The main menu appears on the screen.
2 Press the
M
(+)/
m
(–) buttons to select
(ZOOM)
and press the OK button.
The ZOOM menu appears on the screen.
3 Press the
m
(–) button to select OFF.
The input signal is displayed on the screen at its actual
resolution.
To display the picture on the screen in full
Select ON in step 3.
Adjusting the color temperature
(COLOR)
The COLOR settings allow you to adjust the picture’s color
temperature by changing the color level of the white color field.
Colors appear reddish if the temperature is low, and bluish if the
temperature is high.
9300K is generally suitable for word processing and other text
oriented applications, and 6500K is generally suitable for video
images.
You can set the color temperature to 5000K, 6500K, 9300K or
user adjustment.
1 Press the MENU button.
The main menu appears on the screen.
2 Press the
M
(+)/
m
(–) buttons to select
(COLOR)
and press the OK button.
The COLOR menu appears on the screen.
3 Press the
M
(+)/
m
(–) buttons to select the desired
color temperature.
The preset color temperatures are 5000K, 6500K, and 9300K.
Since the default setting is 9300K, the whites will change
from a bluish hue to a reddish hue as the temperature is
lowered to 6500K and 5000K.
You can set separate color temperatures for each of the video
input signals.
4 If necessary, fine tune the color temperature.
First press the
M
(+)/
m
(–) buttons to select ADJUST and
press the OK button. Then press the
M
(+)/
m
(–) buttons to
select R (Red) or B (Blue) and press the OK button, and then
press the
M
(+)/
m
(–) buttons to adjust the color temperature.
Since this adjustment changes the color temperature by
increasing or decreasing the R and B components with respect
to G (green), the G component is fixed.
If you fine tune the color temperature, the new color setting is
stored in memory for USER ADJUSTMENT and
automatically recalled whenever USER is selected.
The USER ADJUSTMENT setting is common to both the
input signals. If you change the user adjustment setting for
one input signal, the setting for the other input signal is also
changed.
Changing the menu’s position
(MENU POSITION)
You can change the menu position if it is blocking an image on
the screen.
1 Press the MENU button.
The main menu appears on the screen.
2 Press the
M
(+)/
m
(–) buttons to select
(MENU
POSITION) and press the OK button.
The MENU POSITION menu appears on the screen.
3 Press the
M
(+)/
m
(–) buttons to select the desired
position.
There are three positions each for the top of the screen and the
bottom of the screen, and one for the screen center.
R
1 6 8
G
1 7 0
B
1 7 5
EX I T
USE R AD J UST
T
MEN
15
US
Resetting the adjustments (RESET)
This monitor has the following two reset methods. Use the
RESET menu to reset the adjustments.
1 Press the MENU button.
The main menu appears on the screen.
2 Press the
M
(+)/
m
(–) buttons to select
(RESET)
and press the OK button.
The RESET menu appears on the screen.
Reset the settings according to the following instructions.
Resetting the adjustment data most appropriately
for the current input signal
Press the
M
(+)/
m
(–) buttons to select SCREEN RESET
and press the OK button.
The automatic picture quality adjustment function of this monitor
automatically adjusts the picture position, phase, and pitch, to the
most appropriate value. If this function is activated, the phase is
automatically adjusted whenever the monitor receives the same
input signal.
The RESET menu is automatically returned to the main menu
after the adjustment data is reset.
Resetting all of the adjustment data for all input
signals
Press the
M
(+)/
m
(–) buttons to select ALL RESET and
press the OK button.
The RESET menu is automatically returned to the main menu
after the adjustment data is reset.
To cancel resetting
Press the
M
(+)/
m
(–) buttons to select
and press the
OK button.
The RESET menu returns to the main menu without resetting the
adjustment data.
Additional settings (Option)
You can adjust the following options:
• WIDE STEREO
• BASS BOOST
• BACKLIGHT
• LIGHT SENSOR
• POWER SAVE
• USER SENSOR
• LANGUAGE
• MENU LOCK
1 Press the MENU button.
The main menu appears on the screen.
2 Press the
M
(+)/
m
(–) buttons to select
m
.
The option menu appears on the screen.
3 Press the
M
(+)/
m
(–) buttons to select the desired
option item and press the OK button.
Adjust the selected option item according to the following
instructions.
Increasing the soundscape (wide stereo function)
This adjustment makes use of the DSP and creates the illusion of
the built-in stereo speaker being further away than it actually is,
thus enhancing sound presence.
First press the
M
(+)/
m
(–) buttons to select
(WIDE
STEREO) and press the OK button. Then press the
M
(+)/
m
(–) buttons to select either 2, 1, or OFF.
The wide stereo function is used to increase the soundscape.
Selecting 1 or 2 increases incrementally the soundscape effect
toward the front of the monitor.
Notes
• If your connected computer or audio equipment uses special sound
functions, such as surround sound, be sure to turn these functions off.
If these functions are being used with the wide stereo function of this
monitor, the wide stereo function may not function properly and thus
not produce the desired sound effect.
• This function is automatically turned off when you use headphones.
However, in this case, the indication in the WIDE STEREO menu does
not change.
• The wide stereo function allows you to increase the soundscape by
converting the analog signals into digital. The sound may be distorted
depending on the input signal and music. In this case, decrease the
volume or set the wide stereo function to OFF.
Boosting the bass (bass boost function)
This option increases the bass output of the speaker.
First press the
M
(+)/
m
(–) buttons to select
(BASS
BOOST) and press the OK button. Then press the
M
(+)/
m
(–) buttons to select either ON or OFF.
(continued)


