USO
RESTRITO
Macro Attachment Assigning
291
Mode
Buttons
ICP-6520/6530
ICP-3000/3016
Pre-macro
Press the [PRE
MCRO] button on the
cross-point control
block.
Press the [PRE
MCRO] button
assigned to the 1st
row on the cross-point
control block.
Post-macro
Press the [POST
MCRO] button on the
cross-point control
block.
Press the [POST
MCRO] button
assigned to the 1st
row on the cross-point
control block.
Ch
a
p
te
r 15
M
a
c
ro
s
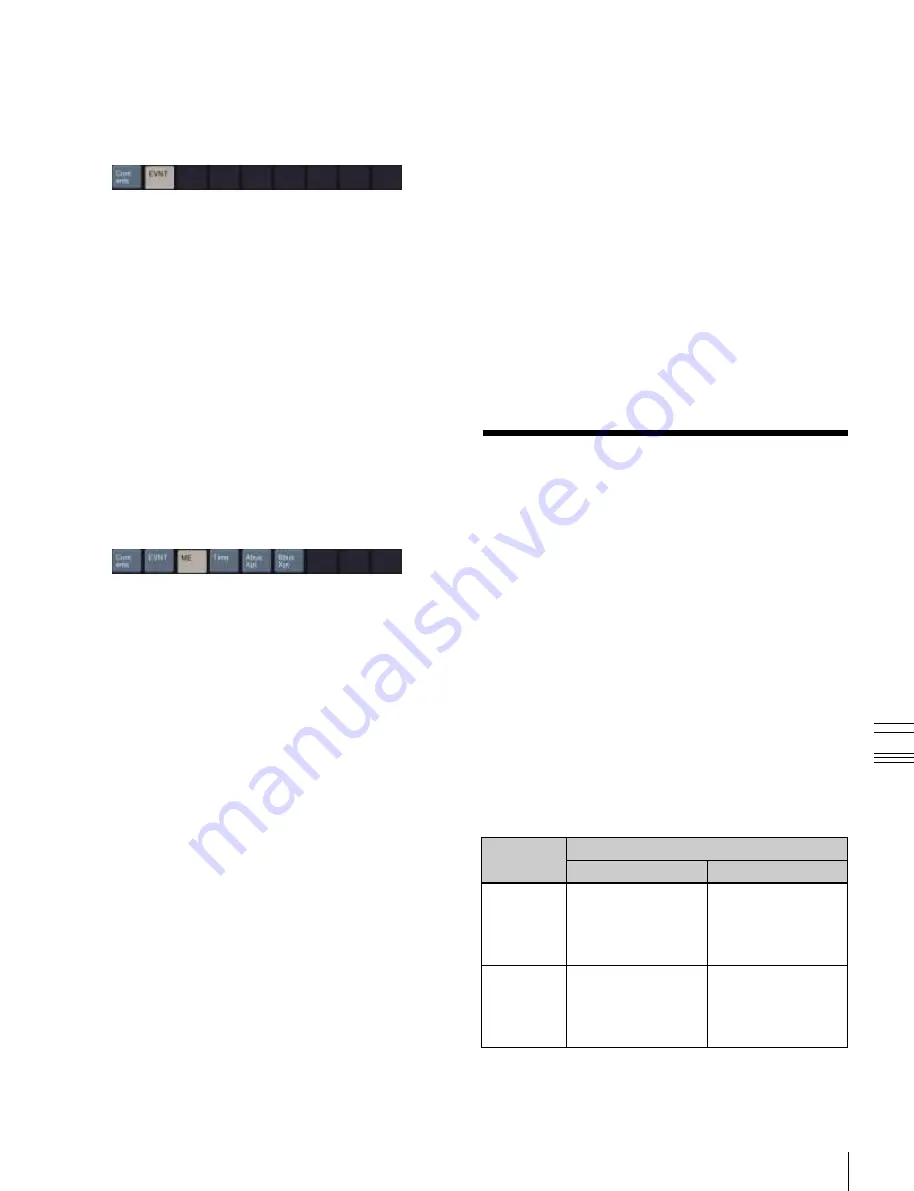
Additionally, in the leftmost blank position of the
editing button group (to the right of [Contents]), a
button appears, corresponding to the item in the macro
editing candidate list. For example, if “Event” is
selected, an [EVNT] button appears.
4
In the editing button group, press the button that has
just appeared.
The item corresponding to the button appears in the
macro editing candidate list.
If you press [EVNT], the symbol indicating the event
contents appears
5
Select the desired item from the macro editing
candidate list, and press [Set].
At the event insertion position of the macro listing, the
selected item is added as an event component.
Additionally, in the next blank position of the editing
button group, a button appears, corresponding to the
item in the macro editing candidate list. For example,
if “MEAutoTransition” is selected, a button for the
parameters and data for the MEAutoTransition
appears.
6
Repeat steps
4
and
5
, to edit the event components.
At the event insertion position of the macro listing, the
item is added as an event component.
To add further events, repeat steps
1
to
6
.
7
Press [Store].
8
Enter the register number as required, and press
[Enter].
The current macro is stored in the register.
The menu screen switches to the menu that was on the
screen immediately before the offline editing.
To delete an event
1
In the macro listing, select the event you want to
delete.
2
Press [Delete].
This deletes the selected event.
If a deleted Event statement is followed by a Continue
statement, the Continue statement is converted to an
Event statement.
3
Press [Store].
To create a new macro
1
From the list in any of the following menus, select an
empty register or file, and press [Off Line Edit].
•
Macro >Register >Lock menu (5412)
•
Macro >Register >Delete menu (5416)
•
Macro >Register >Rename menu (5417)
•
File >Shotbox, Macro >Macro >File Edit menu
(7142.1)
The Off Line Edit menu (7142.3) appears.
2
Carry out steps
2
to
7
of the procedure in
to create an event.
To close the Off Line Edit menu without saving
the editing results
Press [Exit].
Macro Attachment
Assigning
Macro attachment is a function whereby a macro register
is assigned to a control panel button or a particular position
of a fader lever, linking the execution of the button
function or a fader lever operation with a macro execution.
Setting a macro attachment to a button
Select one of the following three linking modes to make
the macro attachment.
Pre-macro:
Mode in which the button function is
executed after macro execution has completed
Post-macro:
Mode in which the macro is executed after
carrying out the button function
Macro only:
Mode in which the button function is not
executed, and the macro only is executed
You select the mode using the following buttons.


