


15
Advanced Operations
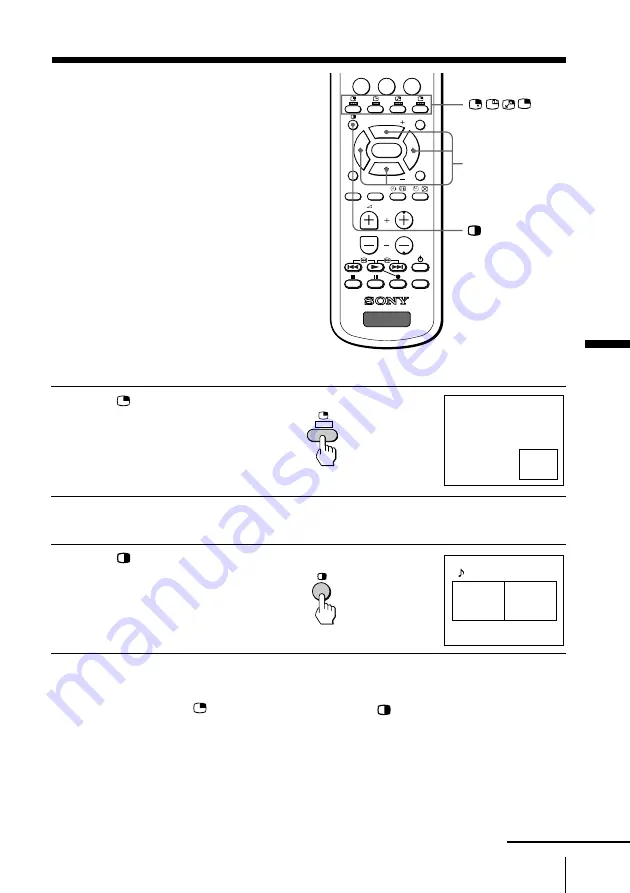
Watching two
programs at the
same time
—PIP, TWIN
With the Picture-in-Picture (PIP) or
TWIN pictures features, you can display
a different TV program or video within
or beside the main picture.
b
Advanced Operations
b
V
/
b
/
v
/
B
continued
Displaying the PIP screen
Press
.
Displaying TWIN pictures
Press
.
To return to the normal screen
Press
(when in the PIP screen) or
(when in the TWIN picture
screen).
Tips
• You can also display the PIP screen or TWIN pictures using the menu (see
“Changing the MULTI PICTURE setting” on page 31).
• You can change the position of the PIP screen (see “Changing the MULTI
PICTURE setting” on page 31).
0
JUMP
-
/
--
PROGR
MENU
PIP PROGR
ZOOM
IN
LEFT
FAVORITE
PROGR
INDEX
ZOOM
IN
RIGHT
SURROUND
SOUND
MODE
PIP PROGR
VIDEO
TITLE
TV
ENTER
10
12
12


