- 8 -
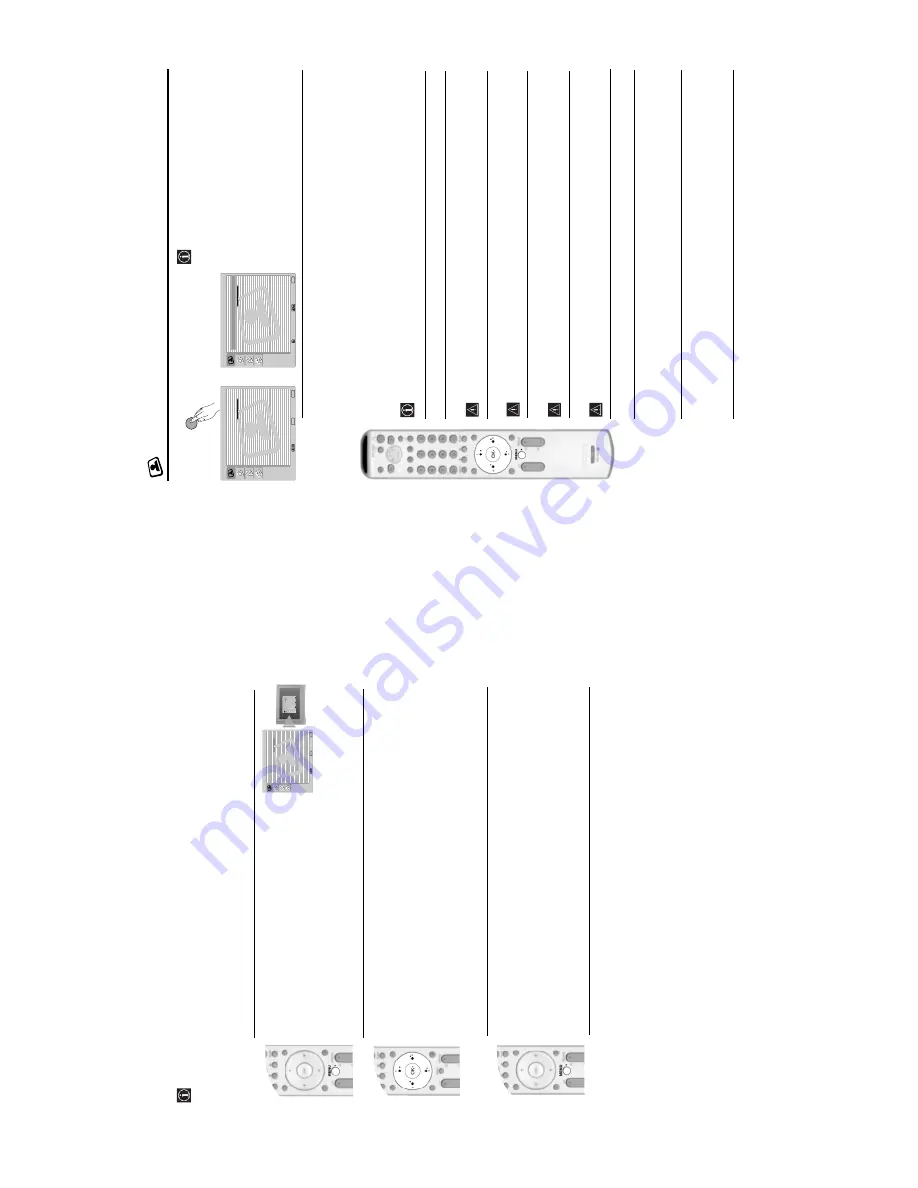
Introducing and Using the Menu System
You
r
TV
uses an On-Screen menu system to guide you through th
e operations. Use
the following buttons
on
the
Remot
e Contr
ol to operate
the menu
system:
1
To switch on
th
e me
nu sc
re
ens
:
P
ress
t
h
e
MENU
bu
tton
to
switch t
h
e
fir
st
l
e
vel
menu on.
Pictur
e Adjustment
Select:
Enter:
OK
Exit:
MENU
Pictur
e Mode:
L
ive
Contrast:
Reset
Noise Reduction:
Auto
Colour T
one:
Cool
Pictur
e Adjustment
Select:
Enter:
OK
Exit:
MENU
Pictur
e Mode:
L
ive
Contrast:
Reset
Noise Reduction:
Auto
Colour T
one:
Cool
2
To nav
igate
thr
oug
h the menus:
•
To highlight
and
select the
desired
menu o
r option, p
ress
v
or
V
.
•
To
enter
the selected menu or
option, press
OK
or
b
.
•
T
o
return to the last menu or
o
p
tion
, press
OK
or
B
.
•
To
alter the setting
s of your selected option, press
v
/
V
/
B
or
b
.
•
To
confirm
and store your selection, press
OK
.
3
To
switch o
ff the menu
screens:
Press the
MENU
button to remo
ve
the menu
from the
scr
een.
The Picture Adjustment Menu
The
“
Picture Adjustment
”
menu allows you to
alte
r the pic
tur
e se
tt
ings.
To do
this:
Press the
ME
NU
button
and then
pr
ess
OK
to
enter this menu. Next press
v
or
V
to se
le
ct
the
desired
option
and
press
OK
. Finally read below
how to oper
ate
into each option.
P
ict
ur
e Mod
e
This op
tion
allows y
ou to customise
the Picture Mode based
on
the prog
ramme
you are watching. After sele
cting this option press
OK
. Next press repeatedly
v
or
V
to sele
ct
:
Pe
rso
n
a
l
(fo
r individual settings)
.
Li
ve
(for live broadcas
t programmes, DVD
and Digital S
et Top
Box
receivers)
Mo
vi
e
(f
o
r fi
lm
s).
Once
you
have selected y
our desired op
tion,
press
OK
to st
ore
.
"Brig
htness", "Colour
" and "Sharpness"
level
of
"Live" and "Mo
vie" mode
are fixed
on the
factory to get the be
st
picture quality.
Contrast
Press
B
or
b
to
reduce or
enhance
pict
ure contr
a
st. Next
press
OK
to store.
Brightness
Press
B
or
b
to darken or brighten the
p
ict
ure. Next press OK to store.
Th
is option
only
appears and on
ly
can be altered if "Picture
Mode" is
set to
"Personal".
Colour
Press
B
or
b
to decrease or to increase
colo
r
inten
si
ty.
Next press
OK
to store.
Th
is option
only
appears and on
ly
can be altered if "Picture
Mode" is
set to
"Personal".
Hu
e
Press
B
or
b
to decrease or to increase the green tones. Next press
OK
to store
.
Th
is option
only
appears for
NTSC
signal (e.g.
USA
video tapes).
Shar
pne
ss
Press
B
or
b
to
soften or
to
shar
pen
the picture. Next
press
OK
to store.
Th
is option
only
appears and on
ly
can be altered if "Picture
Mode" is
set to
"Personal".
Reset
Press
OK
to re
se
t the
pi
ctu
re to the
fa
ct
ory preset
l
e
ve
ls.
Noise
T
h
is
op
tion is se
t to
Auto
to
automatically
re
duce the
snowy p
icture
Reduction
visible in
the
broad
cast signal. However,
it
can b
e
modified by
pressin
g
v
or
V
to se
le
ct
Of
f, Low, Mid
or
Hi
gh
. Finally press
OK
to store.
Colour Tone
This op
tion
al
lows y
ou t
o alter
the ti
nt
of
the pi
ctu
re. Aft
er
selecting
this
option
pres
s
b
. Ne
xt pres
s repe
atedly
v
or
V
to select:
Warm
(gives the white co
lours
a red tint),
Normal
(giv
es
the white colo
u
rs
a
neutral tint
),
Cold
(give
s
th
e whit
e
colo
urs a bl
ue
tin
t). Nex
t p
ress
OK
to st
ore.
,
Pictur
e Adjustment
Select:
Enter:
OK
Exit:
MENU
Pictur
e Mode:
L
ive
Contrast:
Reset
Noise Reduction:
Auto
Colour T
one:
Cool
Pictur
e Adjustment
Select:
Bac
k:
Enter:
OK
Pictur
e Mode:
L
ive
Contrast:
Reset
Noise Reduction:
Auto
Colour T
one:
Cool
MENU


