


KDF-37H1000
KDF-37H1000
34
8. Change the data value of the serial number to the correct serial
number, by pressing 3 on the Remote Commander until
SN7
adjustment displays. (SN7 is the second digit of the serial number
range.)
9. Repeat steps 7 and 8 for
SN6
through
SN1
until the correct serial
number displays.
10. To save the changes, press MUTING then 0 to write into memory.
After completing the changes, exit service mode.
11. To exit service mode, turn the power off by pressing POWER .
2-5-1. VERIFYING MODEL INFORMATION
Verify the changes to the model information by viewing the
information in the Product Support category of the user Settings
menu options.
1. Turn the TV on by pressing POWER on the Remote Commander.
2. Press HOME
on the Remote Commander to display the User
Menu items.
The Media Category icons display.
Settings
Available TV
settings and
features are
listed under
the
Settings
icon.
3. Press the
B
/
b
buttons on the Remote Commander to select the
Settings
option, and then press the
button.
4. Press the
V
/
v
button on the Remote Commander to select the
Product Support
category, and then press the
button.
Product Support
5. Press the
B
/
b
buttons on the Remote Commander to select the
Contact Sony
option, and then press the
button.
6. Verify the changes you made in Service Mode are correct.
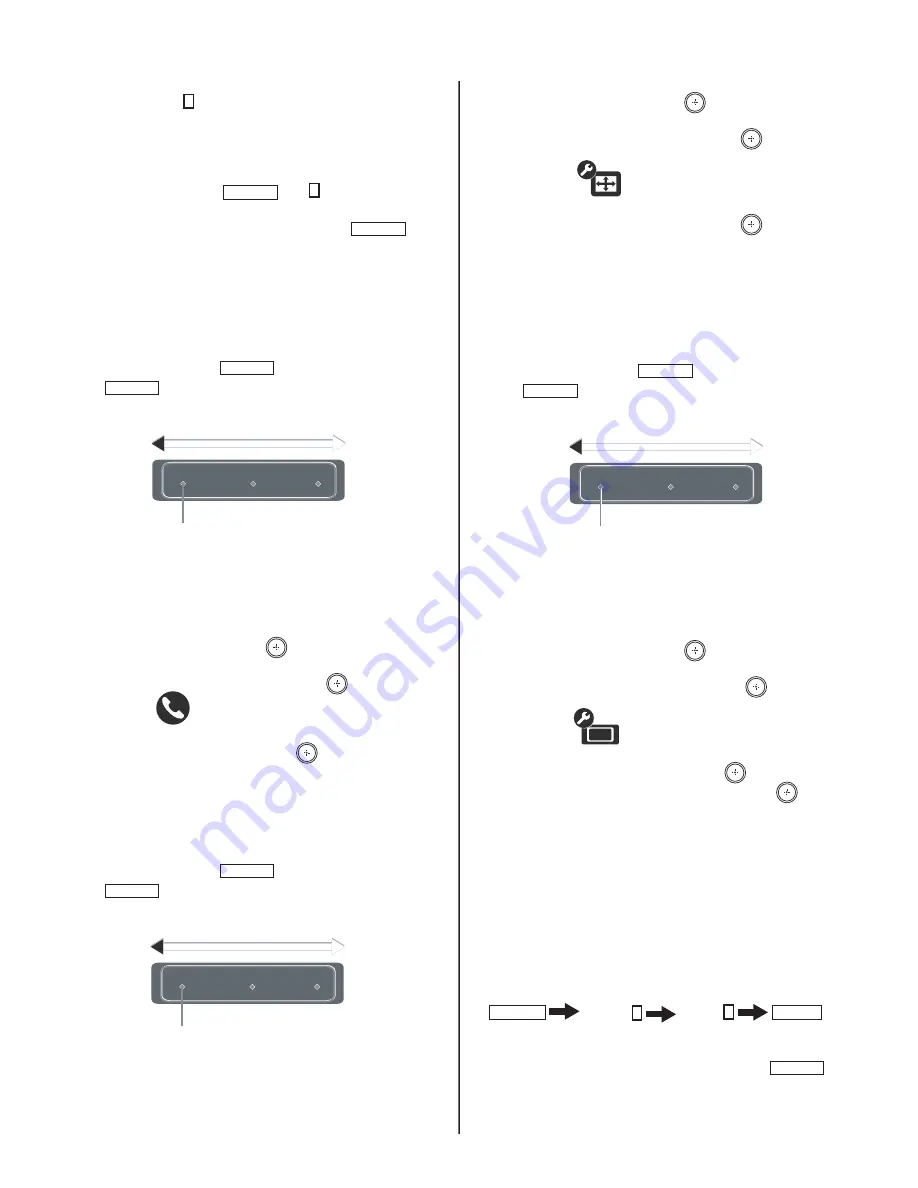
2-6. ADJUSTING THE HORIZONTAL AND
VERTICAL SETTINGS
1. Turn the TV on by pressing POWER on the Remote Commander.
2. Press HOME
on the Remote Commander to display the User
Menu items.
The Media Category icons display.
Settings
Available TV
settings and
features are
listed under
the
Settings
icon.
3. Press the
B
/
b
buttons on the Remote Commander to select the
Settings
option, and then press the
button.
4. Press the
V
/
v
button on the Remote Commander to select the
Screen Settings
category, and then press the
button.
Screen Settings
5. Press the
V
/
v
button on the Remote Commander to select the
Screen Position
category, and then press the
button.
6. Press the
V
/
v
button on the Remote Commander to select the
Vertical
or
Horizontal
position, and then press the
B
/
b
buttons to
increase or decrease the position.
2-7. RESETTING THE LAMP
Use the following to reset the lamp after replacement.
1. Turn the TV on by pressing POWER on the Remote Commander.
2. Press HOME
on the Remote Commander to display the User
Menu items.
The Media Category icons display.
Settings
Available TV
settings and
features are
listed under
the
Settings
icon.
3. Press the
B
/
b
buttons on the Remote Commander to select the
Settings
option, and then press the
button.
4. Press the
V
/
v
button on the Remote Commander to select the
General Settings
category, and then press the
button.
General Settings
5. Press the
V
/
v
button on the Remote Commander to select the
Lamp
Replacement
category, and then press the
button.
6. To select
Yes
, press the
B
/
button and then press the
button.
2-8. VERIFYING SERVICE DATA CHANGES
1. After completing all adjustments turn the set off with the Remote
Commander and
WAIT
for the fans to turn off before proceeding to
the next step.
Note: It may take up to two minutes for the fans to stop.
Caution: To avoid over heating the lamp, do not unplug the set
until the fans have stopped.
2. Press the following buttons on the Remote Commander within a
second of each other:
DISPLAY
Channel
5
Volume
+
POWER .
3. To verify the changes repeat steps 1 through 3 of 2-4. Using the
Remote Commander to View Service Data.
4. To exit service mode, turn the power off by pressing POWER .
NOTE: After exiting service mode wait 2 minutes before restarting
the set to allow the fans to shut down properly.


