9
GB
Introducing and Using the Menu System
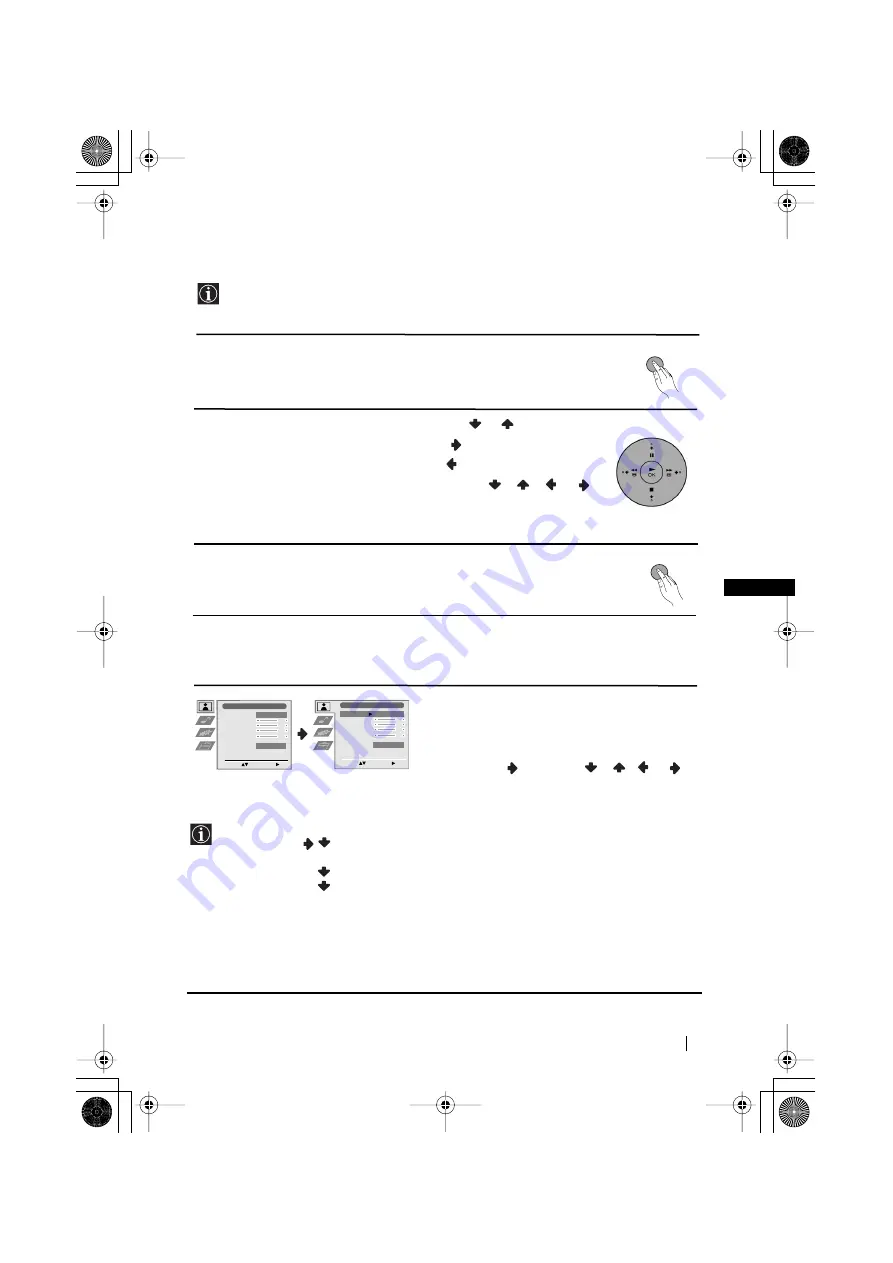
Your TV uses an on-screen menu system to guide you through the operations. Use the
following buttons on the Remote Control to operate the menu system:
1
Press the
MENU
button to switch the first level menu on.
2
• To highlight the desired menu or option, press
or
.
• To enter the selected menu or option, press
.
• To return to the last menu or option, press
.
• To alter the settings of your selected option, press
/
/
or
.
• To confirm and store your selection, press
OK
.
3
Press the
MENU
button to remove the menu from the screen.
Menu Guide
PICTURE ADJUSTMENT
The “Picture Adjustment” menu allows you to
alter the picture adjustments.
To do this: after selecting the item you want to
alter press
, then press
/
/
or
repeatedly to adjust it and finally press
OK
to
store the new adjustment.
Level 1
Level 2
Level 3 / Function
Picture Adjustment
Select:
Enter Menu:
Picture Mode
Contrast
Brightness
Colour
Sharpness
Reset
Noise Reduction
Personal
AUTO
Picture Adjustment
Select:
Enter:
Picture Mode
Contrast
Brightness
Colour
Sharpness
Reset
Noise Reduction
Personal
AUTO
• This menu also allows you to customise the picture mode based on the programme you are watching:
Picture Mode
Live
(for live broadcast programmes, DVD and Digital Set Top Box
receivers).
Personal
(for individual settings).
Movie
(for films).
•
Brightness, Colour
and
Sharpness
can only be altered if “Personal” mode is selected.
•
Hue
is only available for NTSC colour signal (e.g: USA video tapes).
•
Select
Reset
and press
OK
to reset the picture to the factory preset levels.
•
The
Noise Reduction
option is set to
AUTO
to automatically reduce the picture noise visible in the
broadcast signal. To cancel this function, select “Off” instead of “AUTO”.
MENU
MENU
Menu System
continued...
03GBKV28/32FQ70B.fm Page 9 Wednesday, January 15, 2003 4:32 PM


