US
*
Drive names (such as (E:)) may vary
depending on the computer.
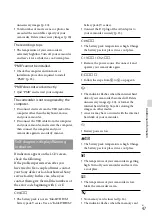
Click [Install].
Select the country or region.
Select the language for the
application to be installed, then
proceed to the next screen.
Read the terms of the license
agreement carefully. If you agree
to the terms, change to , and
then click [Next]
[Install].
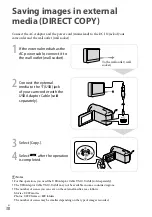
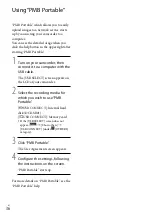
Turn on your camcorder, then
connect the camcorder to the
computer using the supplied USB
cable.
The [USB SELECT] screen appears on
the camcorder screen automatically.
Select the one of the media types
displayed on the screen to make
the computer recognize your
camcorder.
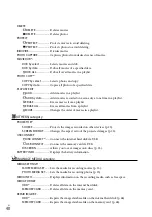
[ USB CONNECT]: Internal hard
disk (DCR-SR21)
[ USB CONNECT]: Memory card
If the [USB SELECT] screen does not
appear, select
[Show others]
[USB CONNECT] (under [OTHERS]
category).
Click [Continue] on the computer
screen.
Follow the on-screen instructions
to install the software.
Depending on the computer, you may
need to install third party software. If
the installation screen appears, follow
the instructions to install the required
software.
Restart the computer if required to
complete the installation.
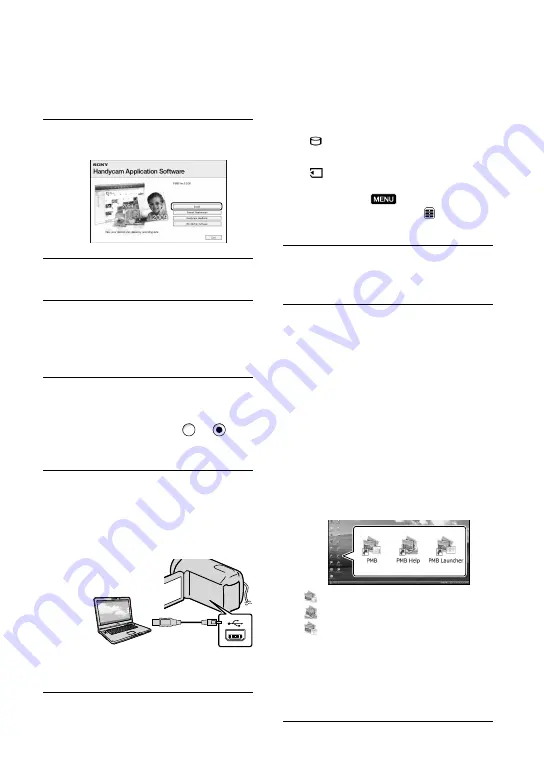
When the installation is completed,
following icons will appear.
Remove the CD-ROM from your
computer.
: Starts “PMB.”
: Displays “PMB Help.”
: Displays “PMB Launcher.” “PMB
Launcher” enables you to start “PMB”
or other software, or to open web sites.
Other icons may appear.
No icon may appear depending on the
installation procedure.
Summary of Contents for DCR-PJ5
Page 2: ... US ...
Page 10: ...10 US Everyday as unforgettable moment with Handycam Capturing Page 16 Recording ...
Page 11: ...11 US Sharing Page 25 Creating a disc Sharing now Page 22 Projector DCR PJ5 Only ...
Page 57: ......
Page 60: ... ES Cada día se vive como un momento inolvidable con Handycam Captura Página 10 Grabación ...

