Using the Menu
25
GB
Screen Control menu
Automatically changes the screen format according to the broadcast signal.
1
Press OK to select “Auto Format”.
2
Press
M
/
m
to select “On”, then press OK.
To keep your setting, select “Off”.
Tips
• Even if you have selected “On” or “Off” in “Auto Format”, you can always modify the format of
the screen by pressing
repeatedly.
• “Auto Format” is available for PAL and SECAM signals only.
For details about the screen format, see page 18.
1
Press OK to select “Screen Format”.
2
Press
M
/
m
to select “Smart”, “4:3”, “14:9”, “Zoom” or “Wide” (see
page 18 for details), then press OK.
Adjusts the position of the picture for each screen format.
1
Press OK to select “Screen Shift”.
2
Press
M
/
m
to select one of the following, then press OK.
V Shift: Adjusts the vertical picture position.
H Shift: Adjusts the horizontal picture position.
Reset: Resets to the factory settings. Instead of step 3, press
M
/
m
to select “OK”, then
press OK.
3
Press
M
/
m
(for vertical picture position) or
<
/
,
(for horizontal picture
position), then press OK.
Tip
When “Screen Format” is set to “4:3” or “Wide”, “V Shift” cannot be adjusted.
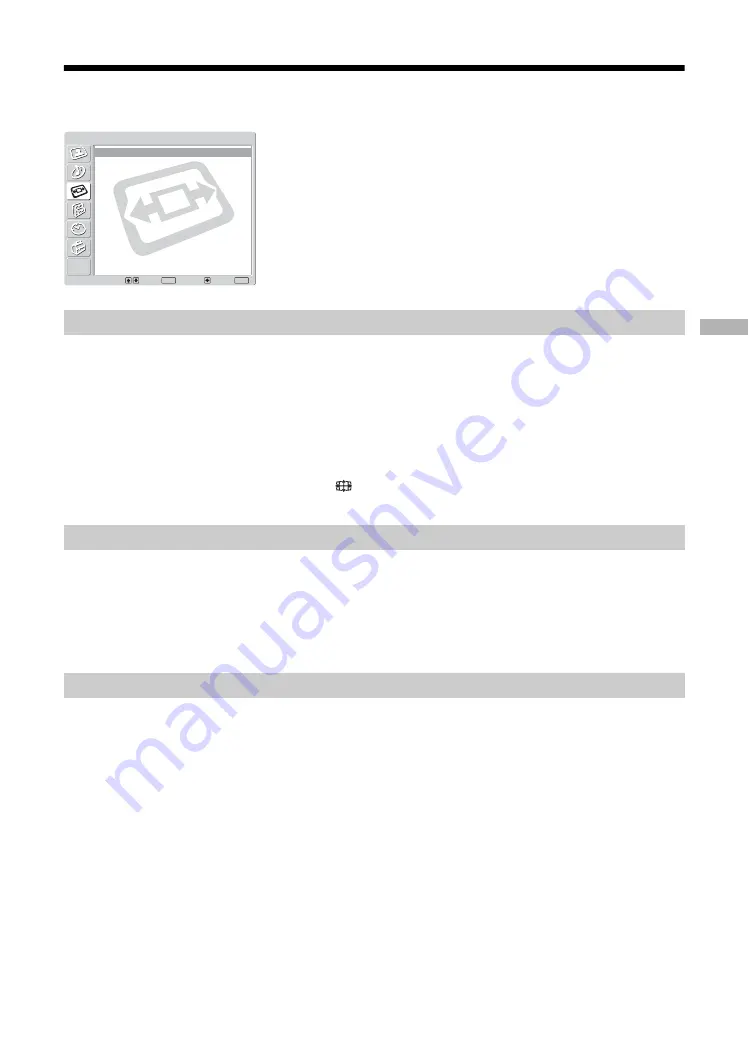
You can select the options listed below on the Screen
Control menu. To select options, see “Navigating
through menus” (page 19).
Auto Format
Screen Format
Screen Shift
Select:
Set:
Back:
OK
End:
MENU
Auto Format:
Screen Format:
Screen Shift
On
Smart
Screen Control
Summary of Contents for Bravia KLV-V26A10E
Page 83: ......


