Font Size
Using Internet Services
and Applications
Watching TV with Friends
Far and Near
>
Timer recording
Steps
1.
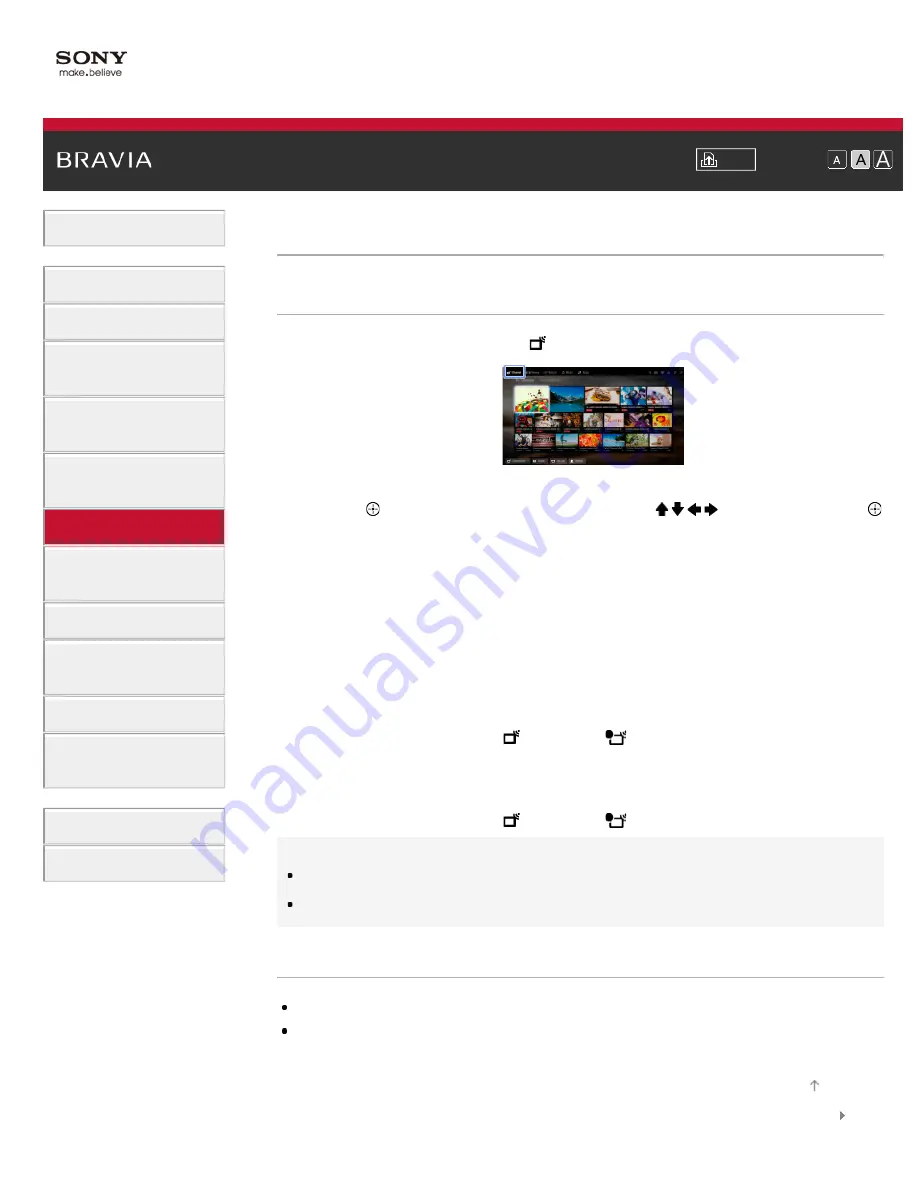
Press the HOME button, then select [Channel].
2.
Select [Guide] → a programme to record → [Timer REC].
3.
Press the button, configure the timer setting using the / / / buttons, then press the
button.
(When using the Touchpad Remote Control, press the touchpad, slide up/down/left/right to
configure the timer setting, then press the touchpad.)
The TV informs you if the selected programme is a split part. You can record all parts if the
gap between parts are less than 3 hours. (This function is available depending on your
region/country.)
4.
Select [Set Timer].
If the selected programme is part of a series, you can make series recording by selecting [Set
Timer As a Series]. (This function is available depending on your region/country.)
To manually set the timer by specifying date, time and channel
Press the HOME button, then select [Channel] →
[Recordings] → [Timer List] → [Manual
timer REC].
Configure the timer setting, then select [Set Timer].
To check, modify or delete timer settings
Press the HOME button, then select [Channel] →
[Recordings] → [Timer List].
Tips
Up to 32 timer settings can be made.
If recording fails, the result will be listed in [Error List] of the [Recordings] menu.
Notes
Timer recording cannot be started if the AC power cord (mains lead) is disconnected.
If the timer settings overlap, the programme that starts first has priority and the recording of the
second programme starts only after the first programme has finished.
© 2014 Sony Corporation
99


