


i-Manual
Font Size
Basic Operations
Parts Description
Watching TV
Using Other Devices
Using “BRAVIA” Sync
Devices
Useful Functions
Using Internet
Using Home Network
Configuring Various
Settings
Troubleshooting
How to Use Bookmarks
Top Page
>
Using “BRAVIA” Sync Devices
> Displaying the “BRAVIA” Sync Device List
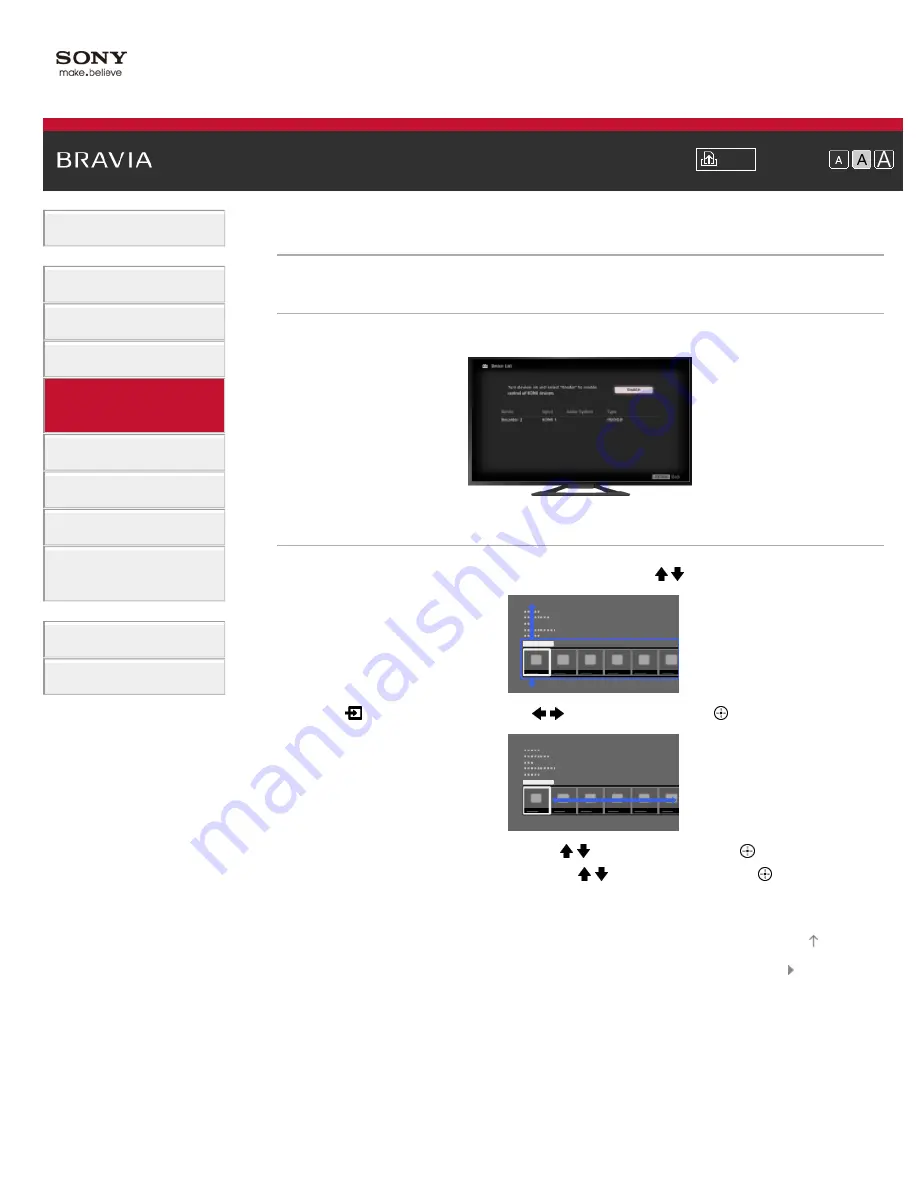
Displaying the “BRAVIA” Sync Device List
Overview
You can display a list of connected “BRAVIA” Sync-compatible devices.
Steps
1.
Press the HOME button, then select [Settings] using the / buttons.
2.
Select
[External Inputs] using the
/
buttons, then press the
button.
3.
Select [BRAVIA Sync Settings] using the / buttons, then press the
button.
4.
Select [BRAVIA Sync Device List] using the / buttons, then press the
button.
To return to the last viewed source, press the HOME button twice.
List of Contents
© 2013 Sony Corporation
Top of Page
80
Summary of Contents for Bravia KDL-46W707A
Page 67: ...List of Contents 2013 Sony Corporation 67 ...
Page 85: ...screen List of Contents 2013 Sony Corporation Top of Page 85 ...
Page 112: ...List of Contents 2013 Sony Corporation 112 ...
Page 135: ...List of Contents 2013 Sony Corporation Top of Page 135 ...
Page 138: ...List of Contents 2013 Sony Corporation 138 ...
Page 177: ...List of Contents 2013 Sony Corporation Top of Page 177 ...


