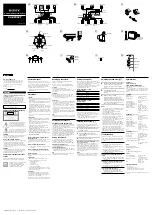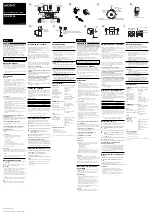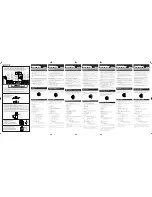
Rear Panel
10
Do not touch the inner pins of the jacks on the rear
panel. Electrostatic discharge may cause permanent
damage to the unit.
VIDEO 1 (VIDEO/AUDIO IN (Left/Right))
Connect the audio/video output of an external
source (Audio system, TV/Monitor, Another VCR).
ANTENNA IN
Connect the VHF/UHF/CATV
antenna to this terminal.
MONITOR (VIDEO / AUDIO OUT (Left/Right))
Connect to a TV with video and audio inputs.
AC Power Cord
Plug into the power source.
MONITOR S VIDEO OUT (DVD OUT)
Connect to a S Video Input on TV. FOR DVD VIEWING ONLY.
OPTICAL IN
Connect to a digital audio output on a digital device.
COMPONENT VIDEO OUT (Y P
B
/C
B
P
R
/C
R
)
(DVD OUT)
Connect to a TV with Y P
B
/C
B
P
R
/C
R
inputs. FOR DVD
VIEWING ONLY.
ANTENNA OUT (DVD/VIDEO OUT)
Connect to a TV with RF coaxial inputs.
AM ANTENNA Connectors
Connect the AM antenna to this terminal.
FM ANTENNA Connectors
Connect the FM antenna to this terminal.
SPEAKERS Connectors
Connect the six supplied speakers to these terminals.
Dust Protection Cap
Remove the dust protection cap from the OPTICAL IN
jack and connect the optical digital cable (not supplied)
securely so that the configurations of both the cable and
the connector match. Keep the dust protection cap and
always reattach the cap when not using the connector to
protect against dust intrusion.
Remote control battery installation
Detach the battery cover on the rear of
the remote control, and insert two R6
(size AA) batteries with
and
aligned correctly.
When using the remote control, point it
at the remote sensor
on the unit.
Caution
Do not mix old and new batteries. Never mix different
types of batteries (standard, alkaline, etc.).
AA
AA


