1
4
7
3
6
9
2
5
8
0
OK
PROG
DIGIT
AL
DIGIT
AL
VTR
TV
DVD
4
Switching on the TV
5
Automatically tuning the TV
When you first switch on your new TV you need to tune in all the available channels. The ‘Auto Tune’ feature automatically searches for and stores all the available channels for you.
The following instructions and illustrations guide you through this procedure.
1.
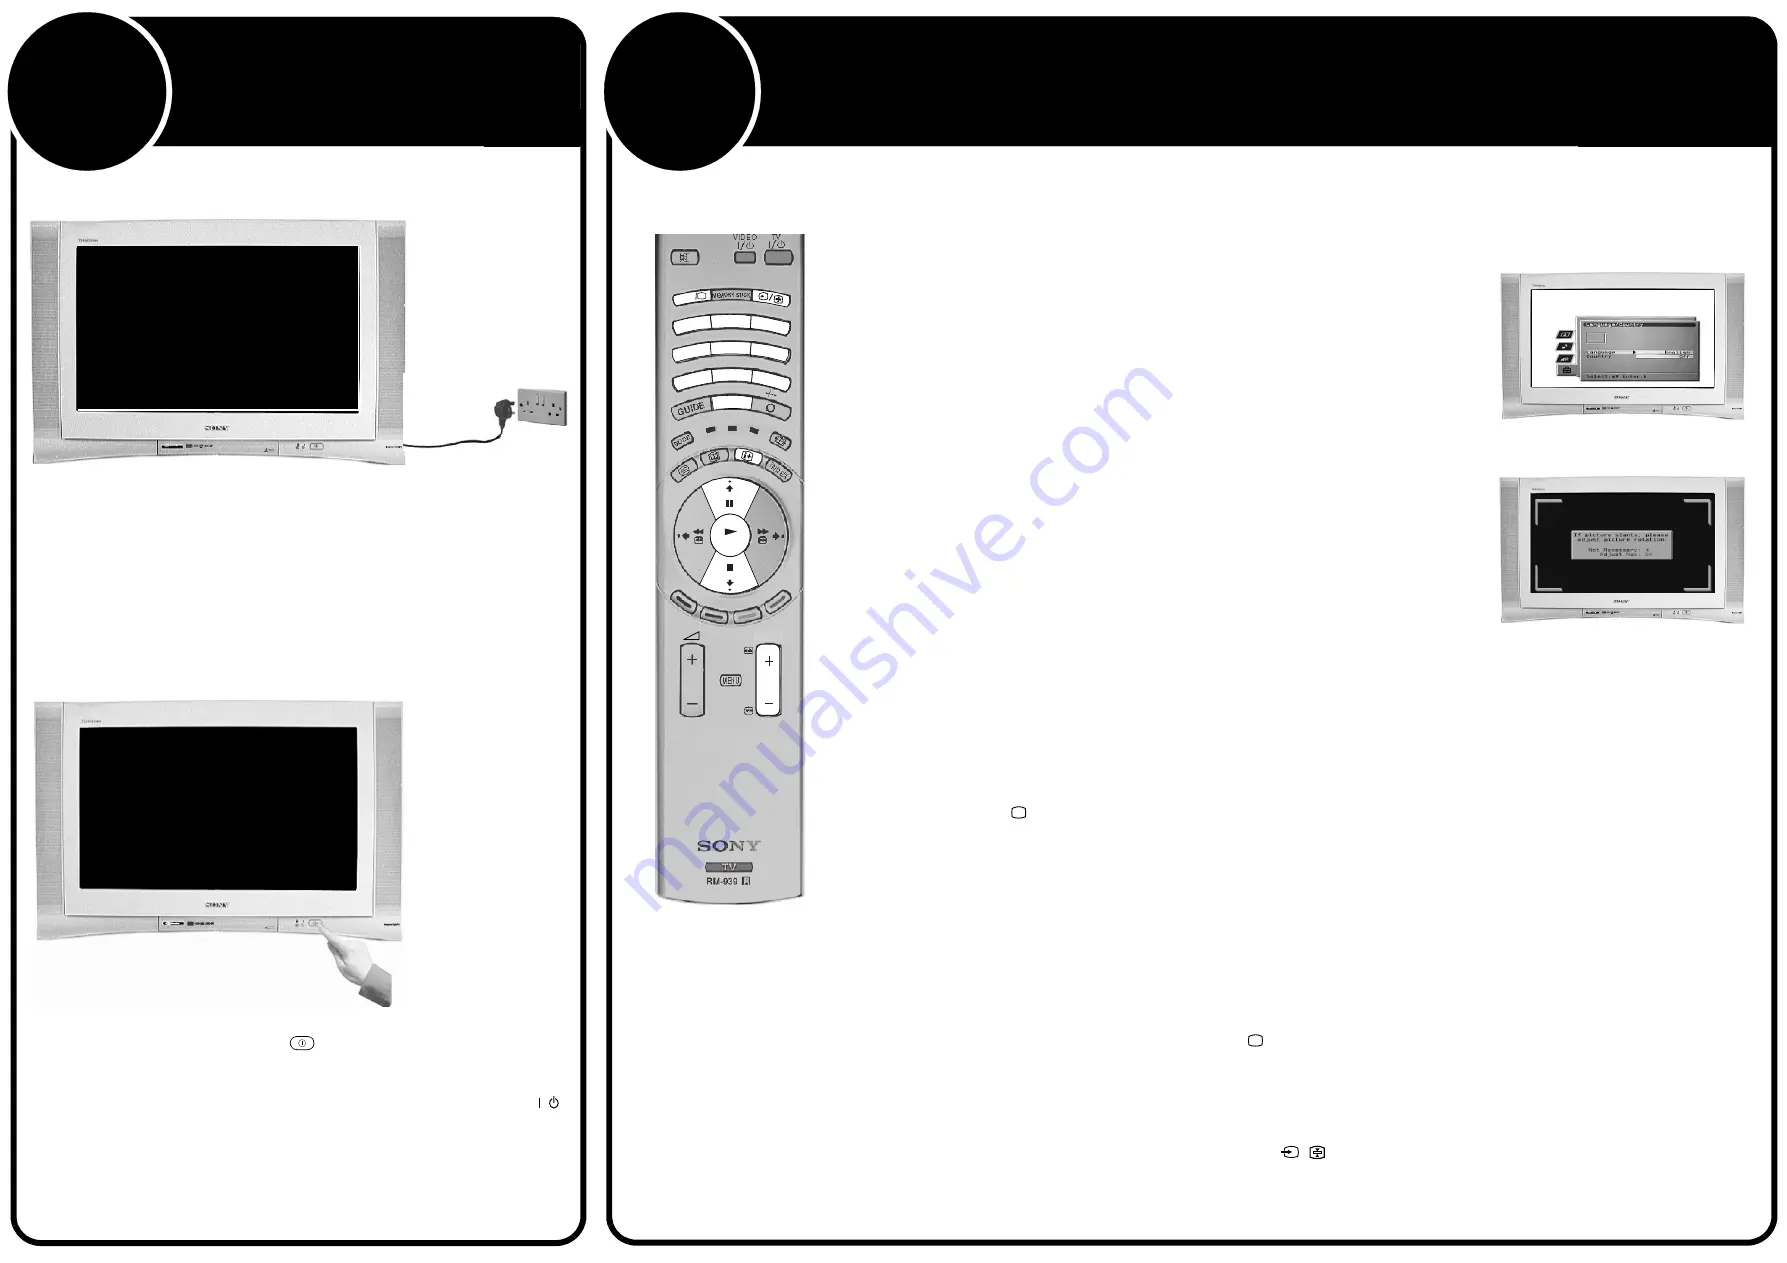
Connect the TV plug to your mains socket and switch on.
Note:
If the red indicator on the front of the TV is lit the TV is in standby mode. Press the TV
button on the remote control to switch on the TV. Please be patient as the picture may take a
few moments to appear on screen.
1.
Push in the on/off button (labelled
) on the front of the TV.
/
Switching between digital and analogue mode
Finding your video channels
If you connected a VCR to your TV when following the ‘Connecting the TV’ instructions, you now need to find your
video channel.
1.
When you switch on the TV for the first time, the Sony logo appears on the TV screen followed by the
‘Memory Stick’ logo, then the Language/Country menu with the word ‘English’ highlighted. Press the
V
or
v
buttons on the remote control to highlight your required language. Press the
OK
button to confirm
your choice. From now on all menus appear in your chosen language.
2.
The word Country is now highlighted. Press the
V
or
v
buttons to highlight the country in which you are
using the TV. Press the
OK
button to confirm your choice.
Note:
The digital features of this set are designed for use in Great Britain only.
The picture rotation prompt appears. Sometimes the Earth’s natural magnetism can cause the screen
to look tilted.
a)
If no correction is required, press the
B
button.
b)
If some correction is required, press the
OK
button. Press the
V
or
v
button to rotate the picture
over a range of -5 to +5. Press the
OK
button to store.
The autotune prompt screen appears. Press the
OK
button to select Yes and begin the digital autotune
procedure. When all the available digital programmes are found, the analogue tuning display appears
and all the analogue signals are captured and stored.
If no digital and no analogue signals are found, a display appears on screen asking you to confirm your
aerial is connected. Check your aerial is connected then press the
OK
button to repeat the tuning
procedure.
Once all signals have been captured and stored, the TV returns to normal operation and displays the
digital programme captured on programme number 1.
Note:
If no digital signals are captured, then the analogue programme stored on programme number 1 is
displayed.
3.
To view programmes, press the
PROG+/-
button or the numbered buttons on the remote control.
1.
Press the
DIGITAL
/
button on the remote control to switch between digital and analogue mode.
Notes:
If the TV is in digital mode an information banner appears briefly on screen when you change
channels.
If the TV is in analogue mode the channel number appears in green lettering when you change
channels.
1.
Ensure the TV is in analogue mode. If not press the
DIGITAL
/
button on the remote control.
2.
Press the
PROG+/-
button on the remote control until the picture from the pre-recorded tape appears
on screen.
Notes:
If you wish to move your video channel to a different programme number, refer to the ‘Rearranging
your channels’ section of this manual.
If you have connected your VCR using a Scart lead, press the
/
button repeatedly on the
remote control until the picture from the pre-recorded tape appears on the TV screen.
Language/Country menu
Picture Rotation prompt
The TV has now tuned in all the available channels and is ready for use.


