


A-Scan Operation and Use
Section 3
3 - 2
It is recommended that calibration be performed
prior to obtaining measurements; however, the
calibration mode may be skipped if so desired
by touching any of the other menu buttons (ex:
MEASURE) on the right side of the screen after
the Calibration Screen appears.
ENTERING USER INFORMATION
Up to five (5) different user profiles may be
entered and permanently stored within the EZ-
S
CAN
memory. User profiles allow for user
identification and selection of the preferred IOL
formula and Lens constants.
1.
Entering / Editing User Identification
.
Touch the
[ USER ]
key. Verify that the
User Data Screen appears (see Figure 3-2).
Figure 3-2 User Data Display
Touch the
[ USER1 ]
key then either the
[ADD USER]
to add a new user profile, or
the
[ EDIT ]
button to edit an existing user
profile. Enter the name of the user by
touching the appropriate alphanumeric
buttons. When finished, touch the
[ ENTER ]
button.
Touch the
[ USER# ]
key to advance to the
next user selection.
Touch the
[ DONE ]
key when
finished.
2.
IOL Formula Selection
. Within the User
Data Screen, touch the
[ FORMULA ]
button to scroll through the different
available IOL formulas. Note that default
values for the associated constants are given
with each formula. The constant default
values are shown in Table 3-1.
IOL constants (main and alternate) are
entered two per user for each of five users
for a total of 10 constants.
Table 3-1
IOL Formula Constant Default Values
IOL Formula
Constants
Default
Values
Hoffer-Q ACD
3.68
mm
Theoretic-T A-Constant 115.8
D
Regression-II A-Constant 115.8
D
Holladay S-Factor
-0.02
mm
Binkhorst ACD
3.68
mm
Haigis (option)
A-Constant
115.8 D
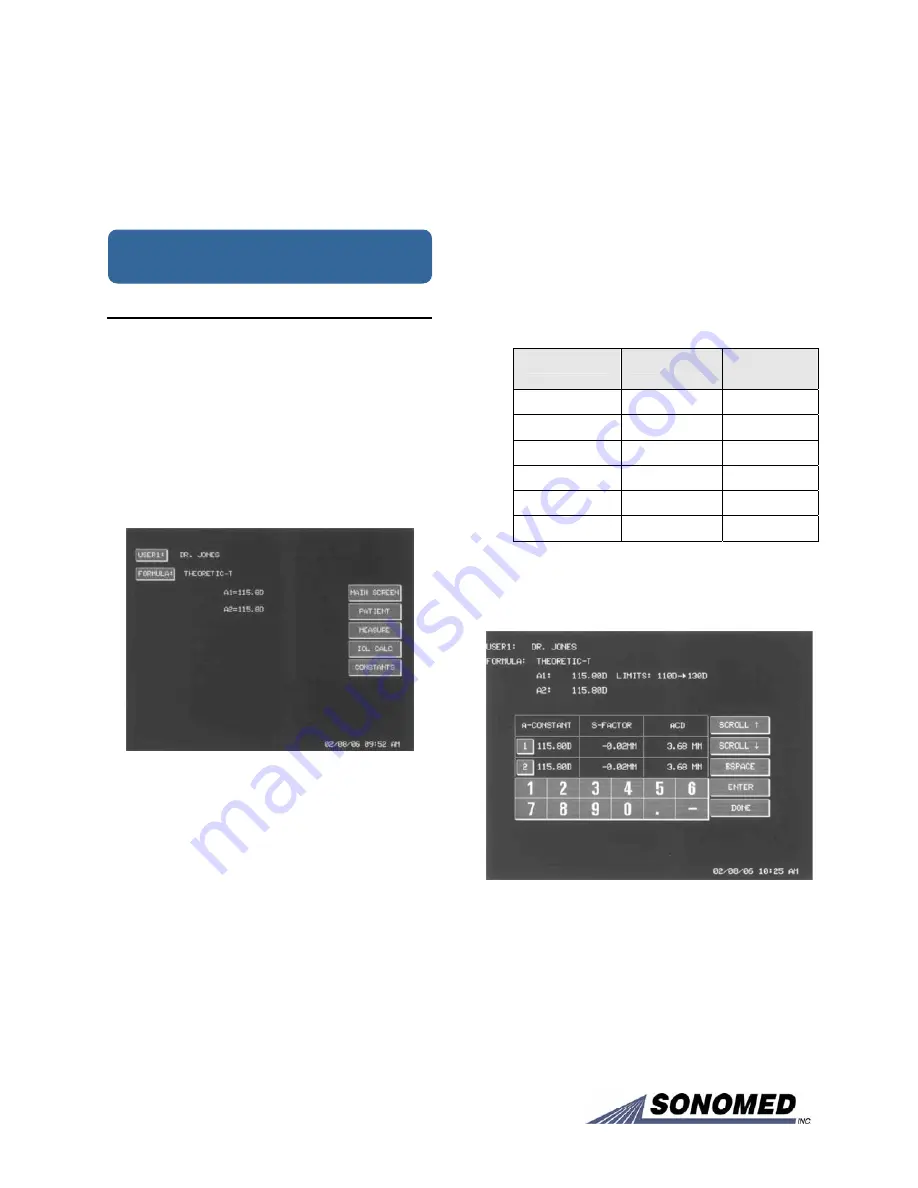
In order to change the associated constants,
touch the
[ CONSTANTS ]
key. Verify the
Constants Screen appears (see Figure 3-3).
Figure 3-3 Constants Screen Display
As shown, all of the constants are displayed
in the table on the Constants Screen. Select
the
[ 1 ]
or
[ 2 ]
keys to edit the appropriate
constant. Enter the desired constant and then
press
[ ENTER ].
Touch the
[ DONE ]
key
when finished.
3.3
SYSTEM SET-UP


