3
SSD Installation Steps
9.
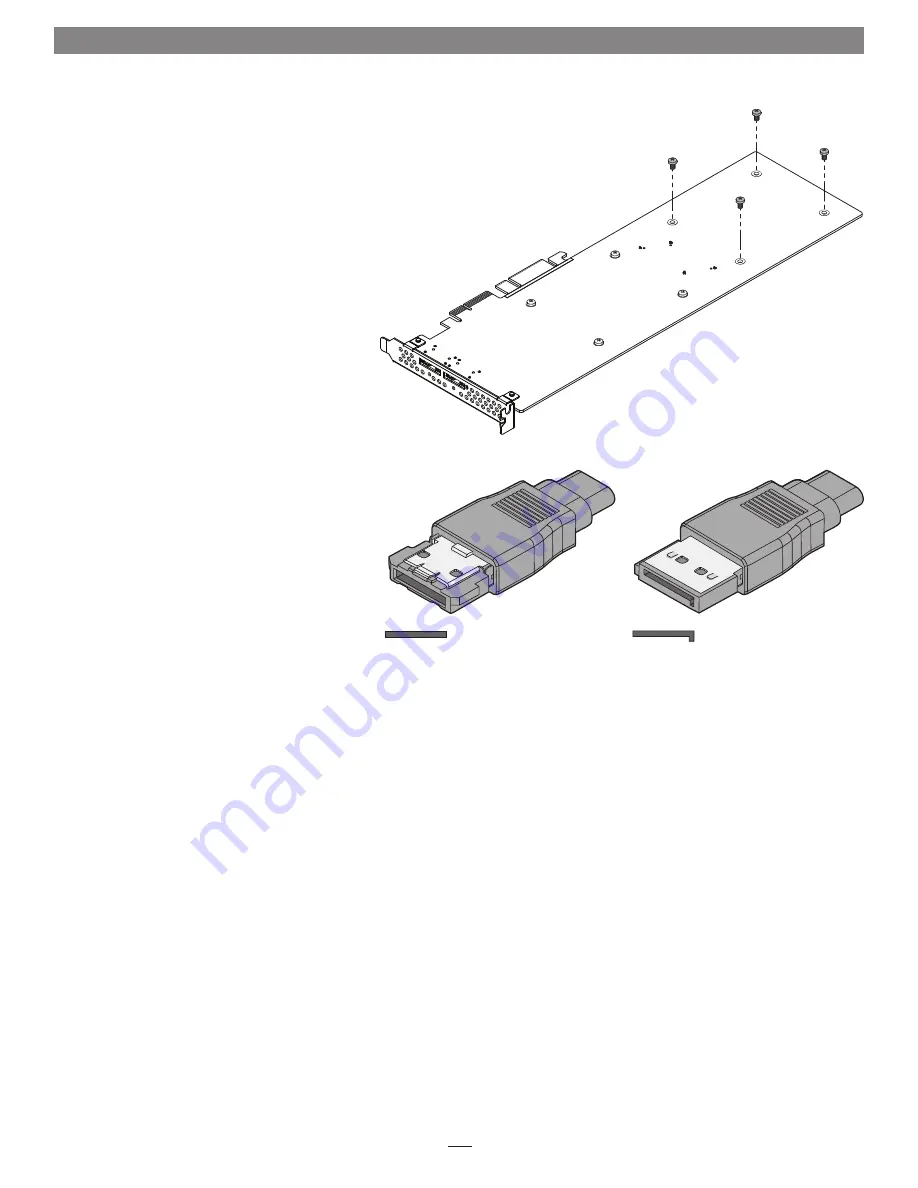
Using the remaining four screws, secure the
SSD to the card; do not overtighten the screws
(Figure 4)
.
10.
The Tempo SSD Pro Plus is ready for
installation; proceed to the next page.
About eSATA
Data cables with eSATA connectors are required
for use with the Tempo card and external drive
enclosures. Bare SATA drives and some old drive
enclosures use SATA I connectors; use of these
devices with the Tempo card require cables with
SATA I connectors on one end. SATA I-to-eSATA
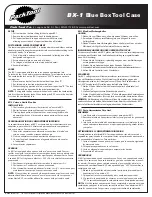
cables are available separately from Sonnet. Figure 5
shows both eSATA and SATA I connectors.
Figure 4
Figure 5
eSATA connector
SATA I connector


