background image


1.

 Remove the Fusion R400P from its packaging, and place it on a 

flat, level surface.


2.

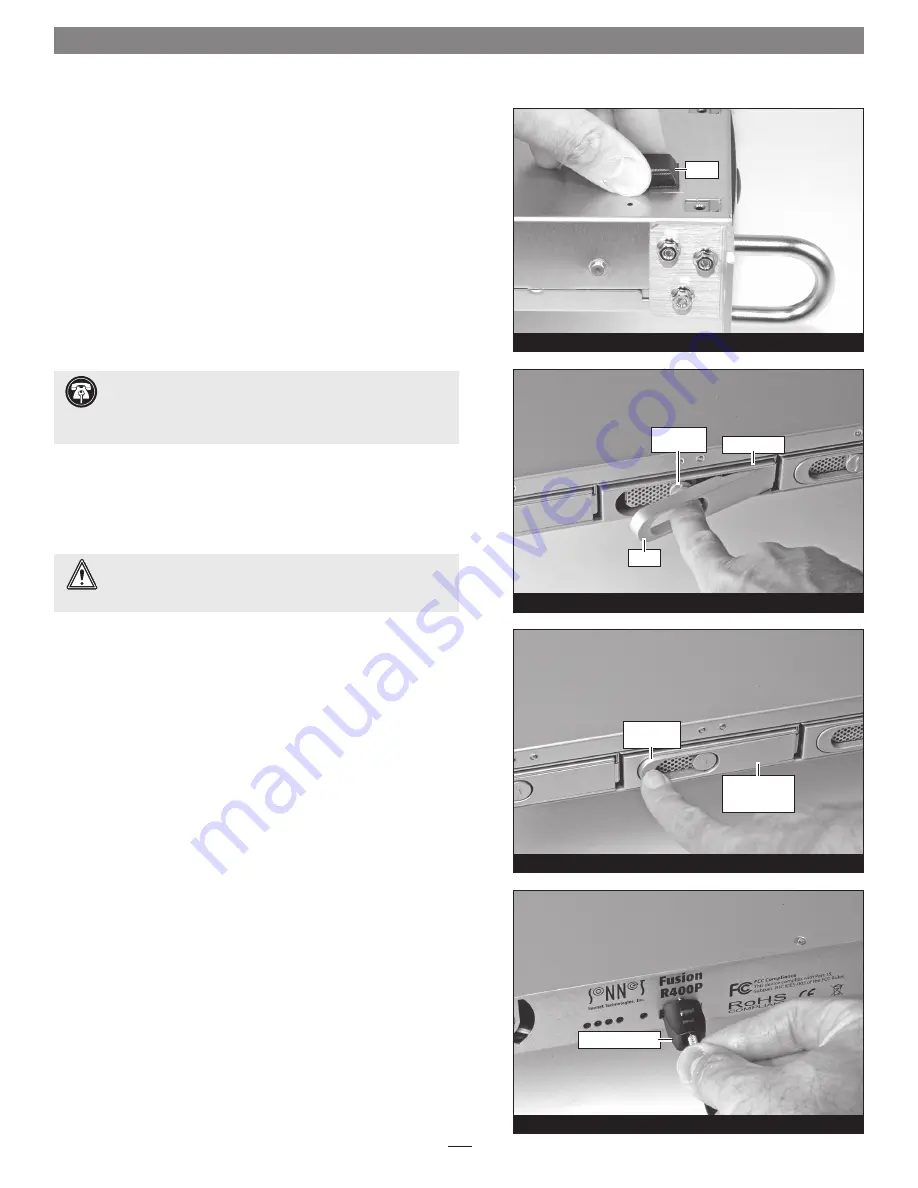
 If you intend to use the Fusion enclosure on a desktop or other 

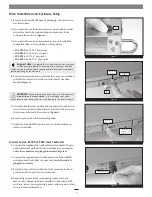
flat surface, attach the included adhesive-backed feet to the  
bottom of the enclosure 

(Figure 3)

.


3.

 If you intend to use the Fusion enclosure in a rack, install the 

Sonnet rack slide set (or equivalent), sold separately: 
 
• 

FUS-RSS-P

 for 17–21.5" deep racks

• 

FUS-RSS-S

 for 23–26.5" deep racks

• 

FUS-RSS

 for 27–30.5" deep racks

• 

FUS-RSS-L

 for 29–32.5" deep racks 


4.

 Push a lever release button in until the lever pops out, and then 

pull the lever toward you to slide out and remove the drive 
module 

(Figure 4)

.


5.

 Carefully slide the drive module into the enclosure until its lever 

starts to close, and then push the lever in until it clicks to secure 
the drive module inside the enclosure 

(Figure 5)

.


6.

 Repeat steps 4 and 5 for the remaining drives.


7.

 Install the Fusion R400P into the rack or onto the desktop on 

which it will reside.


Connect Fusion R400P to SATA Host Controller


1.

 Connect the supplied eSATA data cable between the eSATA ports 

on the enclosure and the SATA host controller in your computer; 

verify the connectors are plugged in securely


(Figure 6)


2.

 Connect the supplied power cable between the Fusion R400P 

and a grounded wall outlet or power strip; 

verify the cable is 

plugged in securely

.


3.

 Push the power switch on the front of the enclosure to the on 

position, and then power on your computer.


4.

 Depending on your needs (or operating system used), you 

may need to reformat the drives installed in the Fusion R400P 
enclosure; refer to your operating system’s software guide or help 
section for more information. 

Figure 4

Figure 3

Drive Installation and Enclosure Setup

4

foot

drive module

lever

lever release 

button

Figure 5


 Support Note:

 It is possible that the drive modules may have 

shifted during shipping. To ensure good connections between 

the drives and their connectors, remove and reinstall each drive module 
before powering on the enclosure.


 WARNING:

 When inserting the drive trays into the enclosure, 

do not force the lever closed

. If the lever does not close 

easily, remove and reinsert the tray, and then push the lever in again.

Figure 6

eSATA data cable

push lever 

until it clicks

push tray in 

 until the lever 

starts to close

Summary of Contents for Fusion R400P

Page 1: ...4 Drive Serial ATA Rackmount Storage System with Port Multiplier FUSION R400P User s Guide For Windows ...

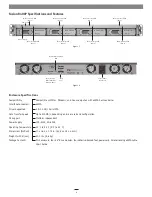
Page 2: ...ht with drives 21 1 lbs 9 6 kg Package Contents Disk enclosure four 3 5 drive modules four adhesive backed feet power cord 2 meter locking eSATA cable User s Guide Fusion R400P Specifications and Features 2 Figure 1 Drive Module Bay 1 Drive Presence LED Bay 1 Drive Presence LED Bay 2 Drive Presence LED Bay 3 Drive Presence LED Bay 4 Drive Activity LED Bay 1 Drive Activity LED Bay 2 Drive Activity ...

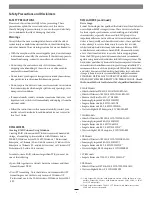
Page 3: ...s Server 2003 SP1 DISCLAIMERS continued Drive Usage Sonnet Technologies has qualified the hard drives listed below for use in Fusion R400P storage systems These drives were chosen for their superior performance error handling and reliability characteristics especially when used in RAID groups One important difference between these drives and standard hard drives is how quickly each handles read er...

Page 4: ...ata cable between the eSATA ports on the enclosure and the SATA host controller in your computer verify the connectors are plugged in securely Figure 6 2 Connect the supplied power cable between the Fusion R400P and a grounded wall outlet or power strip verify the cable is plugged in securely 3 Push the power switch on the front of the enclosure to the on position and then power on your computer 4...

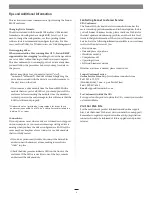
Page 5: ...drive is missing when you have the drives configured as a RAID set the cause may be as simple as a loose connector or a drive module that is not fully seated If you do experience any trouble disconnect the data cables and reconnect them one at a time making sure each one clicks in place Check the drive presence indicator LEDs on the front of the enclosure If the LEDs are not lit on one of the bays...

Page 6: ...re and Fusion are trademarks of Sonnet Technologies Inc Macintosh Mac the Mac logo and Mac OS are trademarks of Apple Inc registered in the United States and other countries Other product names are trademarks of their respective owners Product specifications subject to change without notice Printed in the USA UG FUS R4P WD E C 041210 ...

Reviews: