background image

- 11 -

Customizing the Function Settings

System Setup

1. Press  the 

MENU

 button in stop mode (when disc is not playing).

2. Press  the 

 / 

 button to select System Menu.

3. Press  the 

 / 

 button to select the option (TV Display, Parental, 

Password or Default ), then press the 

 button.

4. Press  the 

 / 

 button to adjust the settings, then press the   button 

to confi rm.

5. Repeat steps 3 and 4 to adjust other options. Press the 

 button to 

return to the previous menu.

6. Press  the 

MENU

 button to exit the menu.

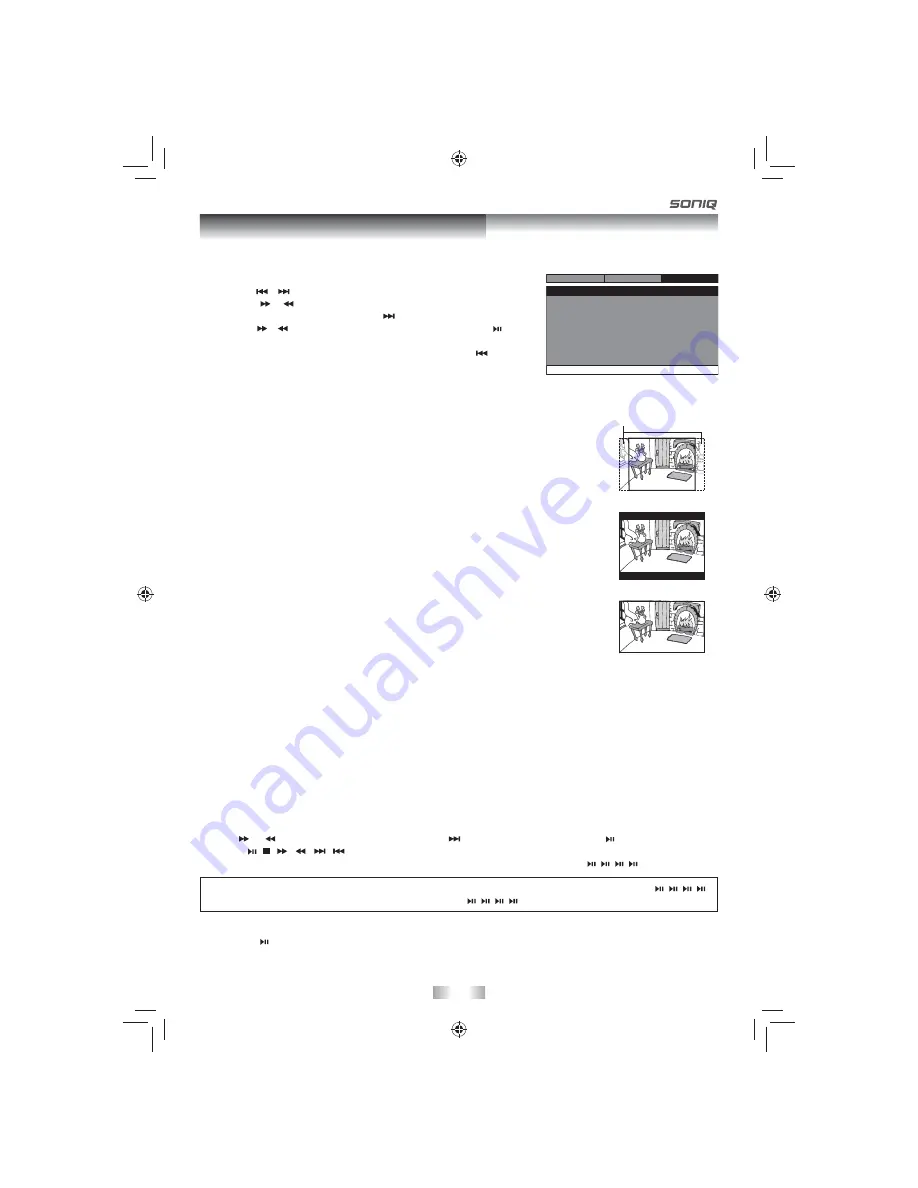
Cut off when a wide-screen 
video image is played.

TV Display
Pan Scan

•  When wide-screen video is played, this mode clips the right and left sides of the 

image so that it can be viewed on a conventional screen.

•  Some wide-screen DVDs that do not permit Pan Scan mode playback are 

automatically played in letterbox mode (black bands that appear at the top and 
bottom of the screen).

Letter Box

•  When wide-screen video is played in this mode on a conventional screen, black 

bands appear at the top and bottom of the screen.

Wide Screen

•  This is the correct mode for playing wide-screen videos on the unit screen or other 

external wide-screens.

Notes:

•  The displayable picture size is preset on the DVD. Therefore the playback picture 

of some DVDs may not conform to the picture size selected.

•  When you play DVDs recorded in the 4:3 aspect ratio, the playback picture will 

always appear in the 4:3 aspect ratio regardless of the TV display setting.

•  Select Wide Screen to conform the LCD screen on the unit. Always be sure that 

your TV display conforms to the actual TV in use if you connect the unit to a TV.

Wide Screen

Letter Box

Pan Scan

Parental Lock

DVDs are rated according to their content and some are equipped with a password function. The contents allowed 
by parental lock level and the way a DVD is controlled may vary from disc to disc. For example, if the disc allows, 
you could lock-out violent scenes unsuitable for children or you could lock out playback of the disc altogether.

You cannot play password function equipped DVDs rated higher than the level you selected unless you 
cancel the parental lock function.

  The parental lock levels are equivalent to the following ratings.
  1 : Kid Safe 

2 : G 

3 : Pg 

       4 : Pg 13

  5 : Pg R 

6 : R 

7 : Nc 17       8 : Adult

Default

Pressing the   button with this function selected resets all settings to their initial factory state, except for parental 
setting and password.

Note:

 It takes 3-5 seconds to reset the unit to the factory default.

Password

Use the 

 or 

 button to select Password, press the 

 button to “Change”, then press   button.

Press the  ,  , 

 buttons to input your 4 password until to “OK”, the system exit the setup menu 

automatically. (If the password has not been set yet after you purchase this unit, it is " ,  ,  ,  ").

If you forget the password, you can erase your current password by pressing the button " ,  ,  ,  " 

(PASSWORD :  ,  ,  ,  ).

Tv Display

Parental

Password

Default

Wide

No

Go To System Menu

- - S

- -

ystem Menu

System

Language

Video

PVS9311E23 IB MTK SAA SONIQ_22Aug2011.indd   11

PVS9311E23 IB MTK SAA SONIQ_22Aug2011.indd   11

9/20/2011   10:42:20

9/20/2011   10:42:20

Summary of Contents for PD101

Page 1: ... not operate the unit in a confined space such as a bookcase or built in cabinet allow about 10cm of free space all around the unit for adequate ventilation Rating Plate Location The rating plate is located on the bottom of the unit WARNING Should any trouble occur disconnect the AC adaptor and refer servicing to a qualified technician Do not allow the unit to be exposed to dripping or splashing N...

Page 2: ...cassette recorder with timed recording facility LISTEN to headphones at moderate volume levels high volume levels can permanently damage your hearing WARNING AC adaptor is used as the disconnect device It shall remain readily operable and should not be obstructed during intended use To be completely disconnected the apparatus from supply mains the AC adaptor of the apparatus shall be disconnected ...

Page 3: ...earphones 8 Sound System 8 Playing a Disc 9 Playing a disc 9 Pausing playback still mode 9 Stopping playback 9 Fast forward Fast reverse 9 Skip forward reverse 9 Viewing JPEG Files 10 Viewing JPEG files 10 Customizing the Function Settings 10 11 Language setup 10 Video setup 10 System setup 11 Maintenance 12 Cleaning the disc 12 Cleaning the unit 12 Important note 12 Troubleshooting Guide 12 PVS93...

Page 4: ...into titles and chapters If the disc has more than one movie on it each movie would be a separate title Chapters are sections of titles Audio CDs are divided into tracks A track is usually one song on an Audio CD Note Numbers identify each title chapter and track on a disc Most discs have these numbers recorded on them but some do not Icons Used on DVDs Sample lcons Note When playing back a CD G G...

Page 5: ...ess to scroll left SEARCH button Press to perform fast forward playback during CD playback or DVD playback In DVD Menu Setup Menu or JPG Menu press to scroll up NEXT button Press to advance titles chapters tracks In DVD Menu or Setup Menu press to scroll right SEARCH button Press to perform fast reverse playback during CD playback or DVD playback In DVD Menu Setup Menu or JPG Menu press to scroll ...

Page 6: ...the unit The 12V car power adaptor included is for use with this unit only Do not use it with any other equipment In the interest of traffic safety drivers should not operate the unit or view videos while driving When the inside of the cigarette lighter socket is dirty with ashes or dust the plug section may become hot due to poor contact Be sure to clean the cigarette lighter socket before use Af...

Page 7: ...t the AC adaptor from the AC outlet When the AC adaptor is plugged in the apparatus is not completely disconnected from the mains even when the unit is turned off Condition and attention When the built in battery power is low Battery Low will display on the screen and the unit will stop playing Recharge the built in battery when you are ready to use it again While using the built in battery the en...

Page 8: ...TV has audio video inputs you can also connect the unit to your TV using the Audio Video cable and watch DVD on your TV screen Audio Video cable To AUDIO VIDEO OUT jacks LEFT SIDE OF UNIT TV White Red Yellow B Using Headphones Earphones Turn down the volume before connecting and then adjust the level When headphones earphones are connected no sound will be emitted from the unit s speaker Caution A...

Page 9: ...ally bring you to the main menu of the DVD or start playing the DVD 5 If the unit does not automatically start playing the DVD press the button Pausing Playback Still Mode Press the button To resume normal playback press the button again Stopping Playback Press the STOP button at the location where you want to interrupt playback To resume playback at the position where the disc was stopped press t...

Page 10: ... press the button to confirm 5 Repeat steps 3 and 4 to adjust other options Press the button to return to the previous menu 6 Press the MENU button to exit the menu Notes Some DVDs may not play in the audio language you selected A prior language may be programmed on the disc Some DVDs may be set to display subtitles in a language other than the one you selected A prior subtitle language may be pro...

Page 11: ... Select Wide Screen to conform the LCD screen on the unit Always be sure that your TV display conforms to the actual TV in use if you connect the unit to a TV Wide Screen Letter Box Pan Scan Parental Lock DVDs are rated according to their content and some are equipped with a password function The contents allowed by parental lock level and the way a DVD is controlled may vary from disc to disc For...

Page 12: ... not play Specifications and external appearance are subject to change without notice Maintenance Troubleshooting Guide Cleaning the Disc A defective or soiled disc inserted into the unit can cause sound to drop out during playback Handle the disc by holding its inner and outer edges Do NOT touch the surface of the unlabeled side of the disc Do NOT stick paper or tape on the surface Do NOT expose ...

Reviews: