5
6
Using your DAB+ radio
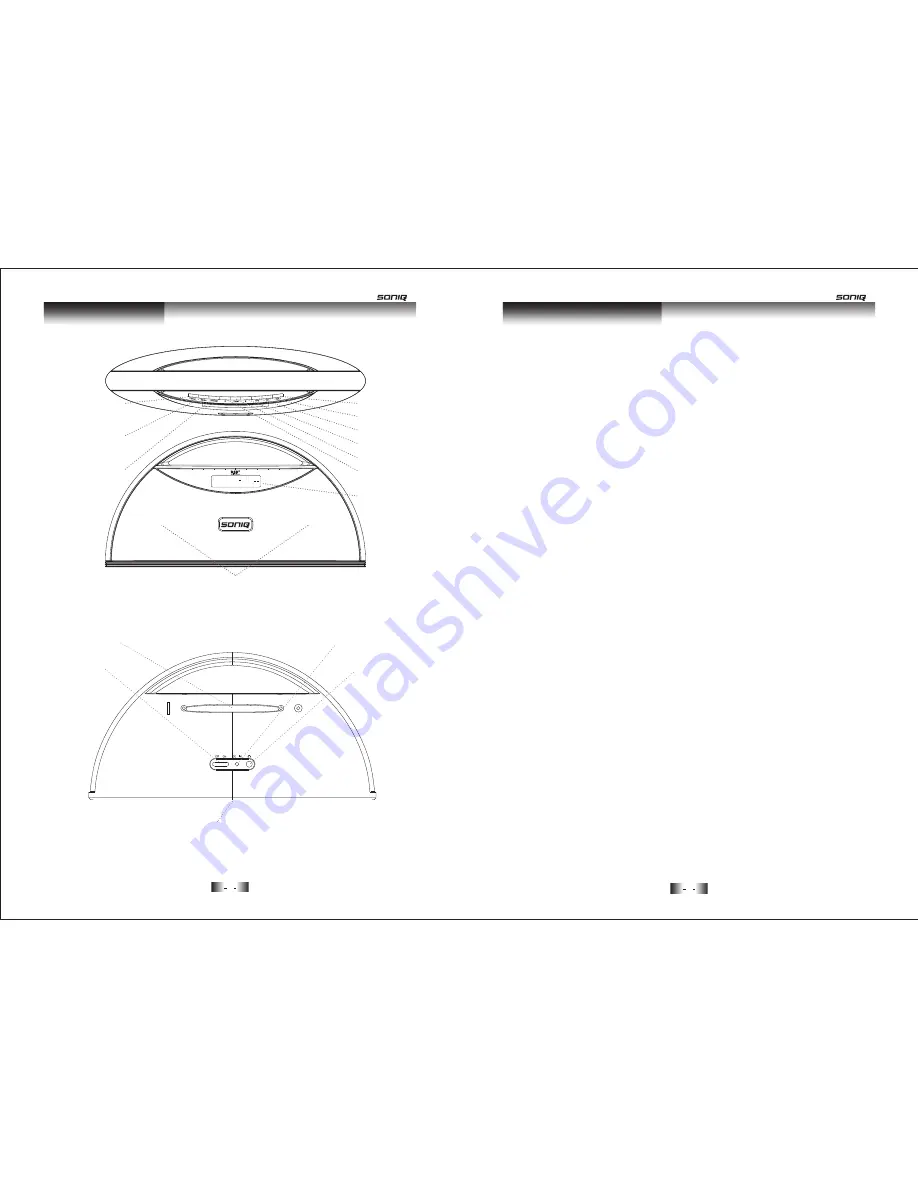
Your Soniq radio
Switch on
Slide the power switch to ‘On’, the display will switch on and ‘Welcome
to Digital Radio’ will be displayed. Your radio will automatically scans for
DAB+ radio stations. A progress bar will show the progress of the scan
and the number of stations found will also be displayed.
When the scan ends, your radio will select the first available station
and begin to play. Stations are listed in numerical and then alphabetical
order by default.
Note:
The DAB+ radio station list is stored in the memory and so the
next time you switch your radio on, the station search does not take
place.
Your radio will return to the mode that was last used in (DAB+/FM). If
you were listening to a DAB+ station before then this station will be
automatically selected.
Telescopic aerial
Make sure that the aerial is fully extended and adjusted (a vertical
position is recommended), to ensure the maximum signal strength and
the best possible sound quality.
Switch off
Press the ‘Power’ button on the top of the radio.
Slide the power switch on the back of the radio to ‘Off’ to completely
switch off the radio and display, this will also stop any batteries, if fitted,
from going flat.
Adjusting the volume
Press the ‘Vol.+’ to increase the volume and the ‘Vol.-’ to decrease the
volume. Press and hold the ‘Vol.+’ or ‘Vol.-’ to progressively increase or
decrease the volume.
Backlit display
Power
Press and release to power on
Press and release to power off
DAB+/FM presets
Scroll down
Vol. -
Info.
Mode
Press to switch between
DAB+ and FM modes
Stereo speakers
Telescopic aerial
Power on/off switch
Enter
Vol. +
Scroll up
Mains power socket
Headphone socket
Battery compartment (underneath)
Requires 4 x 1.5V C-size batteries (not supplied)
Summary of Contents for M200-AU
Page 1: ...M200 AU DAB Audio System MD110420 01...
Page 7: ......


