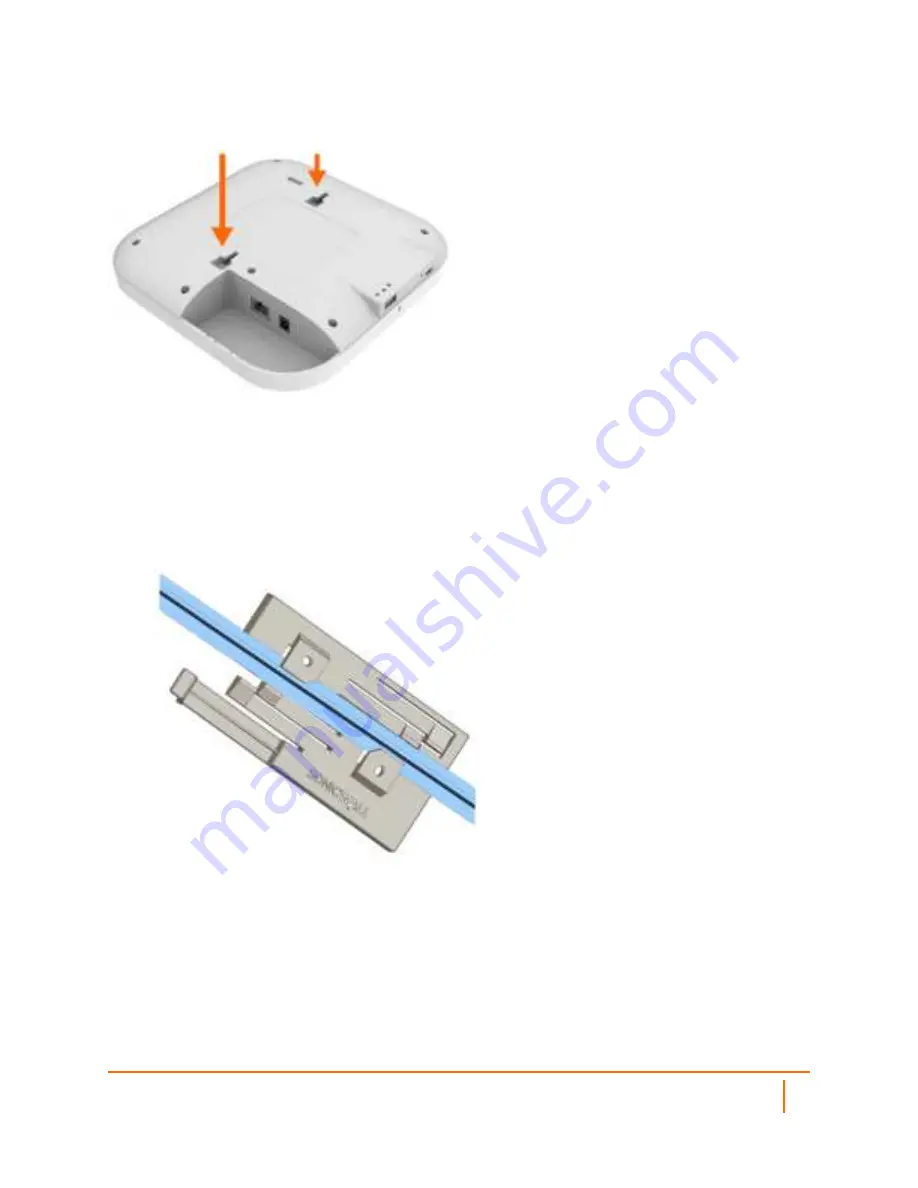
MOUNTING BRACKET INSERTION POINTS
To attach to a ceiling T-bar:
1. Attach the mounting bracket to the underside of the SonicWave .
2. Supporting the SonicWave in one hand, position the edge clips of the bracket over the edge of the ceiling
T-bar.
3. Rotate the SonicWave counterclockwise (to the left when looking up at it) until the bracket is securely
attached to the T-bar.
To remove the original configuration SonicWave 641 from the ceiling T-Bar, gently pressing upward, rotate it
clockwise (to the right when looking up at it) until the bracket detaches from the crossbar.
CEILING/WALL BRACKET
The SonicWave 641 comes with a mounting bracket so it can be mounted on the ceiling or other flat surface. The
same bracket used as a ceiling T-bar mount, can also be mounted on a ceiling (or wall) using either the two
provided anchors and screws. For mounting on a flat surface, holes in the bracket ceiling T-bar clips provide
insertion points for screws. Use #6 (3.5mm) zinc plated pan head machine screws (sheet metal screws) of length
8
SonicWave 641 Safety and Regulatory Reference Guide
SonicWall® SonicWave 641 Safety and Regulatory Information Guide


