1-5
1
Getting Star
ted
^
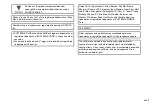
Follow the steps below after removing battery (see
^
Do not force USIM Card into or out of handset; damage may result.
^
Avoid contact with USIM Card IC chip and Battery terminals; may hinder performance or result in lost data (see
).
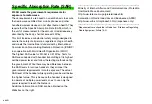
Take care not to lose removed USIM Card.
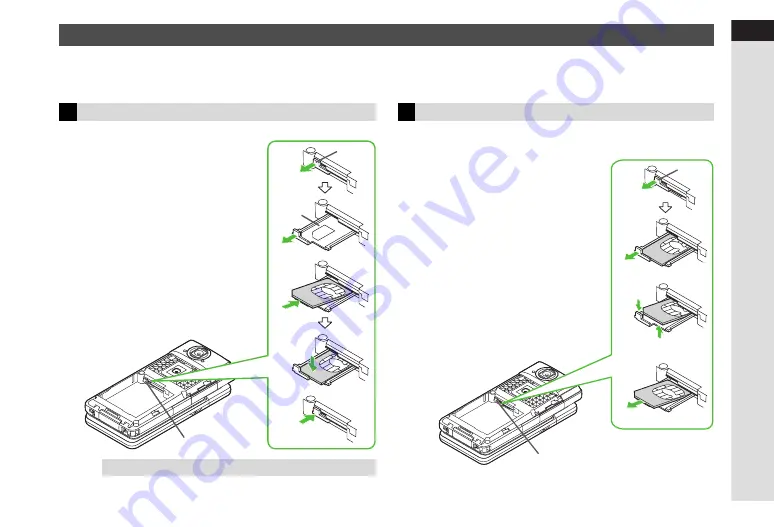
Inserting & Removing USIM Card
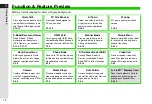
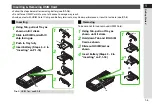
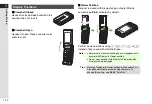
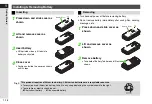
Inserting
Tip
H
.
Tray
Tab
Tab
1
Using Tab, pull out Tray as
shown until it clicks
2
Slide in USIM Card with IC
chip facing up
3
Push in Tray fully
4
Insert battery (Steps 3 - 4 in
"Inserting" on P.1-18)
1
2
3
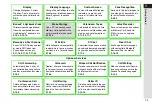
Removing
Tab
f
e
Tab
1
Using Tab, pull out Tray as
shown until it clicks
2
Hold down Tab and lift USIM
Card as shown
3
Slide out USIM Card as
shown
4
Insert battery (Steps 3 - 4 in
"Inserting" on P.1-18)
1
2
3
Summary of Contents for 910SH
Page 30: ...1 1 Getting Started...
Page 59: ...2 1 Basic Handset Operations...
Page 79: ...3 1 Text Entry...
Page 93: ...4 1 Phone Book...
Page 112: ...5 1 Video Call...
Page 120: ...6 1 Camera...
Page 144: ...7 1 Media Player...
Page 164: ...8 1 Managing Files Data Folder...
Page 189: ...9 1 Additional Settings...
Page 218: ...10 1 Connectivity...
Page 233: ...11 1 Tools...
Page 259: ...12 1 Optional Services...
Page 269: ...13 1 Messaging...
Page 307: ...14 1 Yahoo Keitai...
Page 329: ...15 1 S Applications...
Page 339: ...16 1 S FeliCa Japanese Only...
Page 347: ...17 1 Entertainment...
Page 355: ...18 1 Communication...
Page 375: ...19 1 Appendix...

