15
m
WARNING!
Do not cut trees near electrical wires.
m
WARNING!
Failure to lubricate the chain will cause
damage to the bar and chain. Use only a good quality bar
and chain oil designed specifically for use with chain saws.
NOTE: It is normal for oil to seep from the saw when not in
use. To prevent seepage, empty the oil tank after each use.
When storing the unit for a long period of time (3 months or
longer), be sure the chain is lightly lubricated; this will prevent
rust on the chain and bar sprocket.
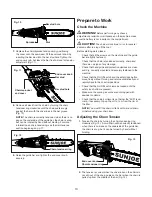
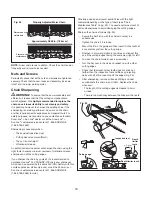
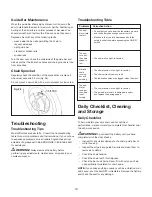
1. Slide the battery into the battery compartment until it
clicks to lock it into position (Fig. 16).
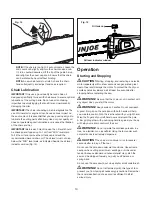
2. To turn the pole chain saw ON, push and hold the safety
lock switch (located on the handle) with your thumb and
then squeeze the On/Off switch with your fingers. Once
the tool is running, you can release the safety lock button
(Fig. 17).
3. To turn the tool OFF, release the
On/Off switch (Fig. 17)
.
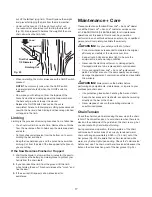
Adjusting the Telescoping Pole
This machine is equipped with two telescoping poles which
provides up to 13 ft (4 m) of overhead reach. To adjust the
telescoping pole, follow the instructions below.
1. Disconnect the saw from the power supply by removing
the battery from the compartment.
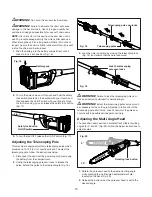
2. Unclip the telescoping pole cam-locks to release the
poles. Extend the poles to the desired length (Fig. 18).
3. Lock the pole in position by closing the telescoping lock
(Fig. 19), and ensure that the pole is secured.
m
WARNING!
Failure to lock the telescoping pole cam-
locks as directed could result in personal injury.
m
WARNING!
Extent the telescoping poles only as much
as necessary for the cutting job. Remain in full control of the
telescoping pole at all times. Loss of control of the pole saw
could result in possible serious personal injury.
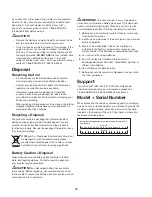
Adjusting the Multi-Angle Head
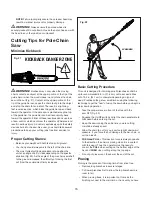
The pole chain saw head can be rotated for 2 different cutting
angles for 0º and 30º (Fig. 20). Follow the below instructions to
adjust angles.
1. Rotate the pole saw head to the desired cutting angle
while pressing the multi-angle head adjustment dial
located on the back (Fig. 20).
2. Release the button when the pole saw head is set to the
desired angle.
Fig. 16
Battery pack
Fig. 17
On/Off switch
Safety lock button
Fig. 18
Telescoping pole cam-locks
Telescoping poles
Fig. 19
Lock the telescoping
pole cam-locks
R
R
Fig. 20
0º
Rotating lock button
30º
Summary of Contents for Sunjoe 24V-PS10-CT-RM
Page 24: ...sunjoe com ...


