


General Information
Windows (Applicable Features / Operations)
22
Figure 1-20
4.
Enter the security password for your wireless printer. See your printer
documentation for details.
A wireless network connection progress window displays as the connection is being
made.
Once the diagnostic tool is connected to the Wi-Fi printer, follow these steps to
install the printer:
5.
Select the
Windows
icon on the desktop (lower left).
6.
Select
Devices and Printers
(right-side menu).
7.
Select
Add a Printer
from the toolbar.
8.
Select
Add Network, Wireless or Bluetooth Printer
”.
9.
Follow the onscreen instructions to search, locate and install your printer.
Windows automatically searches for available printers on the network
(
).
It is important that you install the printer driver files when prompted, during setup.
Printer driver files may be supplied with the printer (e.g. CD or memory stick), or
check the printer manufacturer’s website to download the files.
10.
Set the printer as the default printer. See
Default Printer Setting
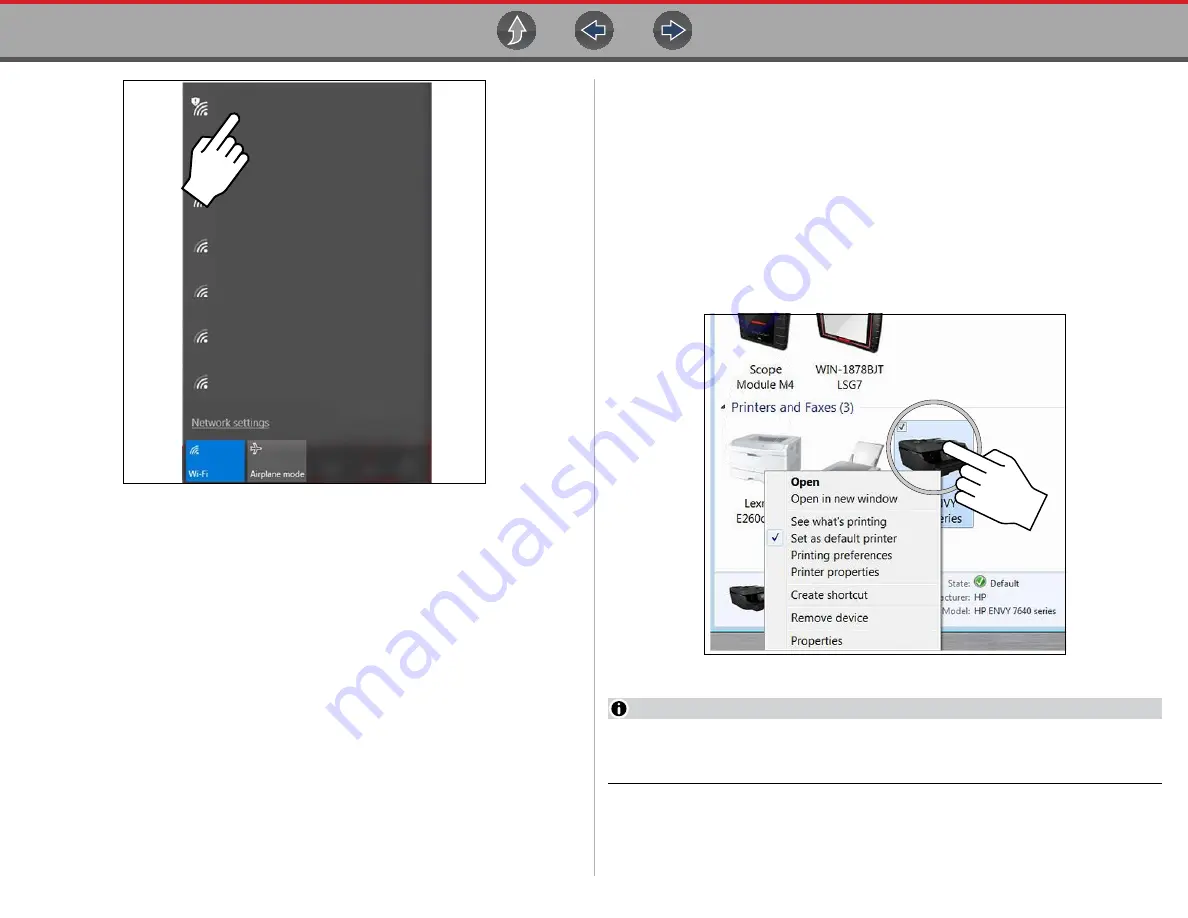
To set a default system printer:
1.
Select the
Windows
icon on the desktop (lower left).
2.
Select
Devices and Printers
(right-side menu).
3.
Touch and hold the icon of the printer you want to set as the default, until the
optional menu indicator (circle outline) appears (
) and then release
(this is also known as right-click menu). From the menu, select “
Set as default
printer
”. When set, a check mark is displayed next to the option (
Figure 1-21
NOTE
The printer right-click menu, also provides access to other printer settings
such as properties and preferences.
My wireless connection 1
My wireless connection 2
My wireless connection 3
My wireless connection 4
My wireless connection 5
My wireless connection 6
My wireless connection 7


