Page
35
SMTAV
Setting up a Network Video Stream
1.
The first thing you are going to want to do to get your camera up and streaming on your network is to connect your
camera to power, an active network port on your network, and finally, power on the camera.
Next, go online and download the IP Address Settings Tool. It’s available for Windows & Mac OS at
https://smtav.com/pages/download
.
2.
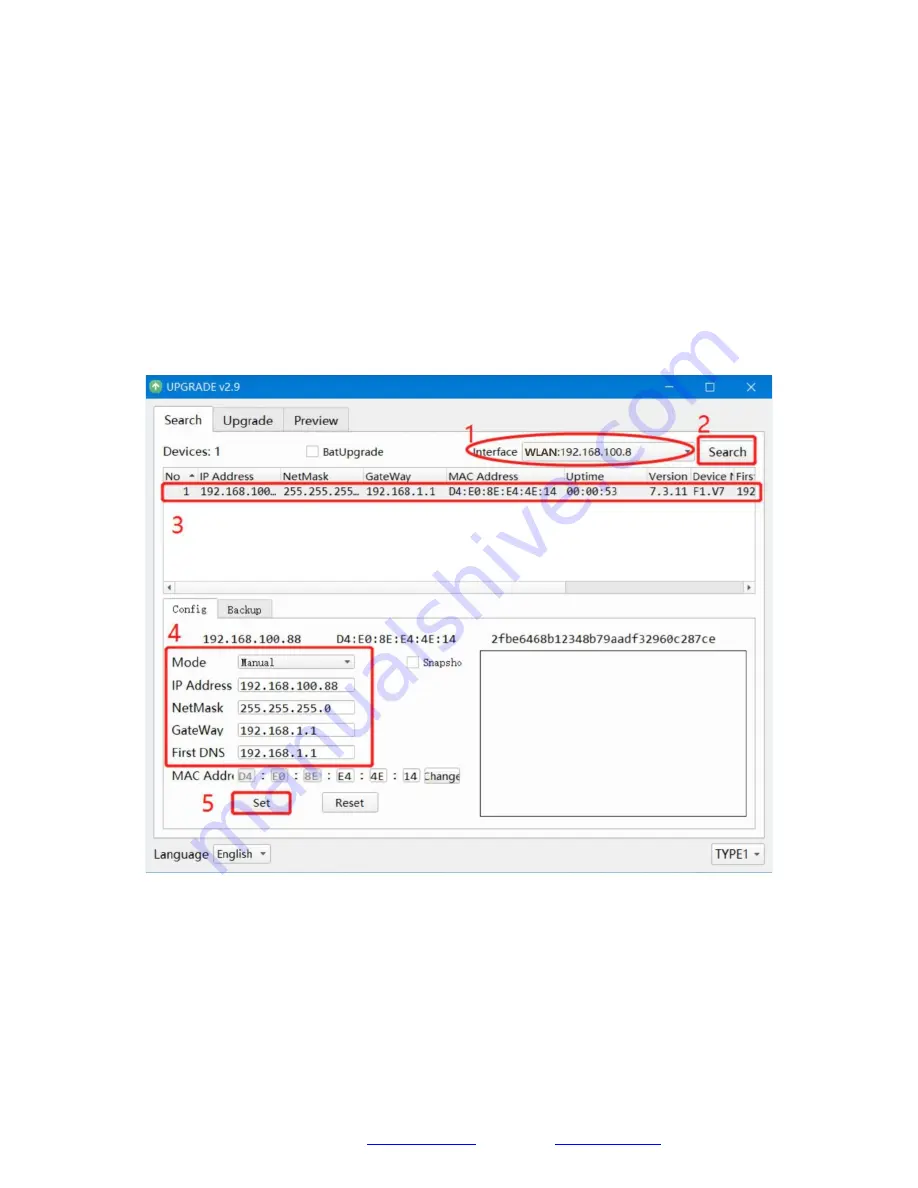
Once you complete the download, launch the “Upgrade Tool v
2.9
” tool. Select your network connection type
from the “Interface” dropdown menu and click “Search”.
4.
The next thing you would want to do is change your cameras IP address to be in the same range as your network.
The camera comes with a default IP address of 192.168.100.88.
a.
See the “Additional Network Info” section to identify your network scheme.
5.
Click and select the camera item you wish to change the IP address of and select “Config”.
a.
You have two (2) options for assigning the IP address of your camera. You can manually assign the IP
address by assigning a static IP address, or you can have a DHCP server automatically assign a dynamic IP
address to your camera.
b.
Note: In more complex network environments, you may need to request a static IP address, Network Mask,
Default Gateway, & First DNS from your IT department.


