8
Managing
Computer
Normal
Ethernet
cable
Managed
SMC2586W-G
Normal
Ethernet
cable
Ethernet
Hub/Switch
Cross-over
Ethernet
cable
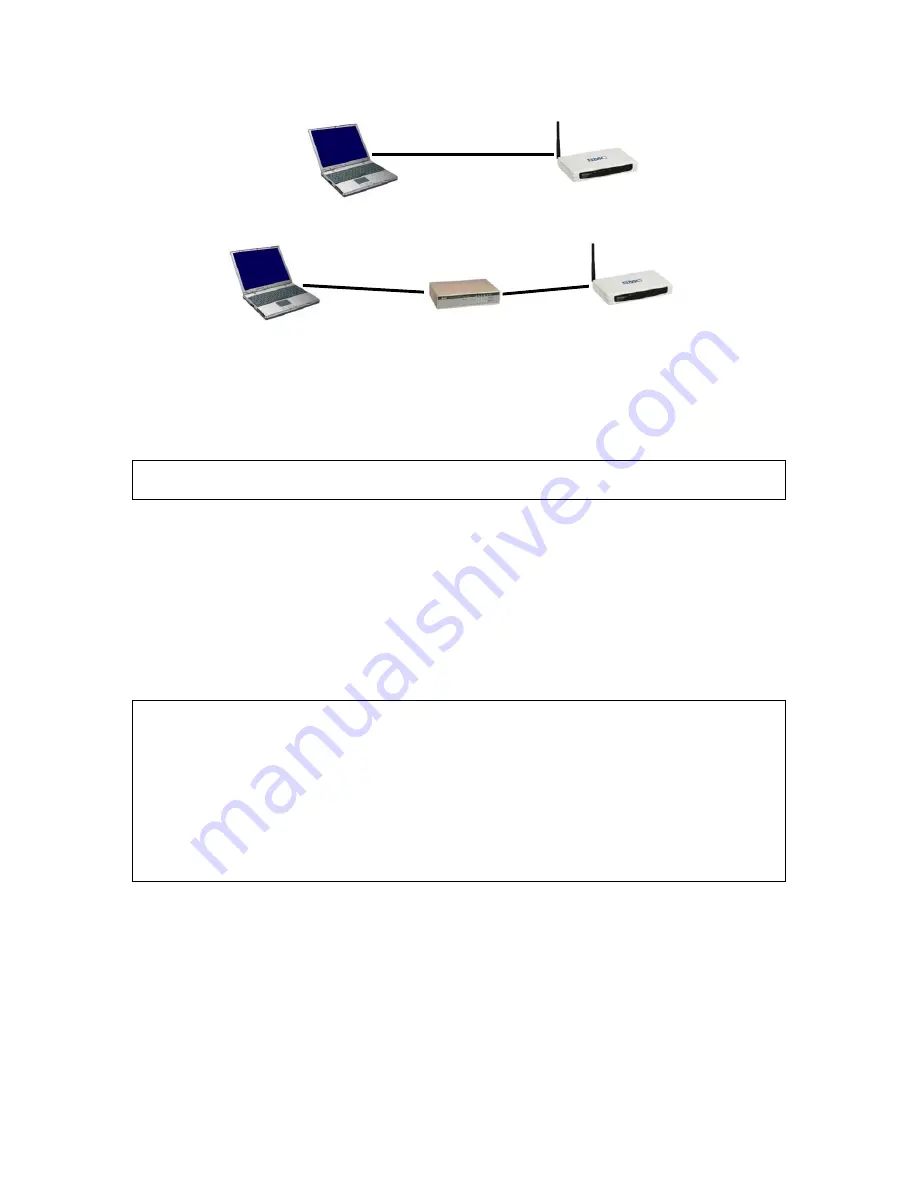
Fig. 4. Connecting a managing computer and an SMC2585W-G via Ethernet.
You can use either a cross-over Ethernet cable (included in the package) or a switch/hub
with 2 straight-through Ethernet cables.
NOTE:
One connector of the Ethernet cable must be plugged into the
LAN
Ethernet port of
the SMC2585W-G for configuration.
2.3.2. Changing the TCP/IP Settings of the Managing
Computer
Use the
Windows Network Control Panel Applet
to change the TCP/IP settings of the
managing computer, so that the IP address of the computer and the IP address of the
SMC2585W-G are in the same IP subnet. Set the IP address of the computer to
192.168.2.xxx
(Default IP address is set to DHCP client, it will default to 192.168.2.50 if
there is no DHCP server present.)
TIP:
You can use SMC2585W-G Scan Utility on the CD-ROM to scan for all the
SMC2585W-Gs on the network. Double-click a scanned SMC2585W-G to launch the Web
browser to manage the SMC2585W-G. Note that this utility does not discover the
SMC2682W.
NOTE:
On Windows 2000/XP, SMC2585W-G Scan Utility can only be run by a user with
administrator privilege.
NOTE:
For some versions of Windows, the computer needs to be restarted for the changes
of TCP/IP settings to take effect.
2.4. Configuring the SMC2585W-G
The SMC2585W-G is DHCP client enabled by default. After the IP addressing is configured,
launch a Web browser on the managing computer. Then, go to “
http://192.168.2.50
” to log
on to the SMC2585W-G for Web-based management.
Summary of Contents for 2585W-G FICHE
Page 1: ......


