HARDWARE INSTALLATION
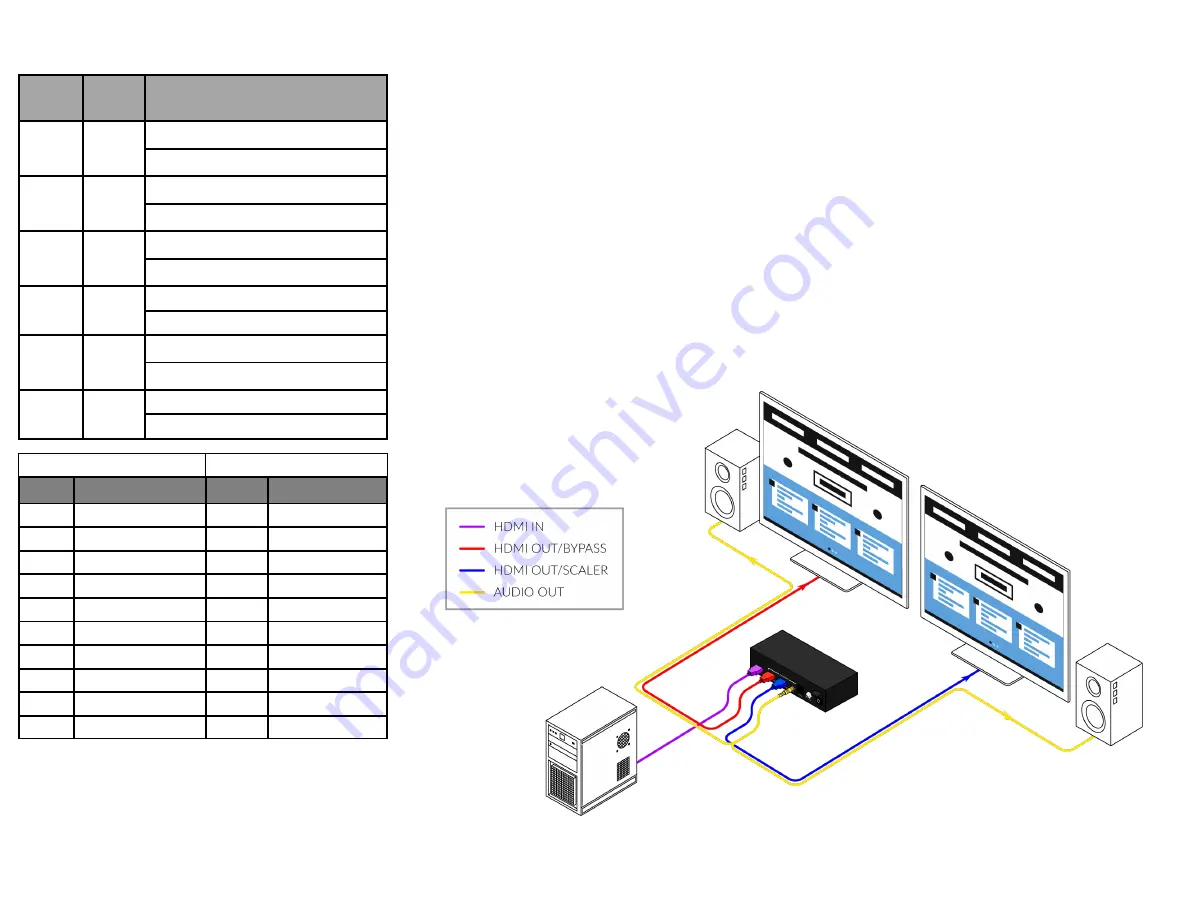
1. Using qualified HDMI cables, connect an HDMI source (such as Blue-ray, games console,
satellite/cable TV, media server etc.) to HDMI IN port of the splitter.
2. Connect the HDMI display devices (LED/LCD display or projector) to the HDMI OUT ports of
the splitter.
3. Insert the 5V power adaptor into the power input port of splitter and connect to wall outlet
mains supply.
4. After ensuing all sources and displays are properly connected, turn on mains power supply.
5. Check Power and IN/OUT LED on the front panel are fully lit for correct connection. If not,
check cable connections.
Note:
1. Both source and display devices must be powered on for LED indicators to detect device con-
nection.
2. Ensure power supplied are disconnected from all devices before installation.
SYSTEM CONTROL
LEDs
Name
Description
1
IN
ON:
An HDMI sour ce is connected to the
splitter
OFF:
No HDMI sour ce is connected to the
splitter
2
OUT 1
ON:
Display is connected to HDMI output
port 1
OFF:
No display is connected to HDMI
output port 1
3
OUT 2
ON:
Display is connected to HDMI output
port 2
OFF:
No display is connected to HDMI
output port 2
4
4K
ON:
4K signal input
OFF:
None 4K signal input
5
HDCP
ON:
Ther e is HDCP encr yption with input
signal
OFF:
None HDCP encr yption with input
signal
6
POWER
ON:
The splitter is power on
OFF:
The splitter is power off
EDID Switch
Resolution Switch
Position
Descriptions
(EDID on input port)
Position
Descriptions
(Resolution on Out 2)
0
Copy EDID from OUT1
0
1920x1080@60Hz
1
1920x1080@60Hz
1
3840x2160@30Hz
2
3840x2160@30Hz
2
3840x2160@60Hz
3
3840x2160@60Hz
3
1280x720@60Hz
4
1280x720@60Hz
4
1024x768@60Hz
5
1280x1024@60Hz
5
1366x768@60Hz
6
1920x1200@60Hz
6
1280x1024@60Hz
7
Reserved
7
1920x1200@60Hz
8
Reserved
8
1280x1024@60Hz,DVI
9
Reserved
9
1920x1080@60Hz,DVI


