I. Modular Installation
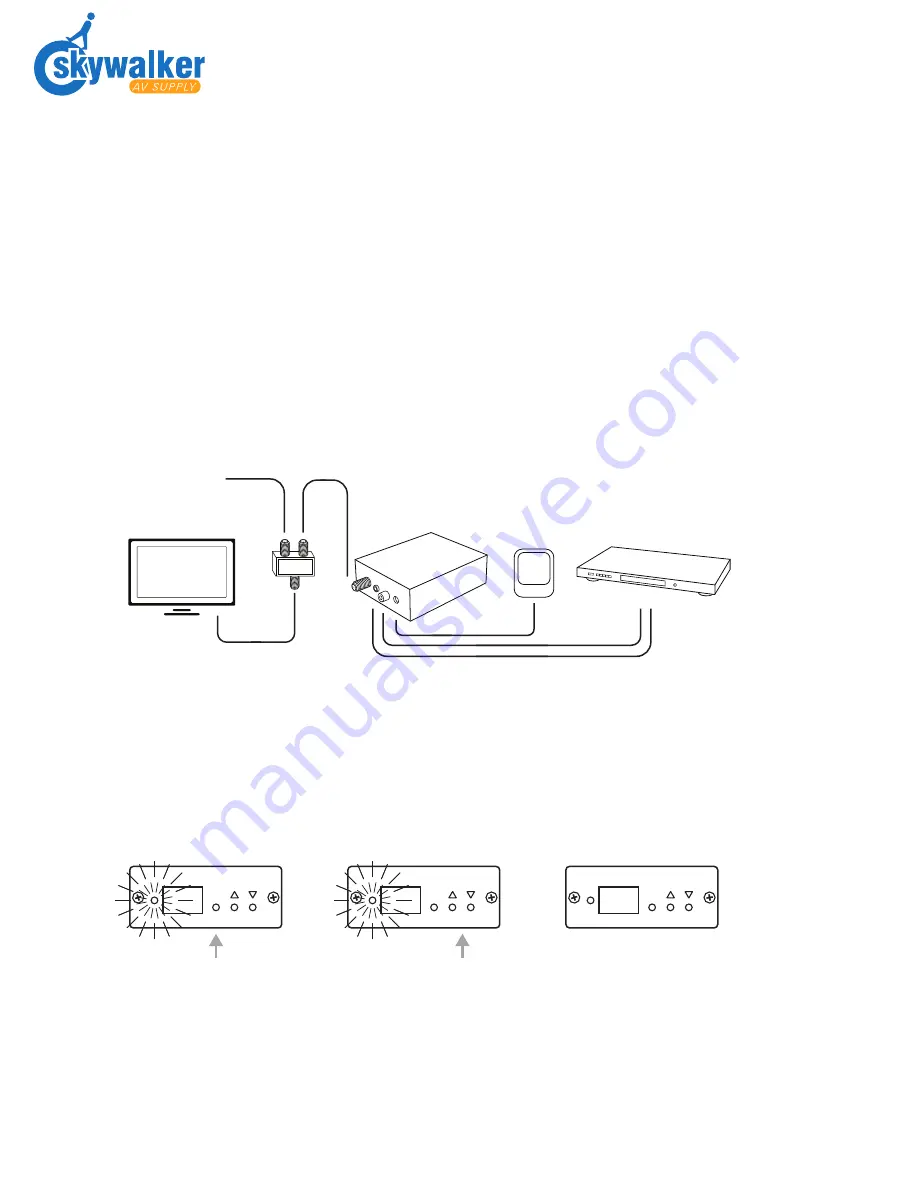
1. Insert the male RCA connector from the video source into the SKYMOD1 RCA jack.
2. Insert the 3.5mm miniature plug from the audio source into the SKYMOD1 audio
input (Mini jack)
3. Connect F to F connecting cable from RF output (F-Female connector on
SKYMOD1) to one output port of a splitter.
4. Connect cable from Off-Air or CATV line or any other RF signal source to other port
of splitters.
5. Connect input of splitter to TV RF Input.
6. Plug the provided 15 VDC, 200 mA power supply into the power line and SKYMOD1
power jack.
This completes the installation of SKYMOD1 modulator
II. Channel Programming Steps:
Step 1 - Using Paper clip or ball point pen, press and hold “select”
Step 2 - Release button and press “channel” button up or down to desired channel.
This process can only be done while LED is flashing.
Step 3 - Press select button to turn off LED, or wait for LED to shut off by itself
Note:
1 - While doing the channel selection process, if the power goes off the last channel
will malfunction even though LED will be flashing.
2 - Output channel selection
The SKYMOD1 output channel has been factory pre set for UHF channel 14 thru 78.
To change the output channel for CATV Ultra channels (Ch-65 to Ch-135) follow the
step-by-step instructions as follows in III
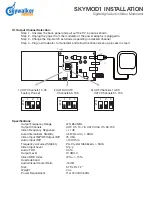
SKYMOD1 INSTALLATION
Digital Agile Audio/Video Modulator
Off Air Signal
or
CATV Line
SKYMOD1
AC
Adapter
TV
Receiver
SELECT
CHANNEL
28
Press SELECT - LED Flashes
LED Flashing - Select Channel
LED On - Channel is Saved
SELECT
CHANNEL
14
SELECT
CHANNEL
28


