background image

GB 5

5. Configuration and Operation

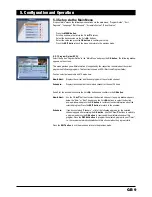
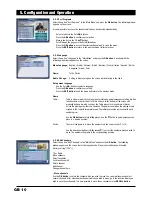
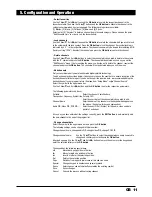
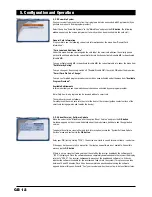
5.2.2 Antenna Setup
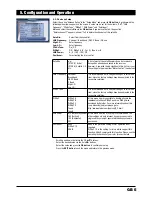
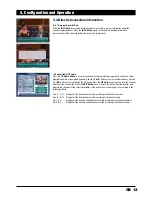
Select the option “Antenna Setup” in the “Setup Menu” and press the OK button. A window with the
following menu items appears on the screen. A value can be set for these items: “SAT”, “LNB
Frequency”, “22kHz Tone”, “DiSEqC”, “LNB Power” and “Positioner”.
Mark and select the satellites via the OK button. If you remove the tick, the question
“Delete channel ?” appears; answer “Yes” to delete the channels of this satellite.

Satellite:

Select from the saved list.

LNB Frequency:

Universal / Broadband / OSC C Band / C Band

High L.O.:

Enter frequency

Low L.O.:

Enter frequency

22kHz Tone:

On / Off

DiSEqC:

Off / DiSEqC A, B, C or D / Tone A or B

LNB Power:

H / V / 14V / 18V / Off

Positioner:

For activating the rotor control

Scroll up and down the list via the CH 

/

buttons.

Select the desired value via the Vol 

/

buttons.

Select the value and press the OK button to confirm your setup.

Press the EXIT button to exit the menu and return to the previous mode.

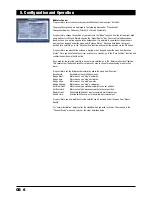
Satellite

e.g.:
[019.2° E] Astra1
[013.0° E] Hotbird 1~5
etc.

A list of most of the satellites which can be received in
Europe has already been saved in the receiver.
However, if you wish to add satellites to this list, carry out
the settings in the menu item “Motor Control” (see below).

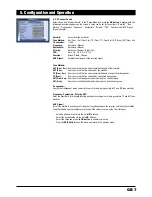
LNB Frequency

Universal
Broadband
OSC C Band
C Band
High L.O.
Low L.O.

It is recommended not to carry out changes in this menu
item, since the factory settings have been adjusted to the
respective satellites.

22kHz Tone

It is recommended not to carry out changes in this menu
item, since the factory settings have been adjusted to the
respective satellites.

DiSEqC

DiSEqC A
DiSEqC B
DiSEqC C
DiSEqC D
Tone A
Tone B

At this menu item it is possible to directly allocate the
individual satellites a DiSEqC position. DiSEqC was
developed by Eutelsat. For more information about this
(very extensive) subject please go to: 
http://www.eutelsat.com/deutsch/2_2.html.

LNB Power

H/V (Horizontal/Vertical)
14V (Vertical)
18V (Horizontal)
Off

At this menu item the H/V setup is recommended. The
other settings are only relevant if you are connected to
single cable systems or special distribution systems in
your house.

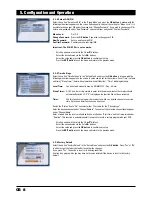
Positioner

None
DiSEqC 1.2
USALS

None is the preferred setting if rotor operation is not
required.
DiSEqC 1.2 is the setting for rotors which support this
function. USALS comply with this function. Please see the
operating instructions of your rotor for exact details.

Summary of Contents for DCX 10

Page 1: ...Digital Satellite Receiver DCX 10 39730 OPERATING INSTRUCTIONS...

Page 2: ...DCX 10 1 3 4 3 2 1 7 4 3 5 6 8 2 3 2 1 4 5 6 9 9 10 13 11 8 7 17 16 15 11 12 TV AC3 SURROUND VCR 230 V A B C D DISH...

Page 3: ......

Page 4: ...ety information 3 3 Receiver Operating Elements see packaging 3 4 Remote control 3 5 Configuration and Operation 4 5 1 Prior to Configuration 4 5 2 Setup Menu 4 5 2 1 System Setup 4 5 2 2 Antenna Setu...

Page 5: ...iscoloured as a result of the natural heat generated by the device place the device on a suitable underlay Adequate ventilation The ventilation slots on the device must never be covered Ensure that th...

Page 6: ...tic Summer Time On Off Video Format PAL I PAL B PAL G PAL K The PAL TV standard is used in most Euro pean countries Australia and some Asian and African countries PAL short for Phase Alternating Line...

Page 7: ...the receiver However if you wish to add satellites to this list carry out the settings in the menu item Motor Control see below LNB Frequency Universal Broadband OSC C Band C Band High L O Low L O It...

Page 8: ...o the Save Position function and confirm the position via the OK button If you wish for the selected satellite to be your main satellite go to the Reference Position function This ensures that the des...

Page 9: ...the satellite TP Free Scr Searches for all the free and scrambled channels at a specified transponder TP Free Searches for all the free channels at a specified transponder NIT Free Scr Searches for a...

Page 10: ...programming Local Time Can be entered manually here as DD MM YYYY Day hh mm Sleep Timer 0 180 min Here it is possible to enter after how many minutes the receiver should automatically switch off If 0...

Page 11: ...mode here Now Next Displays the current and the next program at the selected channel Schedule Displays the schedule of the selected channel for the next 24 hours Search for the desired function via th...

Page 12: ...rotate and quickly manoeuvre falling tile like tetrominoes in order for them to fit into a space at the bottom of the screen and gradually build up a wall As soon as the Tetris pieces form a solid ro...

Page 13: ...required data we recommend adding the desired channel to your program list via the menu item Setup Menu Channel Search Select the symbol in the upper menu bar Use the CH and Vol buttons and the OK but...

Page 14: ...der Note Only free to air programs can be received without a smart card The smart card is used as follows Carefully insert the smart card into the slot at the front of the receiver golden contact surf...

Page 15: ...s Use the CH buttons to select another channel Use the Vol buttons to scroll through the list pages Press the OK button to access the selected channel and to exit the channel list Press the EXIT butto...

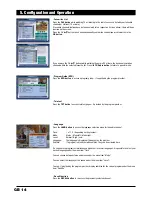
Page 16: ...er Teletext Press the TXT button to access teletext pages if provided by the program provider Language Press the LANG button to access the language selection menu for the audio channel Track 1 of 1 2...

Page 17: ...ak signal Check cable connections the LNB and other devices switched between the LNB and the receiver or re align the antenna Incorrect program data entered during configuration Re enter the program d...

Page 18: ...al programs RS 232C port for the reception of additional information services and system software update jack Timer 7 timers with optional time period 5 favourite lists Menu languages German English A...

Page 19: ...GB 17...

Page 20: ...9903973002 BDA GB 09 2005...

Reviews: