3. DISPLAY & KEYPAD
3.1 Display
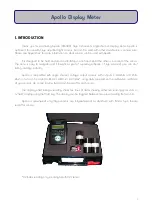
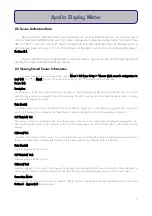
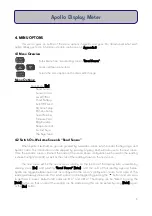
Apollo has a 2-line 14 character alphanumeric liquid crystal display (LCD). The meter auto-ranges, and is
designed to show a reading from very low light conditions (even moonlight), and therefore shows a reading
with appropriate significant figures. The live reading can be frozen at any time by using the [Hold] button,
and exited by using [Hold] or [Esc].
During extremely low light conditions, the reading may change constantly due to the high sensitivity of
the meter. To best solve this, ensure the sensor is on a level, solid surface, and wait for the reading to
stabilize. In these instances, it is also advisable to use the [Hold] button to freeze the display, and note the
reading, perhaps doing in triplicate, and averaging the results.
3.2 Keypad
5
Apollo Display Meter
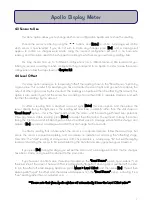
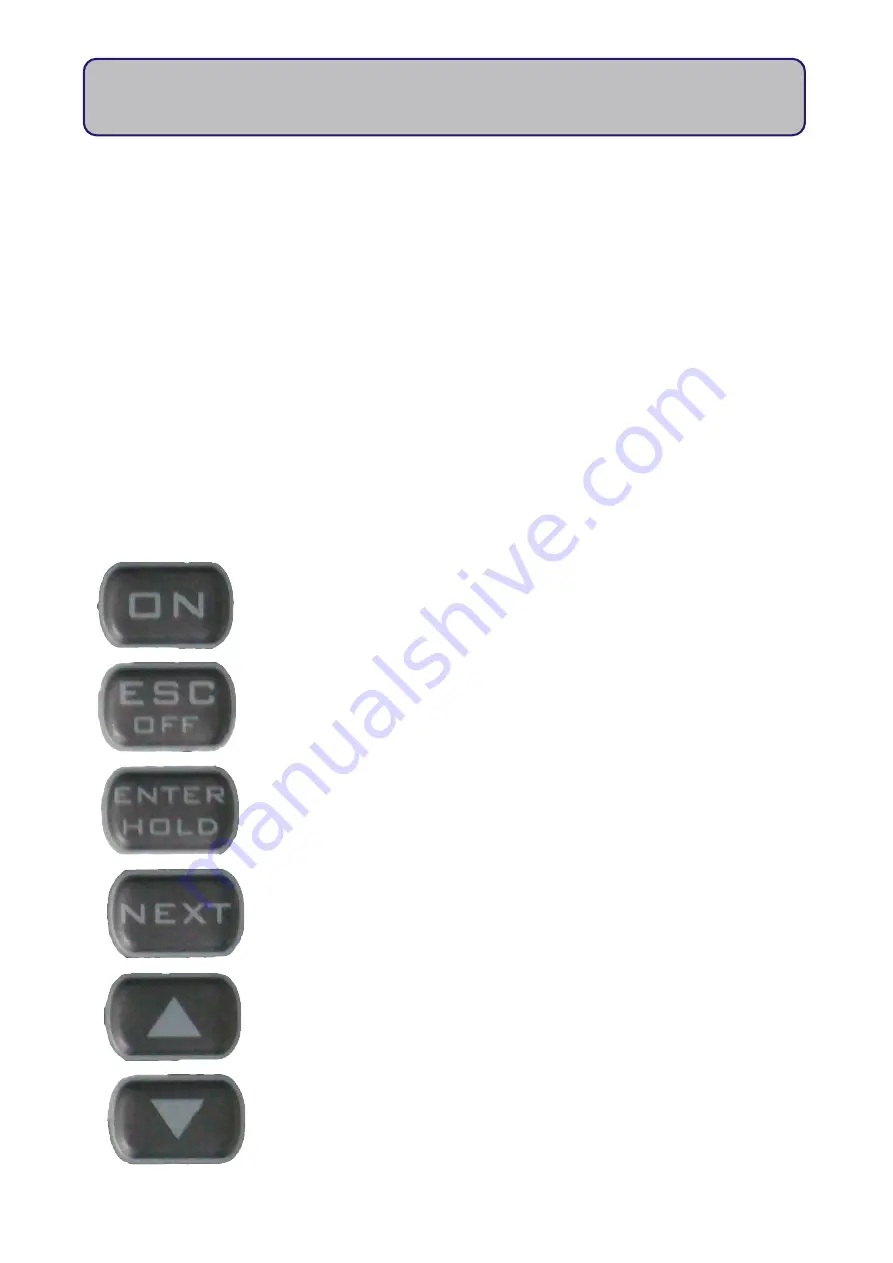
On - This button turns on Apollo and serves no other function.
Esc/Off - This button when pressed once will cancel the current operation without
making any changes, and exit out of the current menu. A long (3-sec.) press will
turn Apollo off. It will also access the menu from the "live reading" screen.
Enter/Hold - This button will "enter" into the selected menu item, and will confirm
the edit or change of an option (e.g. sensor config., AutoOff period etc.). In the
"live reading" screen, this button will "freeze the display".
Up - Moves "up" in a menu list, choosing the next menu option up. In character
edit screens, will change the value of the character and holding
5
for 3 sec. will
change character value to 'A'.
Down - Moves "down" in a menu list, choosing the next menu option down. In
character edit screens, will change the value of the character and holding
6
will
change character to a "space".
Next - This button will move to the "next" item in the menu (e.g. next option
down), and behaves a lot like the "down" button. Also when editing/entering
information, moves the cursor one space to the right.


