ST2 Starmate Replay User and Installation Guide
22
preset button in which you wish to store your
favorite channel, until you hear a beep. The
band and preset number will then be displayed
in the lower right corner of the display screen to
confirm that the channel has been stored.
001
Category 12:00P
A1
Artist Name
Artist Name
Song Title
Song Title
Channel Name
Preset Stored
Note:
If the preset button already has a channel
stored in it, the preset will be replaced by the newly
stored channel.
Using Channel Presets
The active band of presets is displayed in the lower
right corner of the default display screen, A, B or C.
To change the active band, momentarily press and
release the
BAND
button to cycle between the
preset bands.
The 10 preset channels in the active band can then
be selected by momentarily pressing and releasing
the 0 through 9 buttons.
When you have chosen a preset channel, the band
and preset number will be displayed in the lower
right corner of the default display screen.
001
Category 12:00P
A3
Artist Name
Artist Name
Song Title
Song Title
Channel Name
Searching for a Channel Preset (P.TUNE Mode)
To quickly search through all of your presets in the
P.TUNE mode, do the following:
1. Press and hold the
BAND
button for
approximately 1 second to enter the P.TUNE
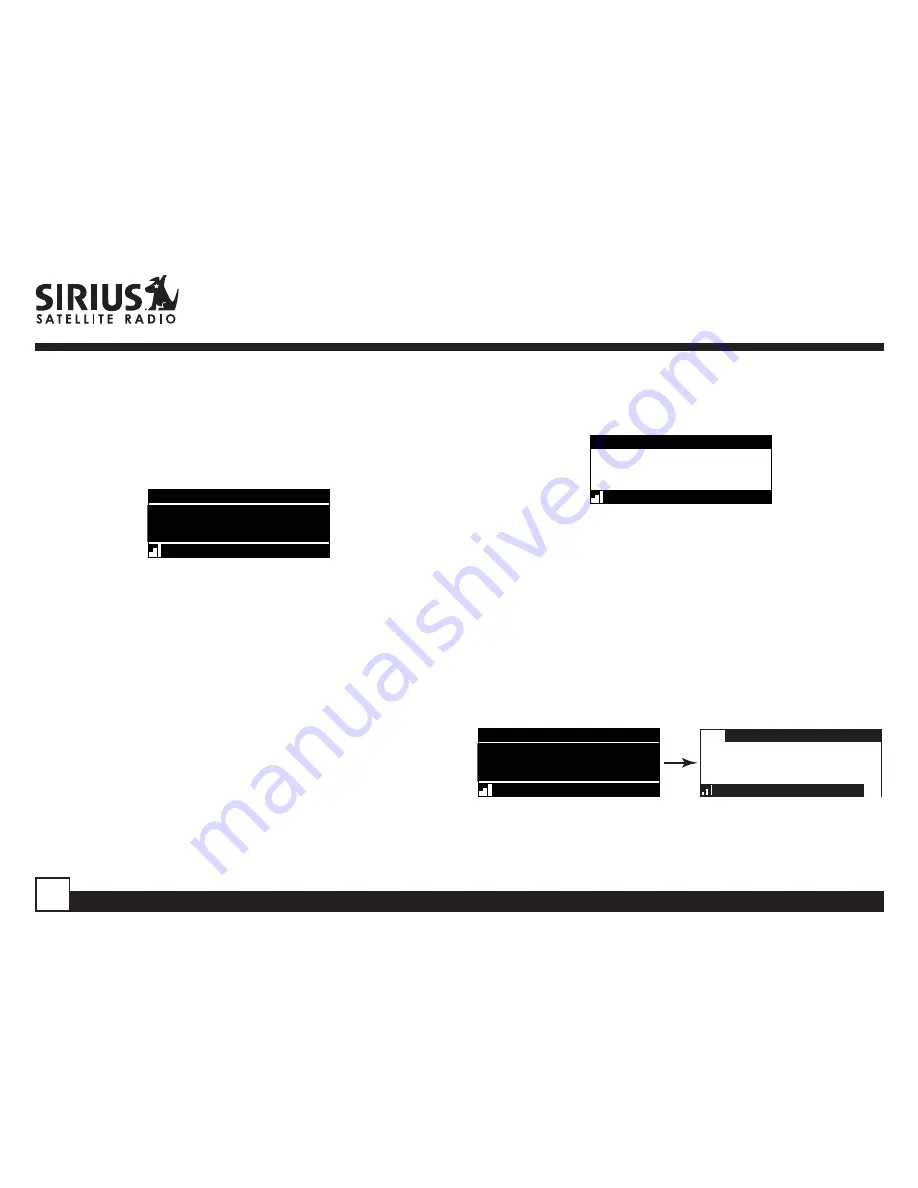
mode. “Preset Tuning Mode” will momentarily be
displayed and the top left and lower right
corners of the display will invert to indicate the
Receiver is in the Preset Tune Mode.
001
Category 12:00P
A1
Artist Name
Song Title
Channel Name
001
Artist Name
Artist Name
Song Title
Song Title
Category 12:00P
A
Preset Tune Mode
Channel Name
2. Use the channel up and down buttons to move
up or down through your channel presets and
immediately tune to each channel. Channel


