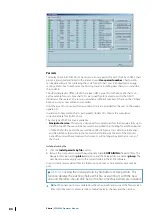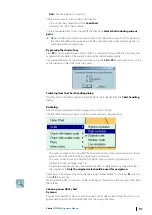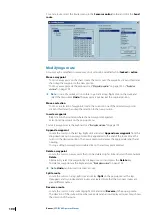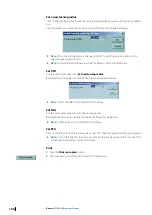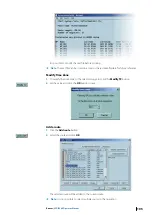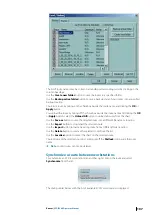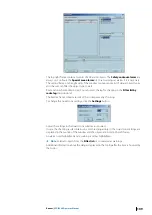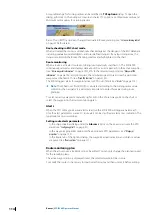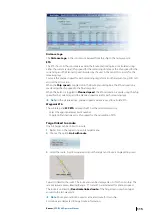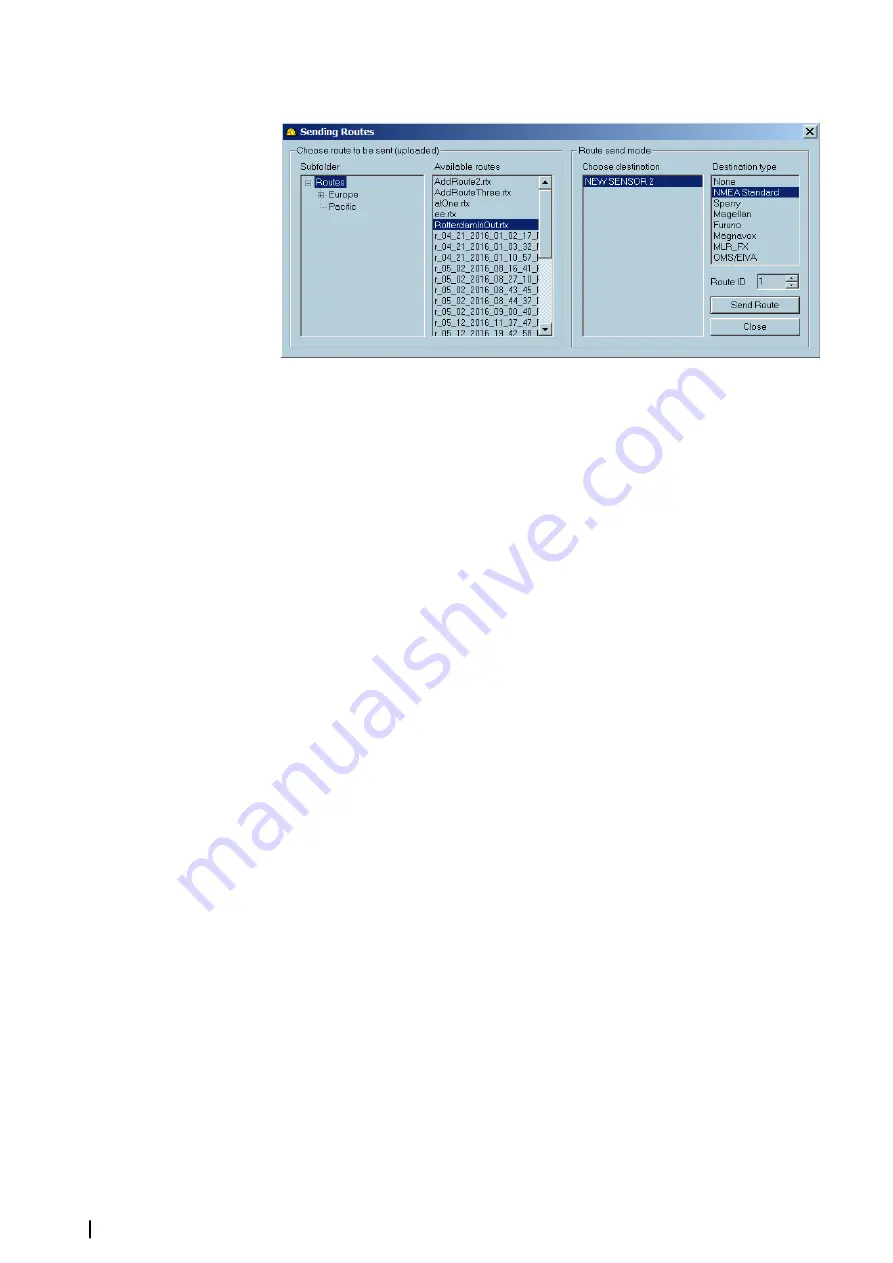
To send a route, select the Routes menu in the
Sensor monitor
toolbar and click the
Send
route
.
Modifying a route
A route may be modified in several ways, but cannot be modified whilst
locked
or
active
.
Move a waypoint
•
To move a waypoint on the chart, locate the cursor over the waypoint, click and hold and
then drag the waypoint to the new position.
•
To move a waypoint via the keyboard, see
Ú
Note:
In case of a mistake it is possible to go back a step. Right click on the route and
select the menu item
Undo
. The waypoint is put back at the original position.
Move a selection
•
To move a selection of waypoints, locate the cursor on one of the selected waypoints,
click and hold and then drag the selection to the new position.
Insert a waypoint
•
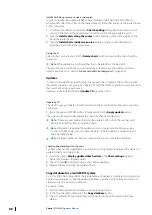
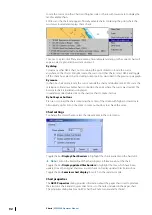
Right click on the route leg where the new waypoint expected.
•
Select Insert new mark on the pop-up menu.
To insert a waypoint via the keyboard, see
Append a waypoint
•
Locate the cursor on the last leg. Right click and select
Append new waypoint
from the
drop down menu. A new waypoint will be appended to the end of the route. Move the
cursor to the desired position. The new segment will display the appropriate length and
heading
•
To stop adding new waypoints double click on the last waypoint entered.
Delete a waypoint
•
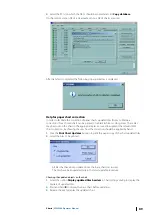
Locate the cursor on a waypoint that is to be deleted, right click and select the menu item
Delete
.
•
Alternatively select the waypoint by clicking once on it and press the
Delete
key.
•
To delete a waypoint via the keyboard, see
Ú
Note:
Undo
can be used to recover a route.
Split a route
•
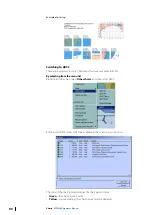
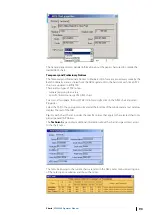
Locate the cursor on a leg, right click and select
Split
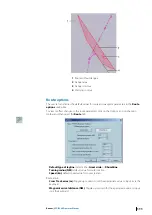
on the pop-up menu. The leg
disappears and two independent routes are created. Note that the two new routes are
given different names.
Reverse a route
•
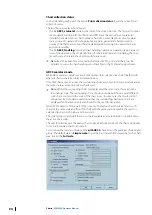
Locate the cursor on any route leg, right click and select
Reverse
in the pop-up menu.
•
The direction of the route will now be reversed and an arrow displayed on each leg shows
the direction of the route.
100
Routes
| ECDIS900 Operator Manual

