Amherst / Halifax / Washington
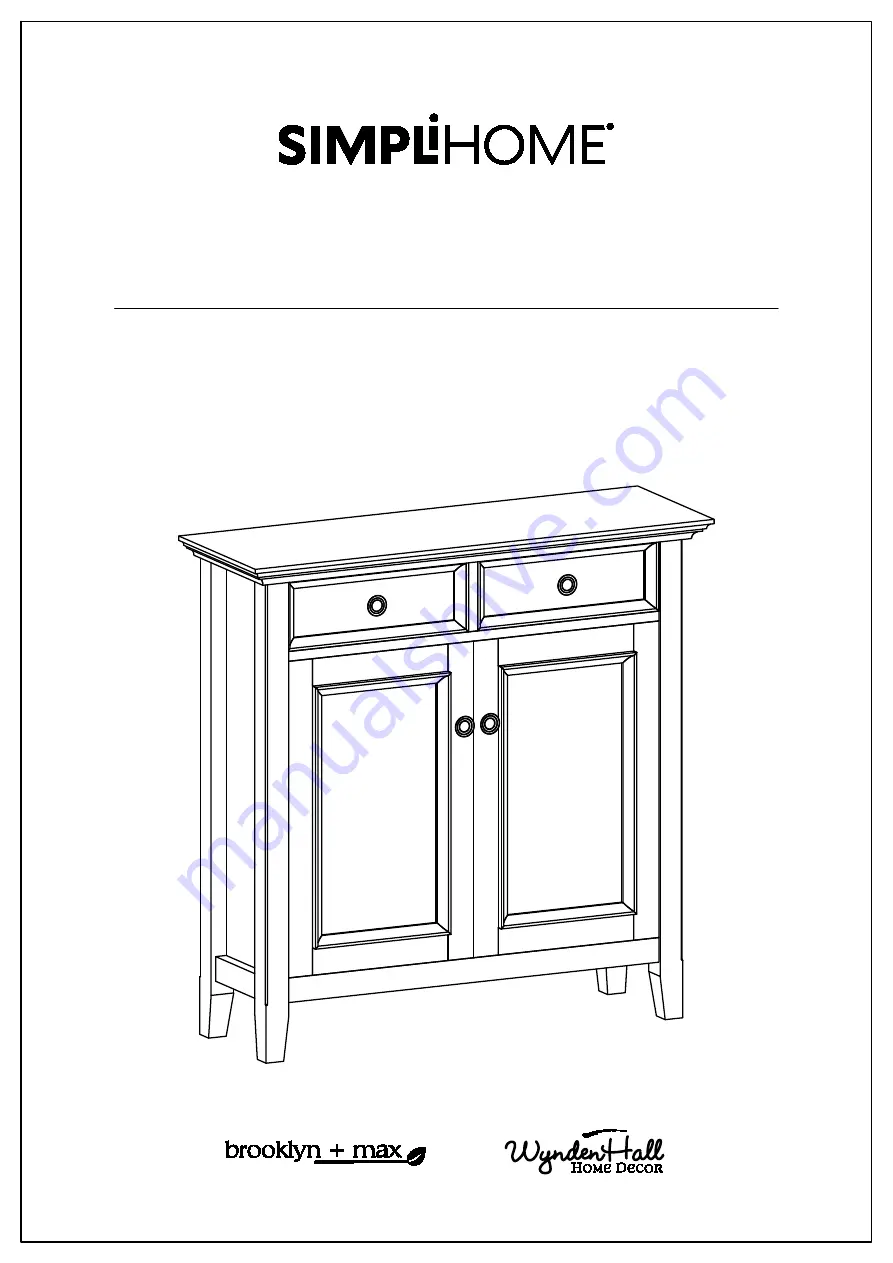
Entryway Storage Cabinet
Model # AXCAMH47-HIC
TM
1
Page 1: ...Amherst Halifax Washington Entryway Storage Cabinet Model AXCAMH47 HIC TM TM 1...
Page 2: ...ll be happy you did simpli home com product registration Great quality is a right Thank you for shopping with Simpli Home America s top brand for high value furniture Activate your 1 year warranty Au...
Page 3: ...d love your feedback Please share a review and get instant rewards simpli home com product review Share photos and get your cash back Send us images or share them on social and qualify for instant re...
Page 4: ...form with your order information and issue 6 Submit form 7 A customer service associate will contact you Other ways to contact us Visit Us Visit our site directly at www simpli home com Email Us custo...
Page 5: ...until you have checked that you have all of the parts and hardware required Hardware package may have spare parts WARNING This item contains small parts which can be swallowed by children and pets Kee...
Page 6: ...importantly have a good working humidifier for your home A humidistat automatically works to balance the humidity in your home so it is constant Dry indoor air can suck enough moisture from its surro...
Page 7: ...SIDE QTY 1 RIGHT SIDE QTY 1 BL BR C D E F GL GR Front Avant Front Avant Front Avant BOTTOM SHELF QTY 1 MIDDLE FRAME QTY 1 SMALL DIVIDER QTY 1 LARGE DIVIDER QTY 1 LEFT BACK PANEL QTY 1 RIGHT BACK PANEL...
Page 8: ...ion Model AXCAMH47 HIC Pre Assembly Information 8 IL IR J KL KR L M SHELF QTY 2 LEFT DOOR QTY 1 RIGHT DOOR QTY 1 DRAWER FRONT QTY 2 LEFT DRAWER SIDE QTY 2 RIGHT DRAWER SIDE QTY 2 DRAWER BACK QTY 2 DRA...
Page 9: ...SUPPORT QTY 12 PHILLIPS SCREW M3 X 15mm QTY 8 Required Flathead screwdriver Phillips screwdriver Rubber mallet Not Included FURNITURE TIP OVER RESTRAINT QTY 1 SET a M4 X 25mm QTY 2 1 is extra b M4 X 1...
Page 10: ...Model AXCAMH47 HIC Components Key Diagram 10 Front Avant A D GR GL F BR Front Avant IR C Front Avant H H IL BL Front Avant E Front Avant J KR KL M L Front Avant F r o n t A v a n t Front Avant...
Page 11: ...Lock Pins Do not over tighten 1 Align Cam Lock Pins with guide holes and attach Drawer Sides KL KR to Drawer Front J 2 Insert two Cam Locks 2 into guide holes on each Drawer Side KL KR 3 Use Phillips...
Page 12: ...ots on Drawer Sides KL KR and Drawer Front J J J KL KL KR KR M M L L 1 3 1 1 2 Align Drawer Back L with Drawer Bottom M and press firmly into slot 3 Attach Drawer Back using two Phillip Screws 1 throu...
Page 13: ...13 Model AXCAMH47 HIC Assembly Step 4 1 Use Phillips screwdriver to attach Handle 4 to Drawer Front J Repeat Step 1 4 for the second drawer J 4...
Page 14: ...ly Step 5 P X 1 Attach two Cam Lock Pins 2 into pre drilled holes on each part A BL BR F 2 Use Phillips screwdriver to secure Cam Lock Pins Do not over tighten 2 Front Avant Front Avant Front Avant F...
Page 15: ...Use Allen Key 3 to tighten Screws Do not over tighten 2 Align Cam Lock Pin with guide holes on part C and attach part C to part F 2 3 Insert two Cam Locks 2 into guide holes on part C 4 Use Phillips...
Page 16: ...sembly 1 Use two Allen Key Screws 1 to attach part C through guide holes from part E to pre drilled holes of part C 2 Use Allen Key 3 to tighten Screws Do not over tighten Front Avant C E Front Avant...
Page 17: ...Use six Allen Key Screws 1 to attach parts BL BR through guide holes from part E to pre drilled holes of parts BL BR 3 Use Allen Key 3 to tighten Screws Do not over tighten Front Avant BR Front Avant...
Page 18: ...o parts BL BR D 2 Use four Allen Key Screws 1 to attach parts A through guide holes from parts BL BR to pre drilled holes of part A 3 Use Allen Key 3 to tighten Screws Do not over tighten BR Front Ava...
Page 19: ...ips Screws Round Head 9 through guide holes from Back Panels 2 Use Phillips Screwdriver to tighten screws Do not over tighten GL GR Warning Label Note The back of the cabinet frame does not have pre d...
Page 20: ...oors IL IR using Phillips Screws 8 into pre drilled holes on Doors IL IR IR IL BL BR 2 Attach Adjustable Hinges 7 on Doors IL IR to parts BL BR using Phillips Screws 8 into pre drilled holes on parts...
Page 21: ...w instructions 1 Side adjustment 4 mm To move the door towards the side panel loosen screw I and tighten screw II To move the door away from the side panel loosen screw II and tighten screw I 2 Depth...
Page 22: ...ch Magnet Plates 5 to bottom corner of Doors IL IR using Phillips Screws 6 into pre drilled holes on Doors IL IR 2 Attach Magnets 5 using Phillips Screws 6 into pre drilled holes on Divider C 3 Use Ph...
Page 23: ...four Shelf Supports 10 for each Cabinet Shelf H in desired location 2 Two Shelf Supports 10 may be used on back top of each Cabinet Shelf H as a tipping restraint shelf level 3 shelf level 2 shelf lev...
Page 24: ...Step 15 24 Model AXCAMH47 HIC Assembly 1 Turn the wood lock on the bottom frame to be perpendicular to the frame for safety stop intended to keep the drawers from pulling all the way out...
Page 25: ...fatal crushing injuries can occur from furniture tip over If the furniture tip over restraint kit is not in the box please contact our customer service department in order to obtain another kit befor...
Page 26: ...r screw to securely attach the bracket to the wall 5 Place the furniture so the back edge is in line with the bracket on the wall 6 Lace an end of the nylon zip tie strap down through each bracket Bri...