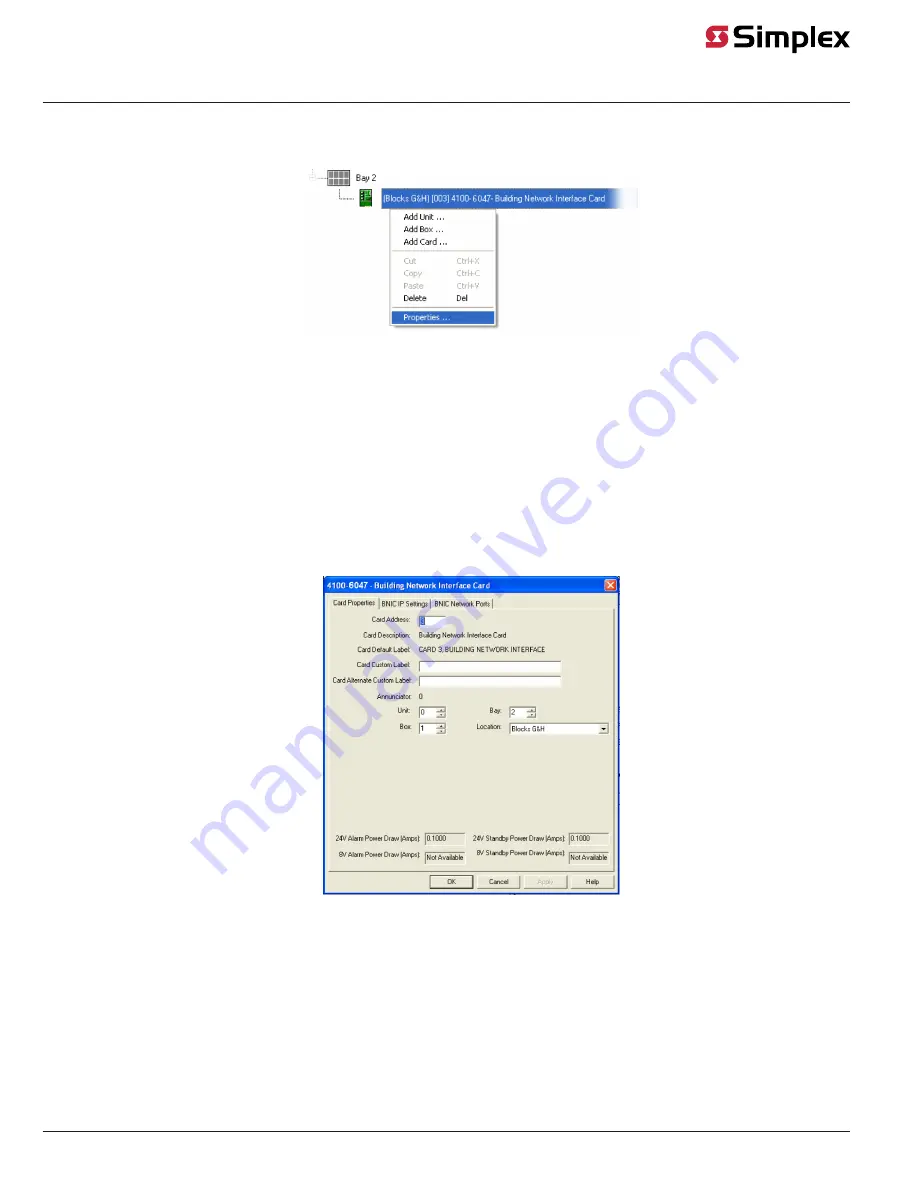
Configuring the BNIC
Follow these steps to configure the BNIC:
1. Right-click on the
BNIC
icon in the
Hardware
tree view.
Figure 12: Accessing the card properties
2. Select and open the
Properties
option. This will open the
BNIC
window.
3. Configure the
Card Properties
tab by setting:
- The Card Address
- The Card Custom Label
- The Card Alternate Custom Label
- The Unit
- The Box
- The Bay
- The Location
Note:
For additional information on card properties consult the
ES Programmer Manual
.
Figure 13: Card properties tab
4. Select the
BNIC IP Settings
tab.
5. Configure the
BNIC IP Settings
tab by setting:
- The IP Address.
• Use the
Dynamic Host Configuration Protocol (DHCP)
option to have the Building Network automatically assign an IP address
to the card.
• Select the
Use the following address
option if you want to set the IP address manually and enter a Static IP address.
- For Static IP Addresses:
• If you are using a Customer LAN, refer to the worksheet information on
Before You Approach Your MIS/IT Department
customer provided addresses.
page 11
579-949 Rev. D
4100-6047 and 4010-9914 Building Network Interface Card Installation and Programming Manual


