FLOW-IN PRO USER MANUALEN
MODELS
IM7110
PE905 FIP
Page 1: ...FLOW IN PRO USER MANUAL EN MODELS IM7110 PE905 FIP...
Page 2: ...n_US Jilmas Group Nordic ApS Eli Christensens Vej 90 7430 Ikast Denmark Telephone 45 70104014 Fax 45 70131389 E mail info silverline dk Internet www silverline dk 11 02 2021 FLOW IN PRO USER MANUAL EN...
Page 3: ...Scheme 33 14 USE OF PRODUCT 34 14 1 Hood Panel 34 14 1 1 Automatic ventilation 35 14 1 2 Timer 35 14 1 3 Metal Oil filter 37 14 1 4 Active Carbon filter 37 14 1 5 Starting the countdown of the active...
Page 4: ...he images in this booklet but the instructions for use maintenance and installation remain the same It is important to keep this user manual for future reference at any time Make sure that this user m...
Page 5: ...sockets or extensions After completing the installation the user should no longer be able to access the electrical components The areas touched during use are hot Keep children away from the applianc...
Page 6: ...oking process should always be monitored NEVER try to extinguish the fire with water On the contrary turn off the stove immediately and smother the flames using a fireproof lid or a cover Do not put a...
Page 7: ...tenance operations The inside and outside of the appliance should be cleaned fre quently AT LEAST ONCE A MONTH Also follow what is clearly stated in the maintenance instructions Failure to comply with...
Page 8: ...ront cooking area power value 2000 W 2800 W Rear cooking area cooking pot size 190mm Rear cooking area power value 1500 W 2000 W Stove power efficiency_EN 60350 2 1st cooking area power consumption 17...
Page 9: ...UCT PERSPECTIVES 520 140 5 R 5 319 126 195 482 145 512 152 58 210 780 740 480 363 20 210 453 520 0 6 Fig 1 Flow in Pro stten nden yandan g r n m PRODUCT PERSPECTIVES 11 02 2021 FLOW IN PRO USER MANUAL...
Page 10: ...9 10 Fig 2 1 Decorative Lid 2 Oil Filter 3 Carbon Filter Cover 4 Carbon Filter Optional 5 Oil filter Bed 6 Control Panel 7 Water Tank 8 Elbow Optional 9 Fladkanal 10 Flexi pipe PRODUCT OVERVIEW 11 02...
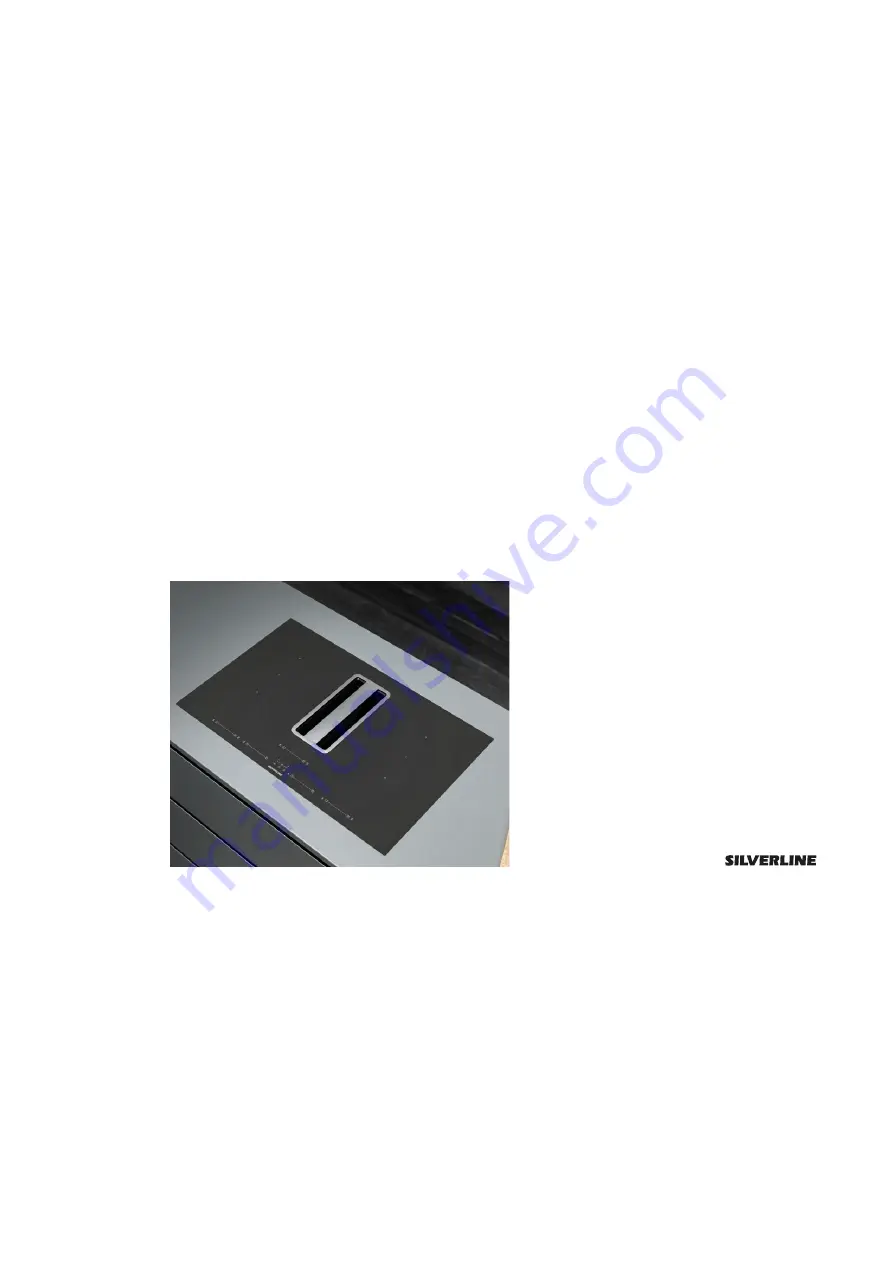
Page 11: ...finger contact part and display panels 2 3 Fig 3 Control panel located on the product 1 Stove Hood Panel 2 Timer Panel 3 Stove Panel 6 7 8 9 12 11 13 14 10 Fig 4 Control panel detail Do not place wet...
Page 12: ...ed ventilation button 5 Timer button Stove 6 3 level temperature button 7 Enabling stove zone reset button 8 Stove cooking level indicator button 9 Power assisted cooking button 10 Bridge button 11 Ti...
Page 13: ...g Time display Error display 6 3 Stove Hood Usage Type Depending on the model you purchased the stove hood is in exhaust air mode or recirculating air mode Exhaust Air Mode The absorbed air is cleaned...
Page 14: ...ed to install an active carbon filter in order to catch the substances which cause stink in the circulating air Consult your authorized dealer to know the different opportunities avail able for enabli...
Page 15: ...tive carbon filter Fig 5 2 Remove the active carbon filter lid Fig 6 WARNING Do not put the active carbon filter in the dish washer Wash it with a soft cloth in warm soapy water 1 Fig 5 1 Water Tank F...
Page 16: ...f Fig 7 Replace the carbon filter you have taken out with a new one Attaching the Active Carbon Filter Attach the active carbon filter by performing the reverse of the procedures given above 1 Fig 7 1...
Page 17: ...shing direction only n Cleaning metal oil filters Used metal oil filters catch the grease particles from the moist and steam in the kitchen Clean the metal grease filters about every three months unde...
Page 18: ...nd steeply and without any other dishes 5 Start a program with a maximum temperature of 55 C Colour changes may occur due to cleaning in the dishwasher These do not adversely affect the function of th...
Page 19: ...ing or cleaning Water tank capacity is 1 7 litres Clean the water tank once a week WARNING Do not put the water tank on the dishwasher Wash it with a soft cloth in warm soapy water CLEANING AND PREVEN...
Page 20: ...advantages n Safer Minor heat on the glass surface n Faster Duration when heating a meal is shorter n More precise Stove commands are more active n More effective 90 of the energy consumed is turned i...
Page 21: ...areas will not burn Always lift your pots from your stove never slide them this causes the glass to be scratched Make sure that the middle point of your pot is towards the center of the pot on the pro...
Page 22: ...2 8 kW 2 0 2 8 kW 190 385 mm 1 5 1 8 kW 1 5 1 8 kW W k 6 3 0 3 2 1 3 4 2 1 3 4 Fig 10 Use the pot to be used in each section in accordance with the diameter of the pot Induction Cooking System Working...
Page 23: ...high power level When the power level is lowered the sound decreases or disappears Sounds such as crackling and whistling may occur If the stove is used heavily the cooling fan can run automatically...
Page 24: ...Oil Filter 3 Decorative Lid 4 Water Tank 5 Rectangular Tube 6 Short Elbow Short 7 Flexi pipe 8 Sealant Tape 9 Sealant and heat isolating material 10 Active Carbon Filter Lid 11 Active Carbon Filter O...
Page 25: ...sistant The weight of the appliance is specified in the label on the package Clean the sawdust after cutting Cover the cut surfaces so that they are heat resistant and waterproof The cross sectional s...
Page 26: ...our counter in accordance with the counter section in Fig 15 In built in installation Consider the bench cuts in Fig 16 600 140 800 Fig 14 50 x Fig 15 17 10 40 6 0 7 R 5 0 784 2 750 2 524 2 490 2 0 0...
Page 27: ...In counter top installation Consider the bench cuts in Fig 17 15 10 40 750 2 490 2 0 0 6 Fig 17 Installation and Assembly 11 02 2021 FLOW IN PRO USER MANUAL EN 27...
Page 28: ...he installation dimensions to prepare your counter before starting the assembly Fig 18 450 mm space is required to remove the water tank Fig 18 257 125 52 300 99 B A Fig 19 Assembly 11 02 2021 FLOW IN...
Page 29: ...r top in accordance with the speci fied dimensions proceed to the installation steps below 1 Decorative lid 2 Oil Filter 3 Water tank Take out the decorative lid oil filter and water tank from the pro...
Page 30: ...lating materials Fig 22 When placing the worktop product on the counter be careful not to damage it Separate the heat insulating material from the tape and attach it to your product Fig 23 1 Elbow pip...
Page 31: ...it from the counter and bring it to a flat position n Place the back of the product on the counter first Fig 26 A Then place the front of the product Fig 26 B 1 Elbow pipe 2 Rectangular pipe Install t...
Page 32: ...ter assembly 1 Heat resistant black silicone 2 Sponge After completing the installation of your appliance fill the remaining spaces on your counter with heat resistant silicone Fig 29 Fig 30 After fil...
Page 33: ...1 2 4 L N 220 240V 50 60Hz 1 2 3 4 L2 N2 220 240V L1 5 5 3 PE PE 380 415V 2N 50 60Hz 220 240V PE PE 220 240V N1 BLUE BLACK BROWN GREY BLUE BLACK BROWN GREY Fig 32 Connection Scheme 11 02 2021 FLOW IN...
Page 34: ...nutes Timer It is used to activate the timer fea ture The timer can be set from the stove control area To activate your appliance press the on off button for 3 sec onds When your appliance is turned o...
Page 35: ...ig 40 When the automatic mode and cooking areas are active on your appliance press the automatic ventilation button to exit the automatic mode If you want to adjust your hood in automatic mode if you...
Page 36: ...ig 43 When you set the timer for 10 minutes or more the hood starts to slow down the ventilation rate until the hood stops in the last 5 minutes of the countdown after 5 minutes the hood turns off The...
Page 37: ...carbon filter press the button for 3 seconds to reset the filter symbol and the carbon filter countdown timer 14 1 5 Starting the countdown of the active carbon filter When your appliance is turned on...
Page 38: ...ctivate the selected cooking level Stove level detection button It is used to determine the cooking level Power boost cooking mode selec tion button It use used to operate the cooking areas in maximum...
Page 39: ...f no suitable pan is placed on the stove the dis play will automatically turn off after 1 minute Symbol Explanation Temperature C Used for melting food and defrosting frozen food 50 It is used for war...
Page 40: ...the cooking areas of 1 and 2 and the cooking areas of 3 and 4 To activate the bridge function you activate the bridge function by pressing the bridge button located on the cooking areas 1 or 4 number...
Page 41: ...ave selected to activate the timer feature determine the time you want to enter by using the buttons on the control panel Fig 57 The set time flashes 3 times on the display and the timer symbol lights...
Page 42: ...ch the buttons of the timer the time decreases or increases by 1 minute The set time flashes 3 times on the display and the timer symbol lights up on the active stove Fig 59 When the timer expires the...
Page 43: ...Medium power 4 5 Cooking frying sau t ing grilling Boiling maintaining mod erate boiling cooking prolonged Mixing pasta with sauce 3 4 Cooking boiling thick ening mixing Mixing pasta with sauce to co...
Page 44: ...l starts heating in 3rd minute 7 8 Cooking 4 5 Chicken Thawing Heating acces sories 1 Defrost 1 Pan frying Cooking 7 Cooking chicken and continuing boiling 6 7 Potatoes Frying potatoes Heating oil 9 F...
Page 45: ...unctions or com plete failure may occur in the appliance The use of incorrect spare parts or accessories can cause injuries If unauthorized accessories or unauthorized spare parts are used the manufac...
Page 46: ...d Ver tical90 4043078 1 227x174x94 10 2 YT207 1001 14 F VRO 500 150 flat duct 4040075 2 500x222x89 3 YT207 1001 94 F RBFLEX 1 system 150 pipe bend 4043042 1 550x227x94 4 YT207 1001 11 N KLEB PVC duct...
Page 47: ...YT207 1001 92 FRAME 255x125 YM972 1000 52 STOVE GLASS MOLD INOX 522x12 Accessories and Spare Parts Accessory 11 02 2021 FLOW IN PRO USER MANUAL EN 47...
Page 48: ...YM115 7000 402 STOVE GLASS DECOR MOLD BLACK 522x12 YM131 7000 405 VENT SHEET 339x110 YT540 7000 0100 01 CARBON FILTER Accessories and Spare Parts Accessory 11 02 2021 FLOW IN PRO USER MANUAL EN 48...
Page 49: ...YT142 7000 01 GREASE FILTER NOX YT142 7000 02 GREASE FILTER BLACK YT142 7000 03 GREASE FILTER ORANGE Accessories and Spare Parts Accessory 11 02 2021 FLOW IN PRO USER MANUAL EN 49...
Page 50: ...415 V and product must be plugged into a grounded socket Product s Air Intake is Weak Check The Alumi nium Filter The aluminium cartridge filter should be washed once a month under normal conditions...