Getting
started
30
Initial installation with the installation assistant
When switching on the receiver for the first time, the installation
assistant will be invoked. It will lead you through all important points
of initial installation. (The installation assistant will also be invoked if
you load the company settings).
After having read the welcome screen, confirm with the “OK“ key
to proceed.
Select your menu language with the “CH–“ and ”CH+“ keys.
Confirm by pressing the “OK” key.
Select the audio language with the “CH–“ and ”CH+“ keys.
Confirm by pressing the “OK” key.
Select your country and therefore your time zone with the “CH–“
and ”CH+“ keys.
Confirm by pressing the “OK” key.
Selecting the remote supply of the antenna
If you own an active antenna, you can put in electricity via the
receiver using direct current of +5V.
Please follow the instructions in the operating manual of your
antenna.
Select “Yes“ to activate the remote supply of the antenna.
If you do not wish to activate the remote supply of the antenna,
select ”No“.
Confirm by pressing the “OK” key.
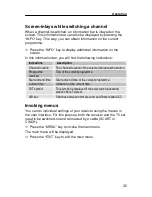
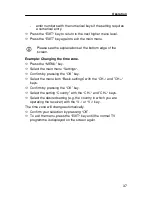
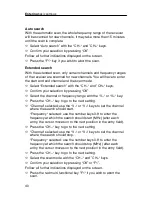
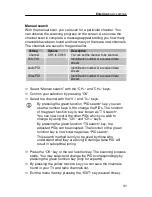
Press the “OK“ key to start the first scan of broadcasting stations.
Select “Yes“ and press the OK key if you wish to automatically
include the channels found in the TV and radio channels list (If
you select ”No“, the channels will not be stored and the current
TV and radio channels list remains unchanged.). The channels
list will be displayed and in the background, a programme of the
updated channels list is running. Select the function “Select“ by
pressing the yellow function key. Now, the TV and radio channels
found are stored. Press the OK key to complete the installation
process.
Summary of Contents for SL 65 T
Page 1: ......
Page 2: ......
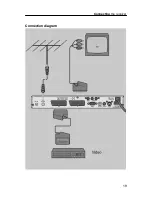
Page 17: ...Connecting the receiver 17 Connection diagram ...
Page 19: ...Connecting the receiver 19 Connection diagram ...
Page 21: ...Connecting the receiver 21 Connection diagram ...
Page 23: ...Connecting the receiver 23 Connection diagram ...


