


Digital Photo Frame DPF-710A
English
15
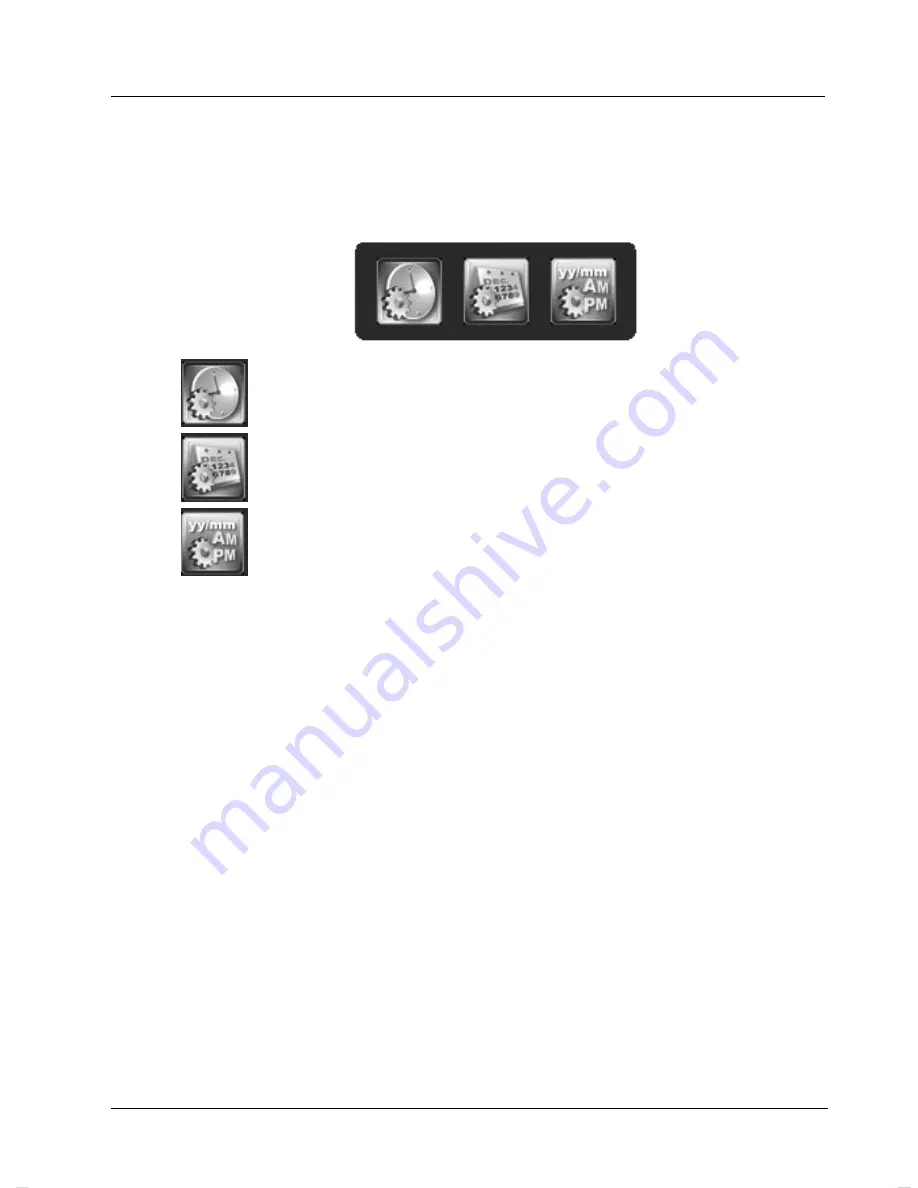
Setting Date and Time
To set the date and time, press and hold
Menu
(6) while the clock or
calendar is displayed until the following menu appears:
To set the clock
To set the date
To set the date and time format
Press the buttons
right
(3) or
left
(4) to select the desired icon and enable it
by pressing
Enter
(5) to enable the selected function.
To set the time, press
right
(3) or
left
(4) to select the hours, minutes or
seconds and press
up
(1) and
down
(2) to set the desired value. Press the
Enter
(5) button to apply the changes and to return to the above menu. To
set the date, proceed as for setting the time.
For the date format, press
up
(1) and
down
(2) to choose between
month/day/year, day/month/year or year/month/day. For the time format you
can toggle between 12 and 24 hour display. Press the
Enter
button (5) to
confirm your selection.
After you are done with all settings, press the
Menu
button [6] to exit the
Setup menu.


