

1
Activating a phone
To activate a phone you need (1) an extension number, (2) a phone, and (3) a PIN.
The administrator can provide you with an extension number and default PIN.
1
Connect one end of an Ethernet cable to the network LAN jack and the other to
the phone port marked by the
symbol on your 5320 IP phone.
2
If your network is not configured with Power Over Ethernet, connect the phone
power pack to a power outlet.
3
If you also need to connect your computer to the LAN, connect an Ethernet cable
from your computer's network port to the phone port marked PC.
4
Wait for the phone to show “Logged Out”.
5
Press the
ACTIVATE
softkey.
The Information area display will show:
6
Enter your extension. If you have login/logout privileges, the Information area
display will show:
7
Enter your PIN.
8
Press the
ENTER
key. The Information area display will show:
9
where
xxx
is the extension of your phone.
You have now successfully activated the phone and can now make calls.
2
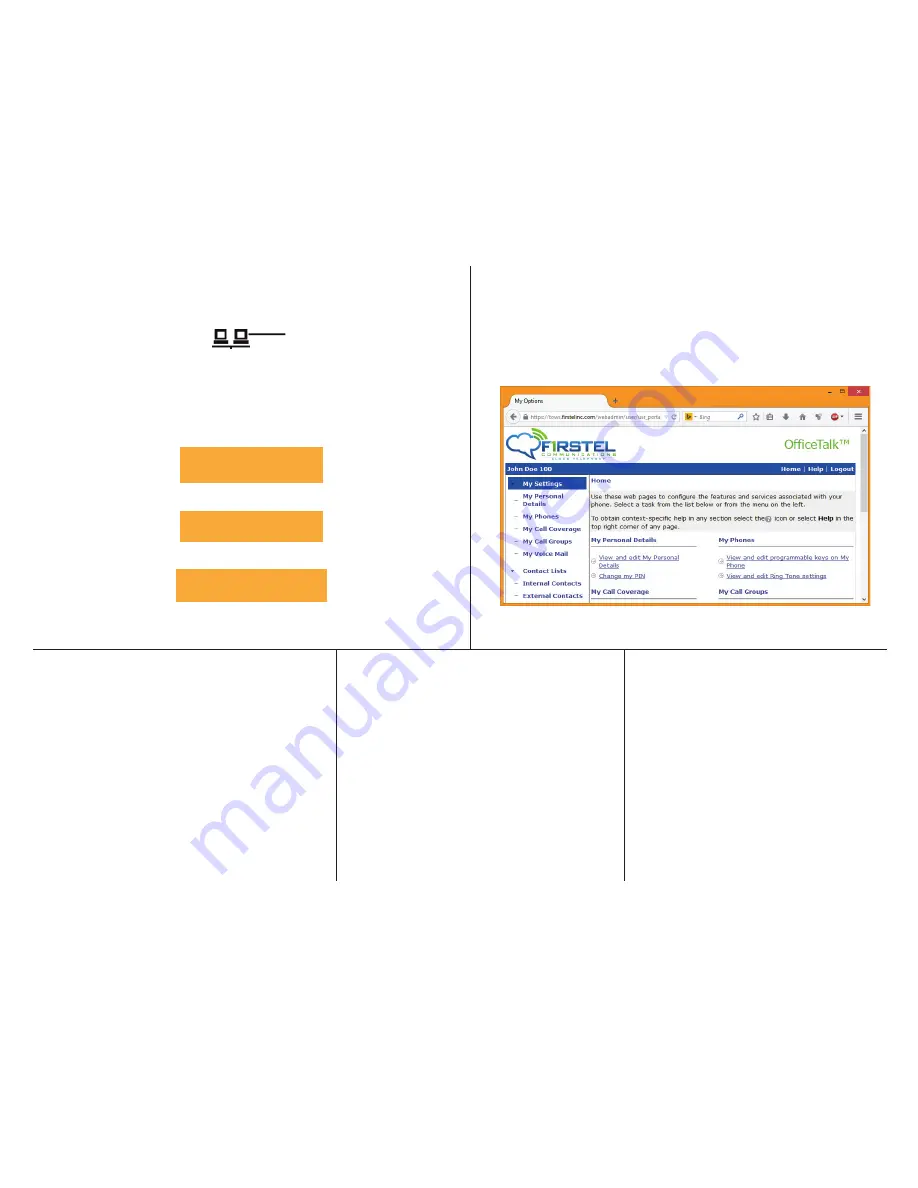
Logging in to the web administration interface
To log in to the web administration interface, follow these steps:
1
Open your web browser (Internet Explorer 6.0 or higher or Mozilla Firefox
1.5.0.4 or higher).
2
Enter the URL for telephone users (provided by your administrator).
The Login screen appears.
3
Enter your extension and PIN (provided by your administrator).
Your personal Home Page will appear.
For assistance on performing any of the functions on this page, select
Help
or refer
to the
Mitel IP Phone User Reference Guide
.
3
Programming memory keys
To customize your phone features, follow these steps:
1
Log into the web administration interface.
2
Select
My Phone
in the left-hand menu.
3
Select
Mitel 5320 IP Phone
from the
Phone Model
drop-
down list if this is not already displayed.
NOTE—The phone that you are currently logged into
will be marked with an *.
4
Select the page of the key you want to program.
5
Select the memory key that you want to program.
6
Enter the information in the fields displayed in the
Program Memory Details
window.
7
Select
Save
or
Close Window
.
8
The programmed memory key labels are shown
beside the keys on the phone’s Memory Key Label
Display.
4
Setting up your call coverage
Call coverage allows you to specify where calls you do
not answer should be directed. Call coverage options
include voice mail, an auto attendant, a co-worker’s
extension, or another phone number such as your
home number or cell phone.
To configure your call coverage, follow these steps:
1
Log into the web administration interface.
2
Select
My Settings i
n the left menu.
3
From the menu appearing in the main frame, select
View and edit call coverage options
.
The main frame will display the call coverage
options.
4
Follow the on-screen instructions.
5
Click
Save
.
5
Recording your name announcement
Callers hear your recorded name announcement
as confirmation when they use the auto attendant
name directory to contact you.
NOTE—The recorded announcement is for
the auto attendant. It is not your voice mail
greeting.
To record, or re-record your name announcement,
follow these steps:
1
Log into the web administration interface.
2
Select
Personal Details
in the left menu.
3
Select the
Record
button on the
Personal
Details
page.
4
When a
Record Prompt
pop-up window is
displayed, follow the instructions.
Extension:
PIN:
Extension: xxx


