.
Beginners Note
These instructions were written assuming that the builder has previous building experience. If this is your frrst model then we
recommend that you purchase a copy of the following book:
Rubber Powered Model Airplanes By: Don Ross
This excellent book covers basic building and flying procedures and provides valuable information about all aspects of building
and flying rubber powered model airplanes.
Building the Tail Surfaces
1.
Cover the plan with wax paper.
2.
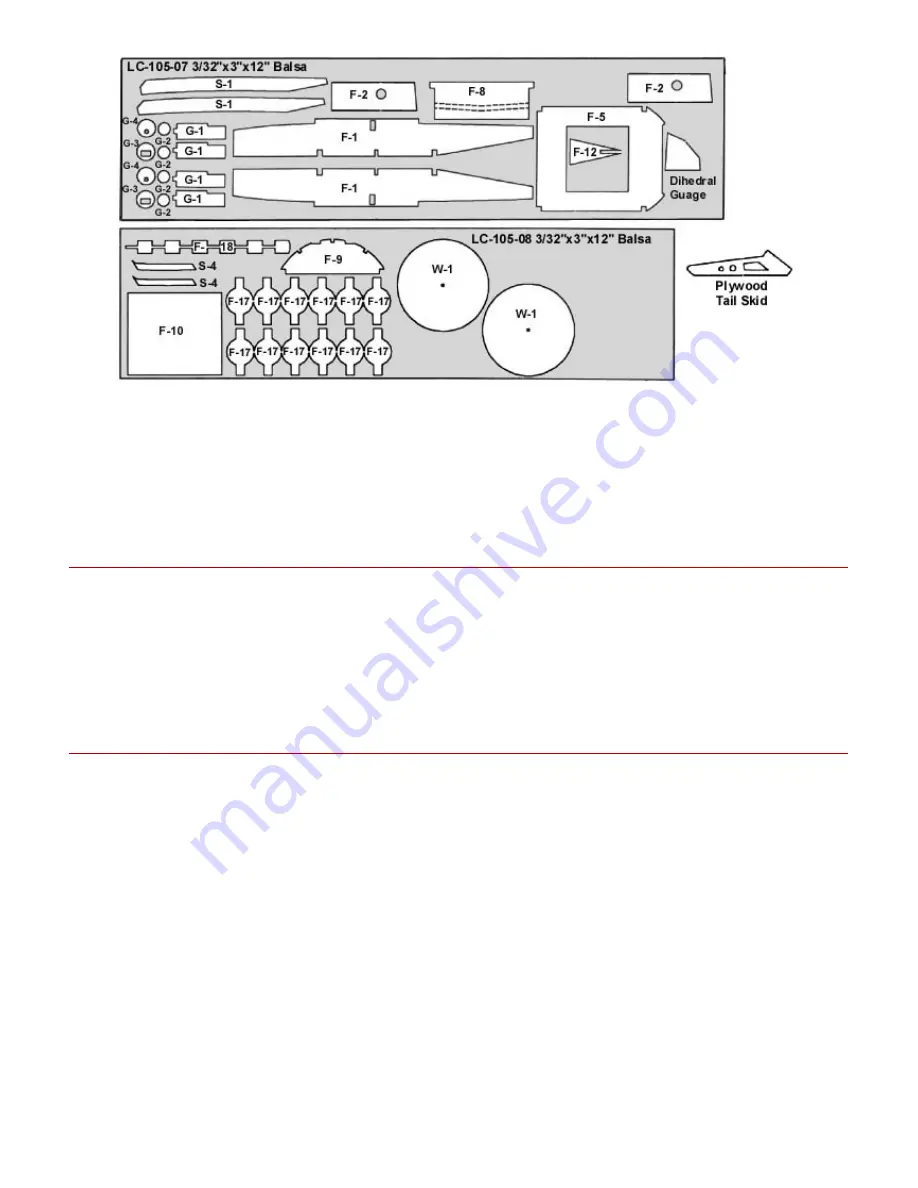
Build the Rudder from laser cut parts R-1, R-2 and R-3. The remaining rudder structure is made from 3/32"sq. balsa strip.
3.
Build the Stabilizer from laser cut parts S-1, S-2, S-3 and S-4. The remaining stabilizer structure is made from 3/32" sq.
balsa strip.
4.
Sand the tail surfaces smooth and round the edges. Set the tail surfaces aside until needed later.
Building the Fuselage
5.
Build the fuselage sides over the plan using the laser cut parts F-1, F-2 and F-3. The remaining pieces of the side frames
are made from 3/32" sq. balsa strip.
6.
Glue F-4, F-5 and F-6 into position on one of the side frames. Use a small square to insure that the formers are 90 degrees
to the side frame.
7.
Glue the other side frame into position on the formers. Use care to maintain a square and true structure.
8.
Glue F-7 and F-9 into position.
9.
Glue two pieces of 3/32" sq. balsa to the front of F-8 and then glue F-8 into position on the fuselage.
10.
Glue F-10 into position.
11.
Glue F-14 into position between F-6 and F-9, and resting on top of F-7.
12.
Glue the two 1/16" sq. stringers between F-6 and F-9. Glue the single center 1/16" sq. stringer into position between F-7
and F-9.


