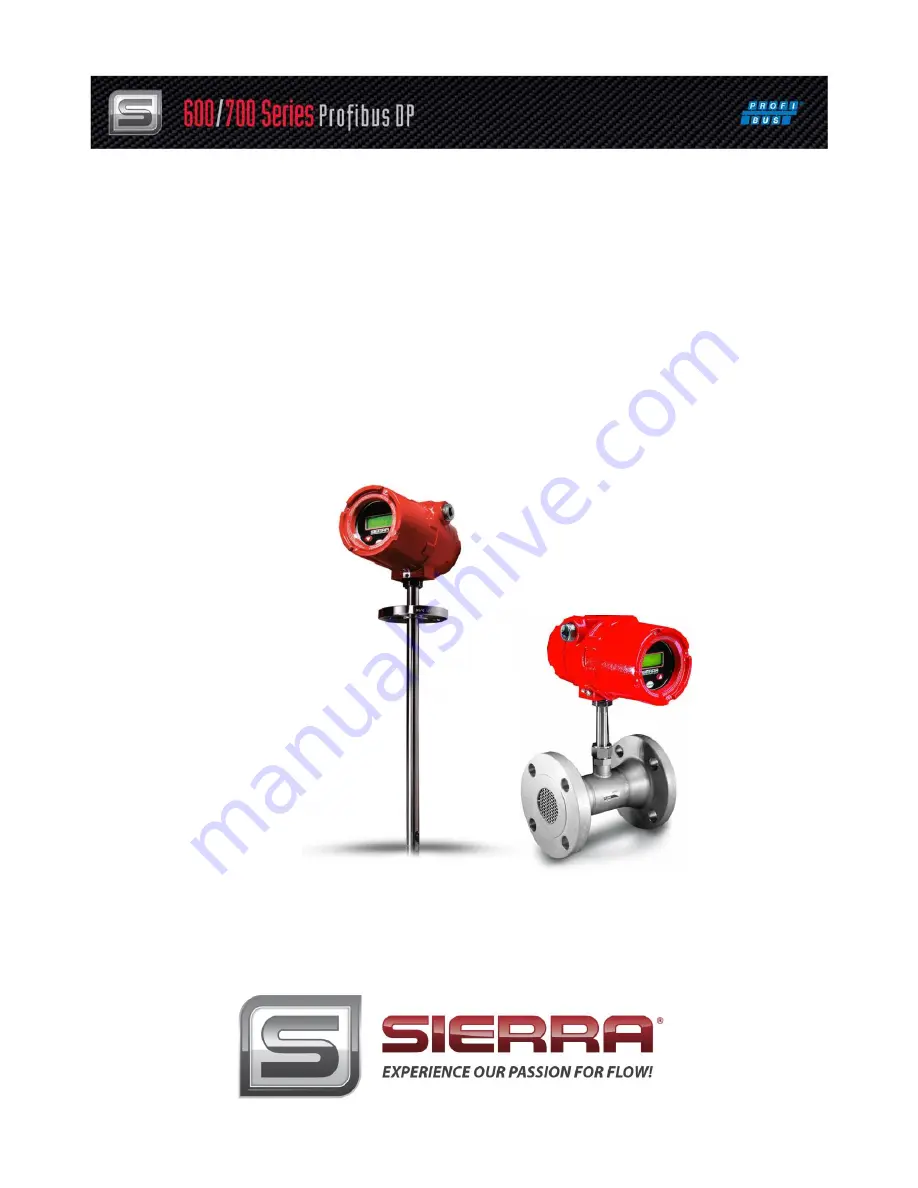
600/700 Series Profibus DP
Instruction Manual
Profibus DP Device Specification for Models:
640S, 760S, 780S, and 780S-UHP
Thermal Mass Flow Meters
Part Number: IM600/700 ProfibusDP Rev.V1
May 2013
Page 1: ...600 700 Series Profibus DP Instruction Manual Profibus DP Device Specification for Models 640S 760S 780S and 780S UHP Thermal Mass Flow Meters Part Number IM600 700 ProfibusDP Rev V1 May 2013...
Page 2: ...flow meters for oxygengas You are responsible for determining if this mass flow meter is appropriate for your oxygen application You are responsible for cleaning the mass flow meter tothe degree requ...
Page 3: ...ing Always remove main power before disassembling any part of the mass flow meter Caution Before making adjustments to the device verify the flow meter is not actively monitoring or reporting to any m...
Page 4: ...Service Technical Assistance If you encounter a problem with your flow meter review the configuration information for each step of the installation operation andsetup procedures Verify that your sett...
Page 5: ...witch 10 Server Assigned Address 11 Set Address 126 11 Chapter 3 Configuration 12 GSD File 12 Cyclic Data Overview 12 Cyclic Data Explained 13 Syscon Software 14 Import Device Description Files 14 Con...
Page 6: ...ailable in the flow meter Set Up Quick Step Plan To successfully add the flow meter to a Profibus DP network you need the following Profibus network with a DP master GSD file Bitmap files Connection c...
Page 7: ...e following pin configuration Front view The Profibus DP network can be connected with a special terminal block connection This must be requested at the time of ordering The down side of this is the P...
Page 8: ...can be found online at http verwertraining com wp content uploads InstallationGuideV9_2 pdf The cable must conform to the following specifications Impedance 150 Ohm nominal at frequencies from 3 to 20...
Page 9: ...Status Leds The interface has two multi color LED s mounted inside the enclosure to indicate the status To access the LED s remove the front cap The left LED shows the status of the interface the righ...
Page 10: ...anization to be free for installing new devices to the bus Changing the station address is done in two ways either through a dip switch or through the master Dip Switch The dip switches are located in...
Page 11: ...the server Perform the following steps to change the address 1 Assign a new address from the server 2 Set the dip switch to 128 pin 8 on or higher The assigned address will be used each time that the...
Page 12: ...ers Hardware characteristics o VPC3 C dependable properties Software characteristics o Supported features of Profibus Freeze Sync auto baud rate detection Maximum bus data lengths Size of used data bu...
Page 13: ...g outputs of the instrument when used The 20mA 5 VDC will represent the new full scale value Factory Full Scale R Data type 32 bit floating point LSB MSB Description Factory full scale value of the in...
Page 14: ...s of the equipment are available which are generated from the device description files called generic slave DTMs Online diagnostic indicators and auto scan function for the reading of network particip...
Page 15: ...estart it to make it available Configure A Slave Create A New Document And Insert A Master Place the master at the top of the line A dialog window appears where a master needs to be selected from a li...
Page 16: ...Press Yes to use the hardware Note The board ID number changes when extra PCI cards are added to the PC Older configurations must be checked before trying to run them Auto Addressing The master needs...
Page 17: ...menu Insert Slave Place it below the master Set the slave filter to Sierra Instruments Inc Select the desired GSD file press the Add button set the slave address and description to match the slave an...
Page 18: ...the added slave in the main window The slave configuration window appears Select the desired modules by double clicking on the module name Press the OK button When done save the new configuration to...
Page 19: ...19 A pop up may appear warning you that the communication may stop Press Yes to continue The data is downloaded to the master The system is ready to be used...
Page 20: ...e sure things are working start the debug mode If everything is working correctly then the line between the master and the slave will be green and the bit map shows a green check Double click on the s...
Page 21: ...utton and leave the debug mode Online Stop Debug Mode Should the line be red error then double click the slave to find out what the problem is The diagnostic window gives an indication of a problem wr...
Page 22: ...ation is incorrect adjust it and download the configuration Kepserverex 4 0 You may be using different server software or a PLC This example shows how to use the KepserverEx 4 0 free demo software on...
Page 23: ...23 Choose a Master we are using a Hilscher CIF50 master Click Next The defaults will work click Next Chose the board and type click next...
Page 24: ...import the setup pb file that we created earlier in Syscon You may browse to the location where you saved it Click on the Browse button Browse the 640S flowmeter pb you just created in Sycon Once high...
Page 25: ...25 You should see this warning You can review the summary of the new channel you just created You may now add your first slave device Click on Click to add a device...
Page 26: ...26 Give your new device a name Set the device ID ID 0 was already used for the master so chose 1...
Page 27: ...27 The next 2 screens will be fine as default click next Choose the device type Click next Review the new device summary click next...
Page 28: ...eated a new device for your network You will now need create a Tag to access each piece of Cyclic data as specified in chapter 3 2 Click on Click to add a static tag and fill in the boxes as above The...
Page 29: ...to add the last Address of the previous device to the starting address of the new device Add a tag name Address 0 with the data type in this case IO D 0 S 32 bit float byte swapped Add a description...
Page 30: ...2 ASCII 7 Flow unit 5 ASCII 8 Totalizer unit 3 ASCII 9 Status 2 INT Incoming Cyclic data master to slave Instance ID Description Size bytes Format 10 Reset totalizer 4 REAL 11 User full scale 4 REAL 1...
Page 31: ...reeze_Mode_supp 1 Sync_Mode_supp 1 Auto_Baud_supp 1 Set_Slave_Add_supp 1 Min_Slave_Intervall 1 Modular_Station 0 Fail_Safe 0 Slave_Family 0 General Max_Diag_Data_Len 6 DPV1_Slave 1 C1_Read_Write_supp...
Page 32: ...32 GSD File Cert...