background image

PinPoint X HSUPA/HSDPA

28

20070914

Warning:

When using AC to DC adapter the ambient temperature should not exceed   

40

 0

C.

Your PinPoint X can be used with either DC or AC, with the appropriate power 
adapter. DC cables and AC adapters are available as optional accessories in 
addition to the one included with your PinPoint X.

The DC power cable positive lead should be connected to the battery or power 
source positive terminal. The power cable negative lead should be connected to 
the battery or power source negative terminal.

The battery cable used for a car, truck, or other mobile connection must be less 
than 3 meters in length.

The PinPoint X has an internal polysilicon circuit breaker that opens at 0.5 to 1.0 
amps of current.

If you wish to use the Standby Ignition Sense (SISE) feature of your PinPoint X, 
the white wire of the three wire DC power cable should be used to connect to your 
ignition. When SISE is enabled in the modem and the ignition sense connector is 
wired to your vehicle, the ignition sense will provide a link to the modem to enable 
it to enter a low-power, standby mode when your vehicle is turned off and power 
up more quickly when the ignition is started.

Figure 0-7: Ignition Sense power connector

Warning:

Explosion Hazard - Do not disconnect equipment unless power has been 

switched off or the area is known to be non-hazardous.

Connecting to a Computer or other 
Device

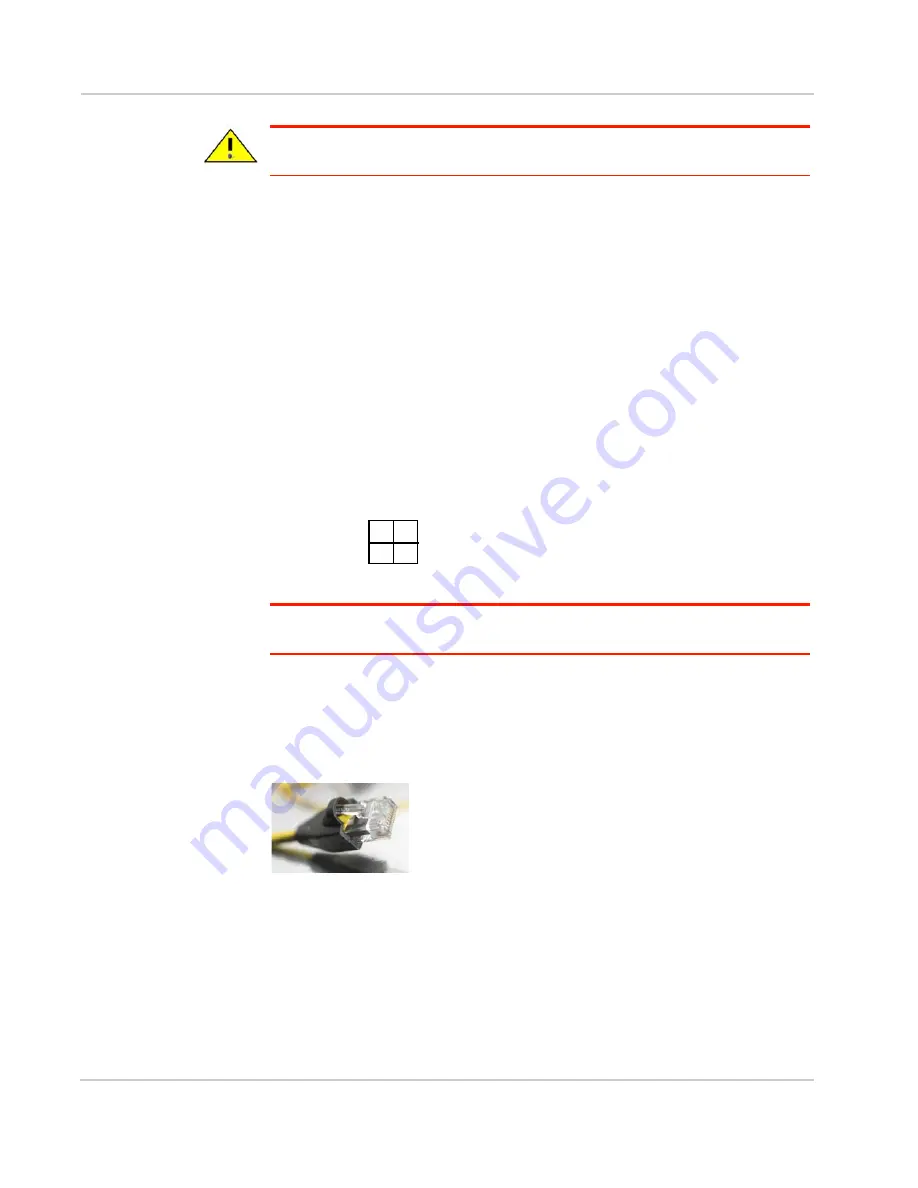
Figure 0-8: Ethernet

The Ethernet port of your PinPoint X can be connected directly to a computer or 
other Ethernet device with either a cross-over cable or a straight-through cable. 
The Ethernet port on the PinPoint X is auto-sensing and will auto-detect the 
speed of the connecting device for 100baseTX or 10baseT. If you are connecting 
the modem to a hub or switch you should use a straight through cable or use the 
uplink port on the hub or switch with a cross-over cable.

Ignition Sense (white)

Power (red)

Ground (black)

Not Used

Summary of Contents for PinPoint X

Page 1: ...CoverTitle PinPoint X Quick Start Guide for AT T 20070914 Rev 3 0C...

Page 2: ...and it may be pre installed by your Sierra Wireless Representative If the SIM was pre installed unless you need to set a custom APN activation of your modem is complete Skip to the PinPoint X Placeme...

Page 3: ...Phillips screw driver The Phillips screw driver is the one which is also called a plus or X screw driver Slim stylus A PDA stylus an unbent paperclip or other such item Procedure a Unplug the PinPoin...

Page 4: ...to click it into place Tip The top of the card faces the bottom of the modem Figure 0 4 Inserting the SIM Replace the cover to prevent dust or other unwanted particles from entering the PinPoint X Onc...

Page 5: ...stallation please be sure that the cables are secure but do not bear any additional weight that could loosen the connector from the unit Your PinPoint X should be mounted in a position that allows eas...

Page 6: ...r Connect the primary antenna or primary RF cable directly to the antenna connector on the back of the PinPoint X Tip When using a cable to an antenna placed away from the modem minimize the length of...

Page 7: ...ld be used to connect to your ignition When SISE is enabled in the modem and the ignition sense connector is wired to your vehicle the ignition sense will provide a link to the modem to enable it to e...

Page 8: ...odem will communicate at a reduced speed to match The PinPoint X functions as a device not a host When it is connected to a computer the USB port should be seen as a COM port or Ethernet port after th...

Page 9: ...rdinates to report Power Indicates the power adapter is connected and there is power getting to the PinPoint X The Reset button on the left side of the PinPoint X has two functions If it is quickly de...

Page 10: ...tting up a DUN Connection Dial up Networking DUN allows a computer or other device to use the serial port or ethernet port on your PinPoint X to connect to the Internet or private network using PPP ju...

Page 11: ...PinPoint X HSUPA HSDPA 32 20070914 Figure 0 13 Phone and device Options b Select the devices tab Figure 0 14 Phone and device Options devices c Select Add...

Page 12: ...e 0 16 Add Hardware Wizard Install New device f Select Standard device Types from the Manufacturers column g Select Standard 33600 bps device from the Models column Tip If you have the speed for your...

Page 13: ...ts j Select the COM port the device is connected to commonly COM1 k Select Next Figure 0 18 Add Hardware Wizard Finish l Once the device driver is installed select Finish When you return to the Phone...

Page 14: ...Rev 3 0C Mar 10 35 Figure 0 19 Phone and device Options devices a Highlight the device and select Properties Figure 0 20 device Properties b Select the device tab...

Page 15: ...If you have an existing LAN connection installing DUN for the modem may interfere with the LAN connection It s recommended to disconnect your LAN connection before using a PPP connection with your Pi...

Page 16: ...tions to open the Network Connections window Figure 0 22 Windows Start menu b Select Create a New Connection under Network Tasks in the menu area on the left Figure 0 23 Create New Connection c Select...

Page 17: ...nection Wizard d Select Connect to the Internet e Select Next Figure 0 25 New Connection Type f Select Set up my connection manually g Select Next Figure 0 26 New Connection How do you want to connect...

Page 18: ...ect Next Figure 0 28 New Connection Select Modem m Type in a name for the connection such as Sierra Wireless AirLink Modem n Select Next Figure 0 29 New Connection Connection Name Tip The name provide...

Page 19: ...ssword for the connection so you can leave the fields blank unless otherwise instructed by Support s If you want to allow others to use the same login for the modem select Use this account name and pa...

Page 20: ...dd a shortcut v Select Finish to exit the Network Connection Wizard Figure 0 33 New Connection Finish 2 Configure the DUN connection After you complete the New Connection Wizard there are a few more t...

Page 21: ...es c Check Show icon when connected d Select Configure below the Connect using line Figure 0 35 DUN Properties e Select 115200 as the Maximum speed f Check Enable hardware flow control g Do not check...

Page 22: ...ing j Select Settings k Remove the checks from all three PPP settings l Select OK Figure 0 38 PPP Settings m Select highlight Internet Protocol TCP IP and then select Properties Tip For most configura...

Page 23: ...d TCP IP Tip You may want to check the Options tab and change the settings for applications you might be using The default options are generally applicable for most uses Caution Unless specifically di...

Page 24: ...ierra Wireless AirLink website Note The direct DUN connection features of ACEview are not available in Windows 98 or Windows NT This guide assumes you have a default installation of ACEview 1 Start AC...

Page 25: ...the DUN connection 1 Start the DUN session Start Connect To Sierra Wireless AirLink Modem If you named the connection differently use the name of the PPP connection you made earlier Figure 0 43 DUN C...

Page 26: ...er or the Internet When you re connected an icon should appear in the system tray showing the connection status Figure 0 44 Connection indicator Caution For DUN connections on a Windows Mobility or ot...

Page 27: ......

Reviews: