background image

BEDIENUNGSANLEITUNG


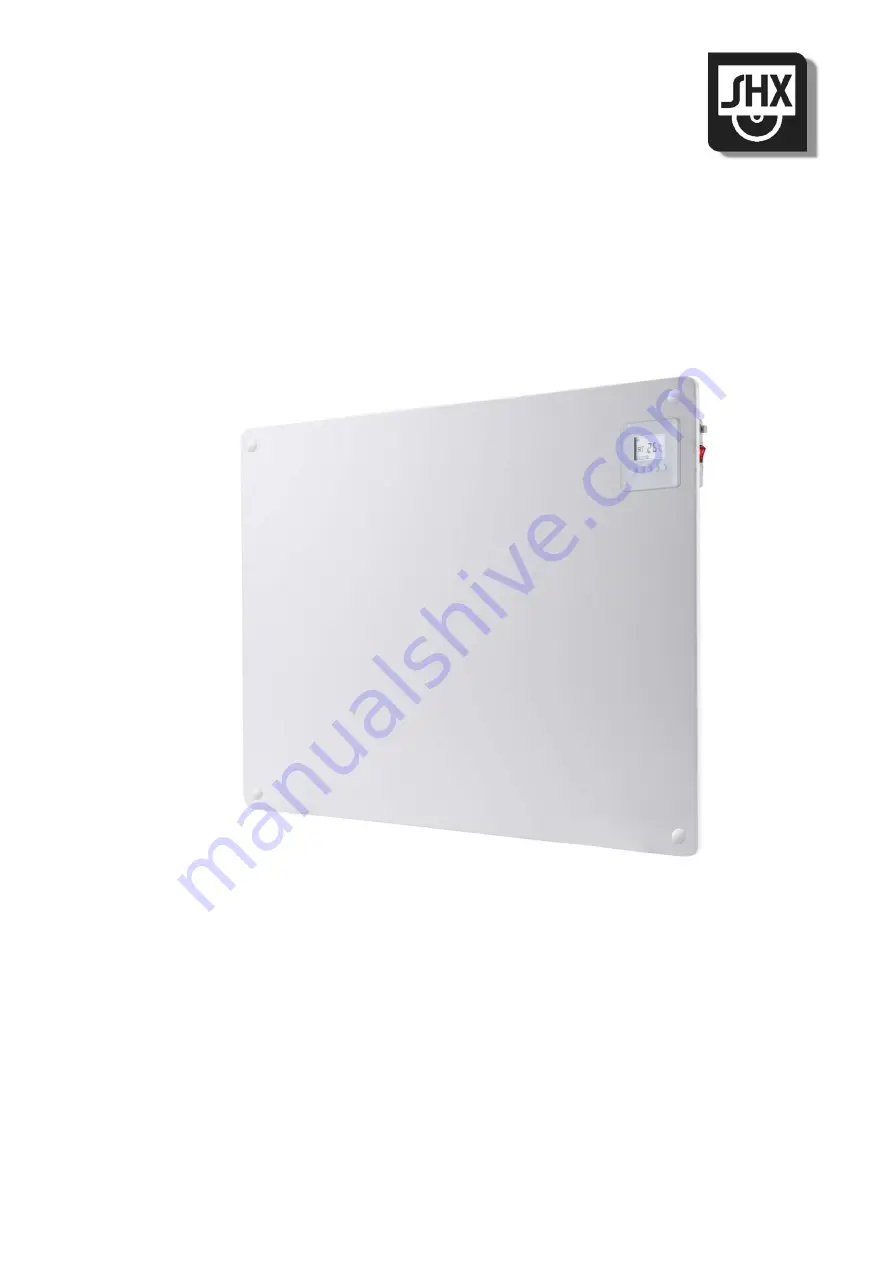
WAND PANEL mit WIFI FUNKTION 


SHX55HP201WWS


HERZLICHEN GLÜCKWUNSCH! 

VIELEN DANK, DASS SIE SICH FÜR EIN PRODUKT VON 

SHX

 ENTSCHIEDEN 

HABEN. 


Bitte beachten Sie, dass das SHX-Panel nicht für den Dauerbetrieb geeignet ist und nur in 

gut isolierten Räumen verwendet werden darf. 

Summary of Contents for SHX55HP201WWS

Page 1: ...KTION SHX55HP201WWS HERZLICHEN GL CKWUNSCH VIELEN DANK DASS SIE SICH F R EIN PRODUKT VON SHX ENTSCHIEDEN HABEN Bitte beachten Sie dass das SHX Panel nicht f r den Dauerbetrieb geeignet ist und nur in...

Page 2: ...it Standort und zum elektrischen Anschluss 3 4 Recycling Entsorgung Konformit tserkl rung 5 Lieferumfang 5 Beschreibung des Ger ts 5 Inbetriebnahme 6 12 Schutzeinrichtung 12 Reinigungshinweise 13 T ti...

Page 3: ...vom Hersteller empfohlene Ersatz und Zubeh rteile Nichtbeachtung f hrt zum Verlust der Garantie 10 Weist das Ger t einen Defekt auf so schalten Sie es aus und kontaktieren die Kundenhotline 11 Wenden...

Page 4: ...n Stecker wenn Sie das Ger t nicht verwenden bevor Sie es reinigen es gewartet werden muss 32 Fassen Sie den Stecker nicht mit nassen H nden an um Stromschl ge zu vermeiden ACHTUNG VERLETZUNGSGEFAHR D...

Page 5: ...weitere Information wenden Sie sich bitte an Ihren H ndler oder die rtlichen Beh rden KONFORMIT TSERKL RUNG Hiermit best tigen wir dass dieser Artikel den grundlegenden Anforderungen Vorschriften und...

Page 6: ...and des Heizpanels nach unten oben und seitlich zu anderen Objekten Fensterbank Steckdose etc sollte mindestens 50cm betragen Der Abstand zu massiven Gegenst nden oder brennbaren Stoffen sollte mind 1...

Page 7: ...wobei diese mindestens 12cm vom u eren Rand entfernt sein m ssen 2 Schrauben Sie nun das Panel mit den Standf en fest indem Sie die mitgelieferten Schrauben verwenden WANDMONTAGE 1 Halten Sie das Pane...

Page 8: ...ie das Ger t demontieren m chten entfernen Sie einfach die Abdeckungen drehen Sie die Schrauben mit einem Schraubenzieher heraus und nehmen Sie das Ger t von der Wand Vergewissern Sie sich dass Sie da...

Page 9: ...or Sie das Ger t vom Netz trennen 2 HEIZ FUNKTION 1 Schalten Sie das Ger t mithilfe der Taste ein 2 Ihnen wird nun die Standard Anzeige auf dem Display angezeigt ON und Raumtemperatur Anzeige 3 Um die...

Page 10: ...k nnen Sie das Ger t neu starten 5 WIFI FUNKTION Das Panel ist mit einer WIFI Funktion ausgestattet APP Herunterladen F r die Installation auf Ihrem Smartphone haben Sie zwei M glichkeiten die App her...

Page 11: ...die Tuya Smart App um das Heizpanel auszuw hlen 2 Klicken Sie auf das zu bedienende Ger t und rufen Sie die Ger tebedienungsoberfl che auf Der Netzschalter in der linken unteren Ecke des Handy Displa...

Page 12: ...ersicherung 1 Klicken Sie im Bedienfeld auf das Symbol f r die Kindersicherung um diese einzuschalten SCHUTZEINRICHTUNG Das SHX Panel ist mit einer Schutzeinrichtung ausgestattet die sowohl das Ger t...

Page 13: ...oder hnliche Mittel auf das Panel Nicht in Feuchtr umen verwenden NICHT ABDECKEN BRANDGEFAHR T TIGKEITEN ZU SAISONBEGINN ENDE KONTROLLEN ZU SAISONBEGINN berpr fen Sie ob das Panel das Stromversorgung...

Page 14: ...arbeitet nur f r kurze Zeit Die gew nschte Temperatur ist bereits erreicht Stellen Sie eine h here Temperatur ein Der Netzstecker ist nicht korrekt eingesteckt Netzstecker fest in die Steckdose stecke...

Page 15: ...20 240V Frequenz 50 60Hz Stromst rke 550 W Heizbereich 0 37 C Gewicht 7 4kg Abmessungen 800x600x11mm Kontaktadressen f r weitere Informationen und Serviceline Schuss Home Electronic GmbH Scheringgasse...

Page 16: ...Art der W rmeleistung Raumtemperaturkontrolle Bei Nennw rmeleistung elmax N A kW Einstufige W rmeleistung keine Raumtemperaturkontrolle nein Bei Mindestw rmeleistung elmin N A kW Zwei oder mehr manuel...

Page 17: ...ufgrund au erordentlicher Verschmutzung Dienstleistungen au erhalb unserer Vertragswerkst tten die Transportkosten zu einer Vertragswerkstatt oder an uns und retour sowie die damit verbundenen Risiken...

Page 18: ...IT MAY CAUSE PERSONAL AND OR PROPERTY DAMAGE AND OR LOSS OF WARRANTY IMPORTANT INFORMATION ON SAFETY LOCATION AND ELECTRICAL CONNECTION 1 Use this device only in accordance with the guidelines in the...

Page 19: ...ation 18 This device is not equipped with a device for controlling the room temperature 19 The device is not suitable for continuous and precision operation 20 This device is only intended for heating...

Page 20: ...substances Therefore do not dispose of it in unsorted residual waste but at a designated collection point for used electrical and electronic equipment In this way you contribute to the protection of r...

Page 21: ...evices are already connected 4 The heater must not be located immediately below a socket outlet 5 Mount the panel 20 100cm above the floor 6 Leave a space of at least 50cm to all sides of the device L...

Page 22: ...e standing device and as a wall heater Please proceed as follows STANDING DEVICE 1 Place the two feet on the floor making sure that the slots are parallel to each other Now place the panel in the slot...

Page 23: ...nst the wall by screwing the screws trough the panel into the rails 6 Put the caps onto the fasten bolts It is recommended to use some glue to stick the caps onto the bolts steadily Note If you want t...

Page 24: ...temperature is below it at the time of switching on the device starts to heat automatically If the room temperature is higher you must set the desired temperature see 2 Heating function NOTE Never swi...

Page 25: ...device using the button 2 You will now see the standard display on the display ON and room temperature display 3 Press the key until OF flashes on the display 4 Then use the buttons to set the desire...

Page 26: ...he WiFi password and press OK to confirm and connect your device to the WiFi 7 If your smartphone shows that the process was successful and the WLAN indicator on the heater display stops flashing and...

Page 27: ...interface 3 Click Timing 4 Click Add Timing 5 Select the hour minute and day of the week and click Confirm 3 Device sharing for more users 1 Call up the user interface of the device Click on More in...

Page 28: ...with a soft moderately damp cloth and then wipe it with a dry cloth WARNING Allow the device to cool down completely before cleaning it WARNING Do not dip the device in water or splash it with any ot...

Page 29: ...er supply Connect plug in the device correctly The side ON OFF switch is not on Press the ON OFF switch to ON The panel only works for a short time The desired temperature has already been reached Set...

Page 30: ...Heating area 0 37 C Input voltage 220 240V Frequency 50 60Hz Weight 7 4 kg Measurements 800 x 600 x 11 mm Contact addresses for further information Schuss Home Electronic GmbH Scheringgasse 3 A 1140...

Page 31: ...output room temperature control select one At nominal heat output elmax N A kW single stage heat output and no room temperature control No At minimum heat output elmin N A kW Two or more manual stage...

Page 32: ...le or removed Service work not performed by our authorised workshops transport costs to an authorised workshop or us and back as well as associated risks Please note that within the warranty period we...

Reviews: