- 2 -
▓
4: HARDWARE INSTALLATION
1.
Adjust oncard 5V/5VSB jumpers J3 and J4 to desired
position (please refer to Table 1)
Note
: 5VSB supports PCI-Bus Power Management 1.1
2.
Switch off your system and turn off all other peripheral
you may have attached to your computer, then remove
your computer cover.
3.
Find out one empty PCI slot on your motherboard.
4.
Carefully insert CV18 into PCI slot firmly. Fasten
CV18 bracket to your computer with the screw,
and replace the computer cover. (please refer to Figure 2)
5.
Connect 5VSB connector J1 to WOL connector on
the motherboard by attached power cable.
6.
Connecting USB devices to USB connectors and
turn on your system.
▓
5: SOFTWARE INSTALLATION
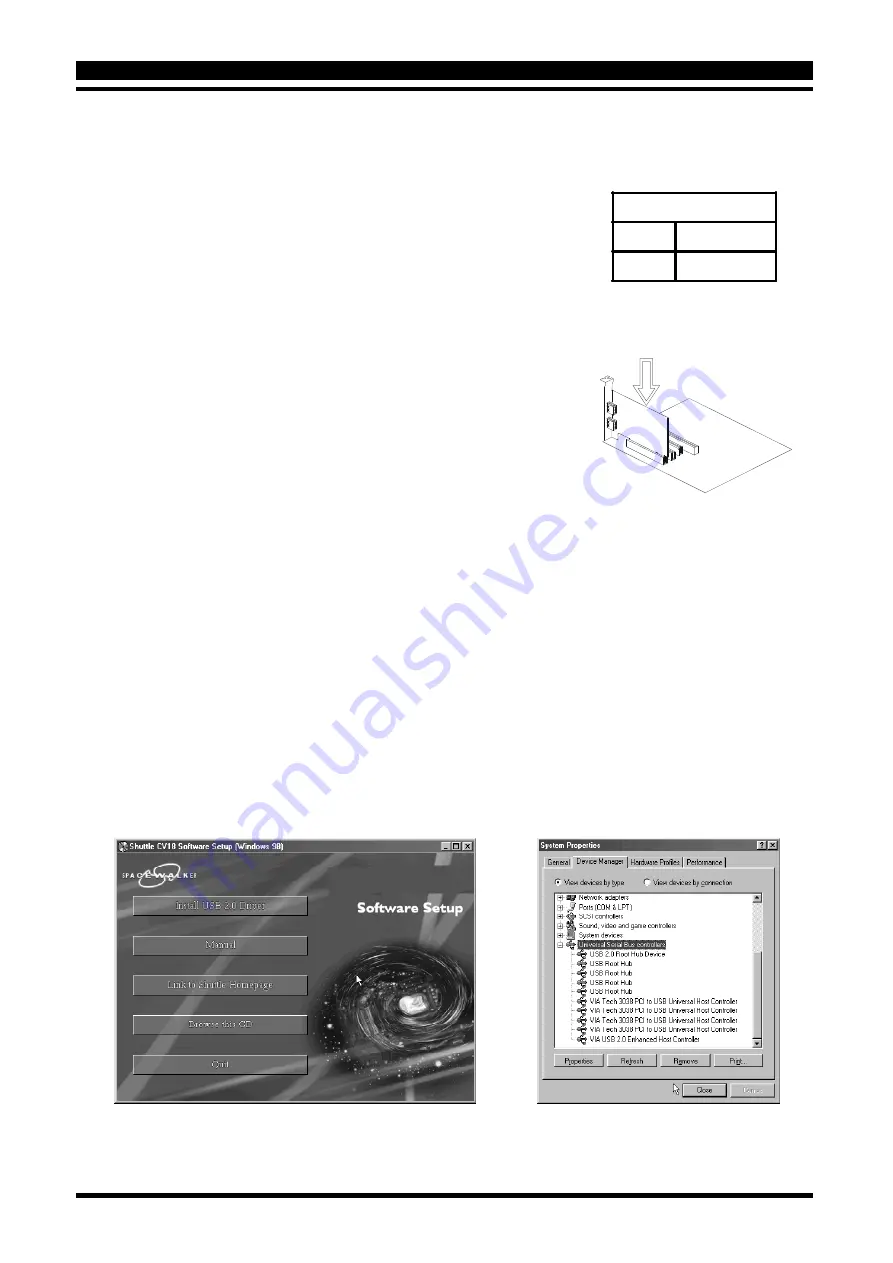
Insert the attached CD into your CD-ROM drive and the CD AutoRun screen should appear.
If the AutoRun screen does not appear, double click on Autorun icon in My Computer to bring
up Shuttle Software Setup screen. (Figure 3)
Using your pointing device (e.g. mouse) on the
Install USB 2.0 Driver
bar to install driver.
When you have completed software installation, a new device will be found, you can check
up the
Device Manager
screen of
System Properties
category as shown below.
(Figure 4)
J3 & J4
1 - 2
5V
3 - 4
5V StandBy
Table 1
Figure 2
Figure 3
Figure 4
2 - 3
1 - 2


