Shure Incorporated
13/17
1.
2.
•
•
•
1.
2.
3.
4.
To use the Optimize workflow:
Place all relevant devices in a location.
Select Optimize. Designer optimizes microphone and DSP settings for your equipment combination.
If you remove or add devices, select Optimize again.
Light Ring
You can control the light ring's color, brightness, and status using Designer. Open the mute button's configuration window, and
go to
Settings
>
Lights
to adjust the settings.
Mute Settings
To control mute settings, open the device's configuration window in Designer and go to
Settings
>
Logic
control
.
Toggle:
Press the button to toggle between muted and unmuted.
Push-to-talk:
Press and hold the button to unmute the microphone.
Push-to-mute:
Press and hold the button to mute the microphone.
Linking Mute Buttons to a Device
Use Designer to link one or more mute buttons to a device. When you link the mute button to Shure devices with IntelliMix
DSP, the AEC stays converged to deliver the best performance.
In most rooms, all mute buttons control muting for the same device. To set this up:
Create a location in Designer.
Add the mute buttons and other Shure devices in the room to the location.
Open the location and go to Routing.
From here, you can link mute buttons to compatible devices.
Drag and drop from each of the mute buttons to the device you want to mute.
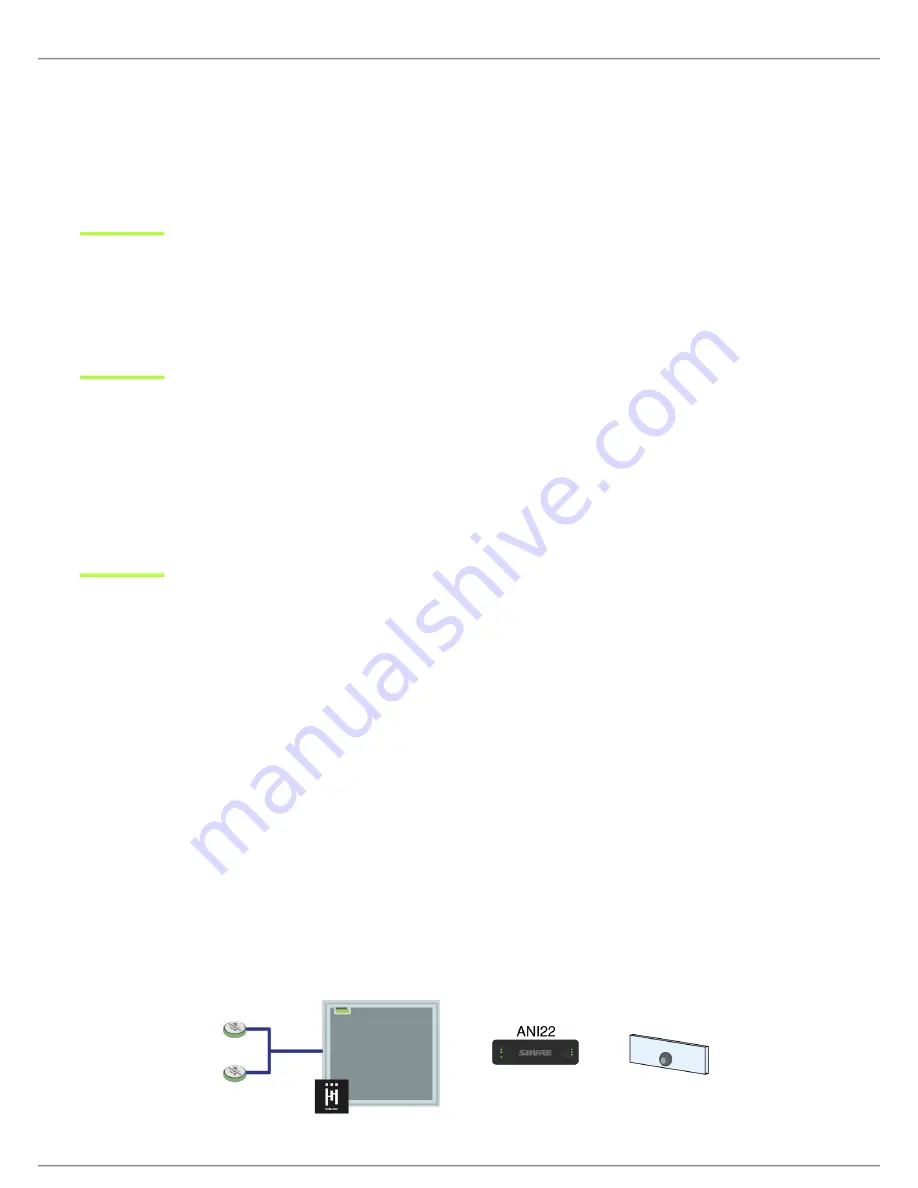
In rooms with at least 1 microphone and 1 audio processor, you can use the Optimize
workflow to let Designer automat
ically create mute control routes for you.
Use these guidelines to choose what device to the link the mute button to:
Microphone with IntelliMix DSP (MXA910 or MXA710), no separate DSP:
Link the mute buttons to the microphone.


