


Shenzhen Konvision Technology Co,.Ltd
www.konvision.com
21
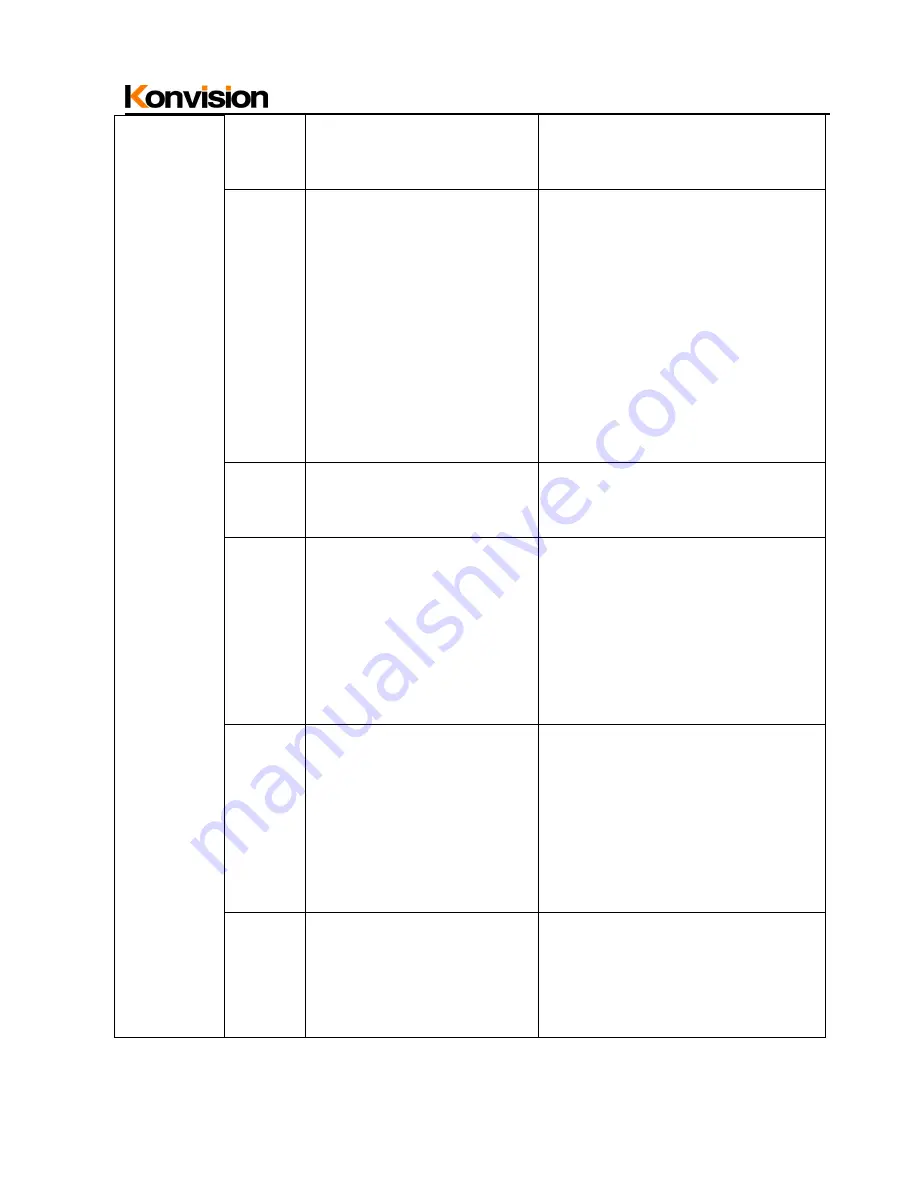
Marker
setting
Marker
Enable
ON
OFF
All markers on
All markers off
Marker
Select
OFF
4:3
16:9
15:9
14:9
13:9
1.85:1
2.35:1
NO marker display
Marker display 4:3
Marker display 16:9
Marker display 15:9
Marker display 14:9
Marker display 13:9
Marker display 1.85:1
Marker display 2.35:1
Center
Marker
ON
OFF
Display center mark
No display center mark
Safety
Area
OFF
80
%
85
%
88
%
90
%
93
%
No Safety Area display
80
%
Safety Area display
85
%
Safety Area display
88
%
Safety Area display
90
%
Safety Area display
93
%
Safety Area display
Marker
Level
OFF
Translucency
Half
High
Middle
Low
No marker line
Marker line is translucency
Marker line is grey
Marker line is dark
Marker line is grey
Maker line is white
Marker
Mat
OFF
Transparency
Turn off Fill up the background
beyond marker
Background
beyond
marker
transparent