- 3 -
1. Make sure the flight area is free of people, pets, obstacles, trees, power lines, etc.
2. Do not operate near streets, busy parking lots, airports, crowds, etc.
3. Although this drone is approved for indoor and outdoor flight, it should not be flown
in strong wind.
4. Maintain a safe distance of 5 feet between you and the drone at all times.
5. Children must be supervised by an adult when using this product.
SAFE FLIGHT ENVIRONMENT
1. Insert a Micro SD Memory Card (not included) until it clicks into place.
2. Once the controller and drone are paired, press the Photo button once to take
a still picture.
3. Press the Video button to begin video recording.
4. Press the Video button once more to stop recording and save your video to the
memory card.
NOTE: Accommodates memory cards up to 32GB.
SHOOTING PHOTOS AND VIDEO
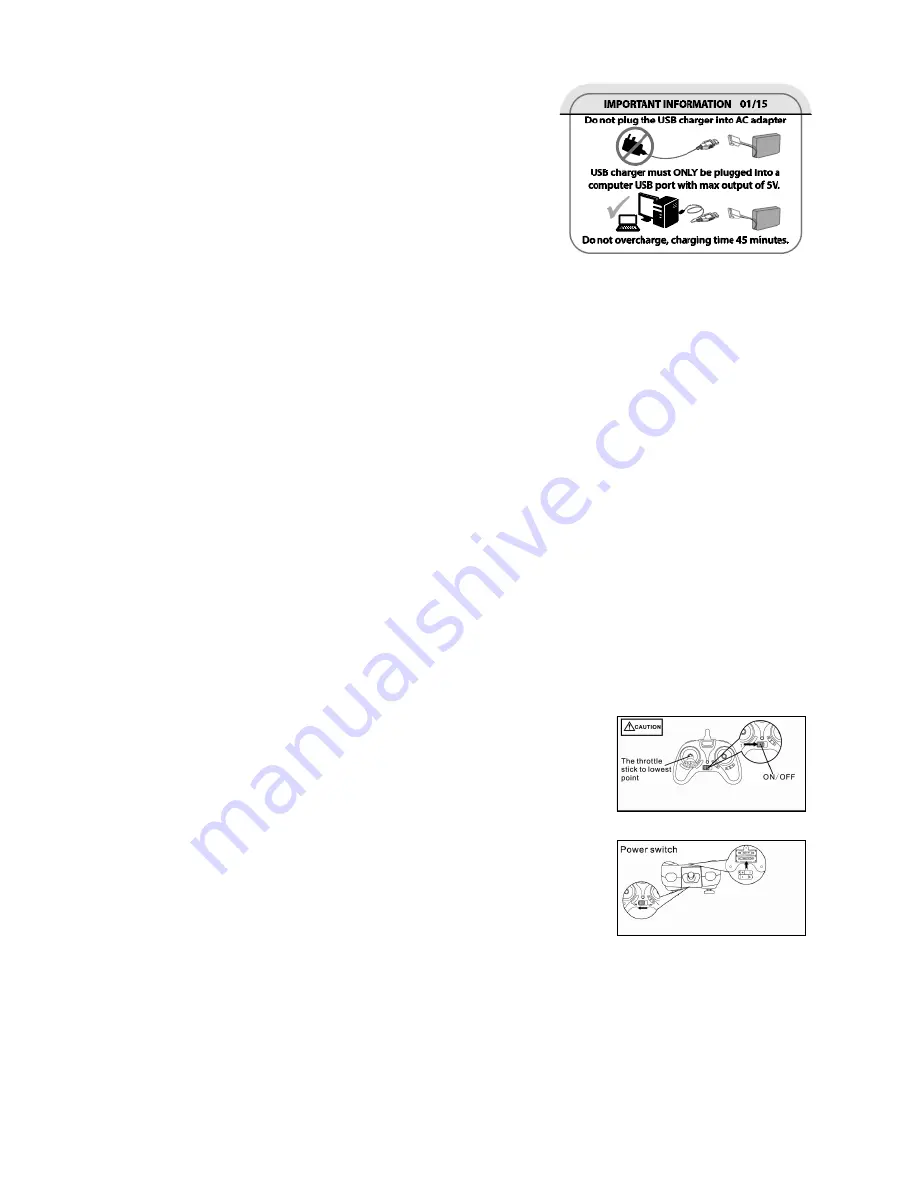
1. The LED on the front of the drone will start to flash. Place the
drone down on a flat, level surface.
2. Ensure that the Up/Down lever on the controller (the LEFT stick)
is in the fully down position. Then, turn on the controller power
switch. To pair the controller and the drone, raise the Up/Down
lever on the controller all the way up to the top position, then
lower it all the way down to the bottom. The controller will
make a BEEP sound, indicating it is paired. The next time you
raise the up/down lever, the drone will lift into the air.
3. Turn off the drone power after a flight.
4. Always turn the controller off after a flight, in order to conserve battery power.
SETTING UP THE SIGNAL CONNECTION
IMPORTANT BATTERY CARE INSTRUCTIONS
If your battery ever starts to smell, change color or look
swollen, discontinue use immediately. Do not attempt
to recharge it. Be advised that the battery may be hot.
Recycle the battery in accordance with local laws.


