21
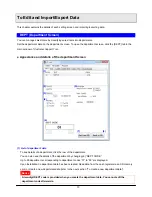
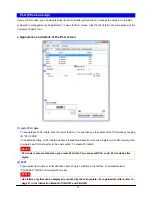
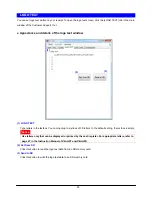
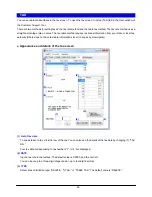
(3) PROGRAM
• Pass code.
Input a four-digit number in the textbox as a pass code. The default value is “0000.”
• Auto key.
Before operating auto keys, check “ENABLE.” In the default setting, it is checked.
(4) CLERK CODE
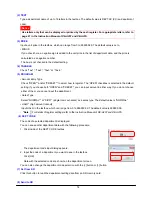
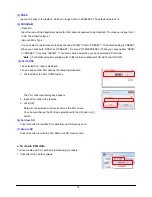
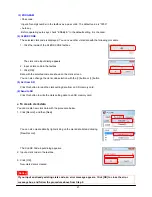
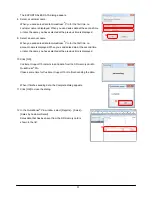
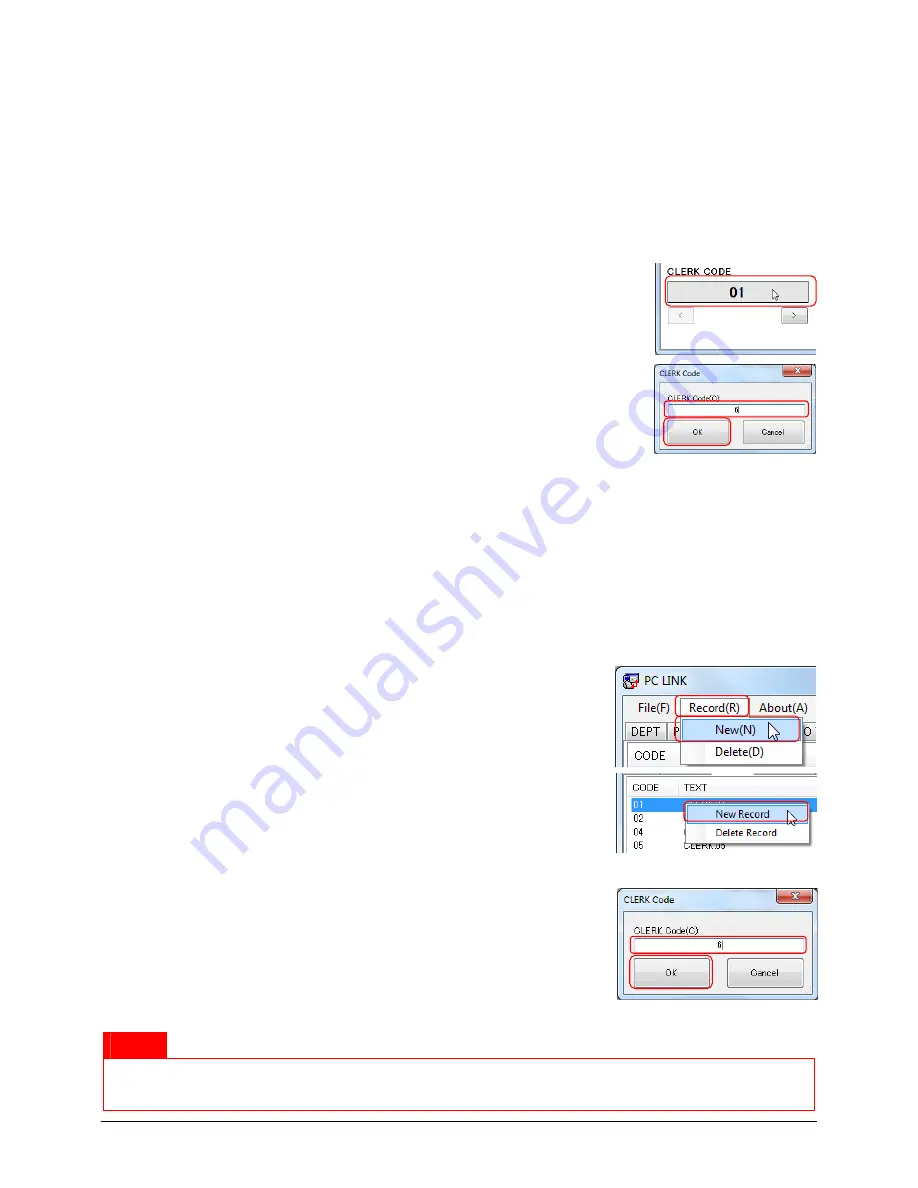
The selected clerk code is displayed. You can see other clerk data with the following procedure.
1. Click the inside of the CLERK CODE textbox.
㩷
㩷
㩷
The clerk code input dialog appears.
2. Input a clerk code in the textbox.
3. Click [OK].
Data with the selected code are shown on the clerk screen.
You can also change the clerk code selection with the [<] button or [>] button.
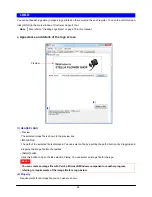
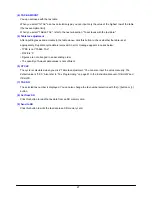
(5) Get from SD
Click this button to read the clerk setting data from an SD memory card.
(6) Send to SD
Click this button to write the clerk setting data to an SD memory card.
㩷
Ɣ
To create clerk data
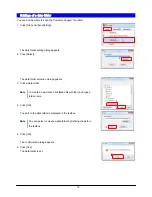
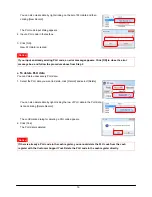
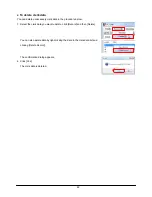
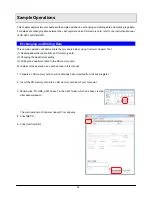
You can create new clerk data with the procedure below.
1. Click [Record], and then [New].
㩷
㩷
㩷
You can also create data by right-clicking on the clerk data list and clicking
[New Record].
㩷
㩷
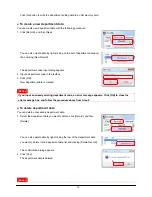
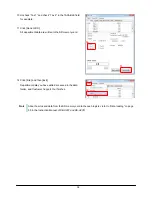
The CLERK Code input dialog appears.
2. Input a clerk code in the textbox.
㩷
3. Click [OK].
New clerk data is created.
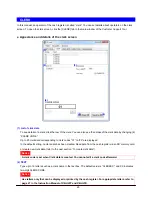
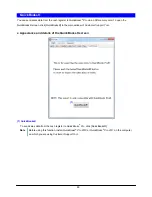
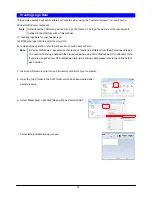
Notice
㩷 㩷
If you input an already existing clerk code, an error message appears. Click [OK] to close the error
message box, and follow the procedure above from Step 2.
1
2
3
1
1
2
3

