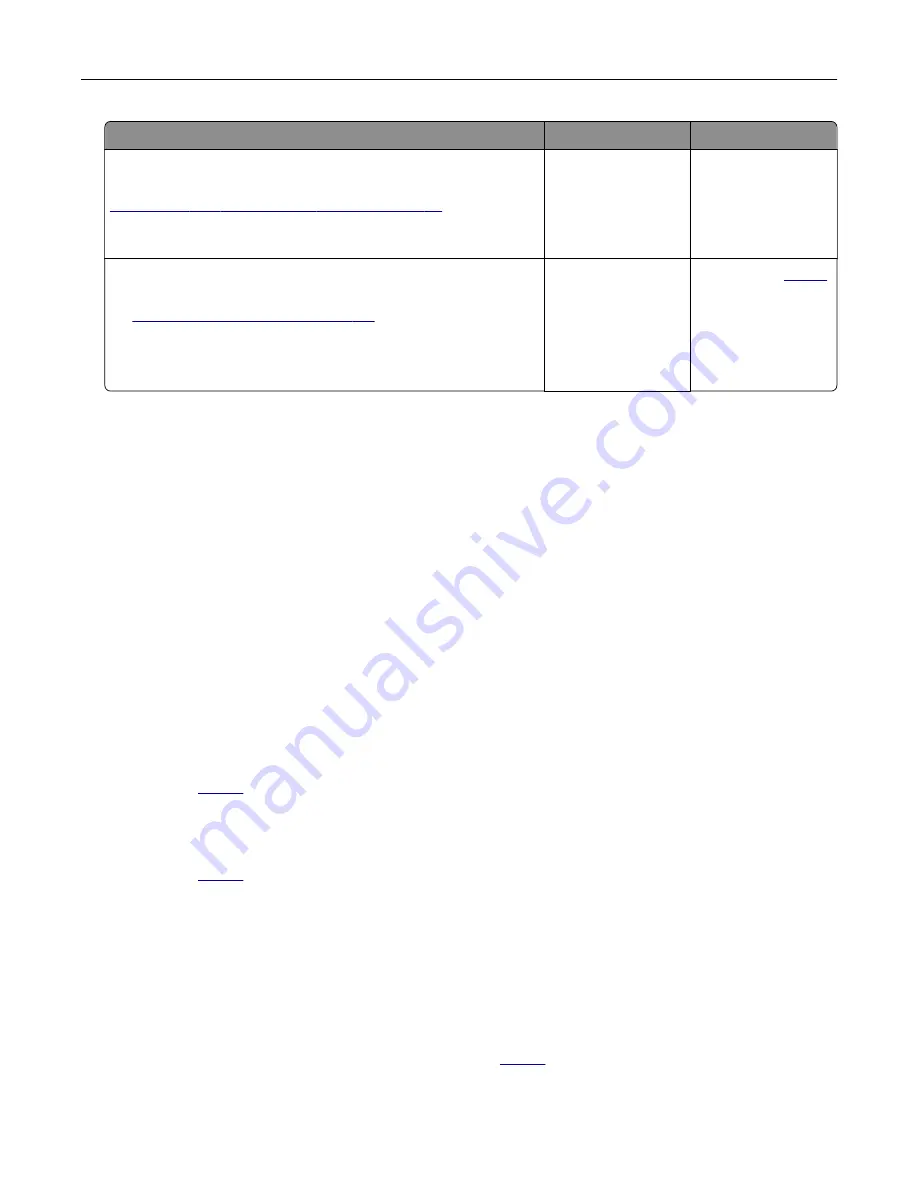
Action
Yes
No
Step 3
Check if the flash drive is supported. For more information, see
“Supported flash drives and file types” on page 30
Is the flash drive supported?
Go to step 4.
Insert a supported
flash drive.
Step 4
a
Check if the USB port is enabled. For more information, see
“Enabling the USB port” on page 134
b
Remove, and then insert the flash drive.
Does the printer recognize the flash drive?
The problem is
solved.
Contact your
.
Enabling the USB port
From the home screen, touch
Settings
>
Network/Ports
>
USB
>
Enable USB Port
.
Checking the printer connectivity
1
From the home screen, touch
Settings
>
Reports
>
Network
>
Network Setup Page
.
2
Check the first section of the network setup page, and confirm that the status is connected.
If the status is not connected, then the LAN drop may be inactive, or the network cable may be unplugged
or malfunctioning. Contact your administrator for assistance.
Hardware options problems
Defective flash detected
.
Not enough free space in flash memory for resources
.
Unformatted flash detected
Try one or more of the following:
•
From the control panel, select
Continue
to stop the defragmentation and continue printing.
•
Format the flash memory.
Note:
If the error message remains, then the flash memory may be defective and needs to be
replaced. To replace the flash memory, contact your
.
Troubleshooting
134
Summary of Contents for MX-C607P
Page 1: ...DIGITAL FULL COLOR PRINTER MX C607P User s Guide October 2021 Machine type 5063 Model 53H ...
Page 86: ...2 Remove the waste toner bottle Maintaining the printer 86 ...
Page 91: ...Replacing a photoconductor unit 1 Open door A Maintaining the printer 91 ...
Page 92: ...2 Remove the waste toner bottle Maintaining the printer 92 ...
Page 95: ...Replacing an imaging unit 1 Open door A Maintaining the printer 95 ...
Page 96: ...2 Remove the waste toner bottle Maintaining the printer 96 ...
Page 101: ...4 Insert the new waste toner bottle 5 Close door A Maintaining the printer 101 ...
Page 102: ...Replacing the transfer belt 1 Turn off the printer 2 Open door A Maintaining the printer 102 ...
Page 103: ...3 Remove the waste toner bottle 4 Open door A1 Maintaining the printer 103 ...
Page 129: ...Staple jam in door G 1 Open door G 2 Pull out the staple cartridge holder Clearing jams 129 ...
Page 131: ...5 Insert the staple cartridge holder 6 Close door G Clearing jams 131 ...


